Thursday, September 28, 2023

Baby Giraffe Embroidery Pattern

I have a new embroidery pattern set available in my shop!  This one is titled Baby Giraffe.  There are five pages of giraffe images.


I embroidered this one first:  


His spots are stitched using the Satin Stitch.  The tree leaves are stitched with Fishbone Stitch.  The tree trunk is Stem Stitch:


The giraffe is outlined with Back Stitch.  His horns and eyebrow are rows of Back Stitch. His eyes, nose and hoofs are Satin Stitch.  His eyelashes, mouth and the grass are Straight Stitch.  

His mane is Blanket Stitch and his tail and forelock are Turkey Work.


Here are the floss color numbers I used for this project palette:


Saturday, September 9, 2023

Siennese Stitch


This stitch is the Siennese Stitch. This is the latest stitch from my 100 Stitches list.  


For my stitch demonstration, I am using perle cotton floss.  This is DMC Color Variations #4022. I set up two parallel guidelines so that I could keep my stitch size consistent.


The first step is to come up through the fabric and form a Straight Stitch.


then come back up through the fabric a small distance from the Straight Stitch:


Pull the floss all the way through and bring the needle around to slide under the Straight Stitch.  Make sure your needle passes under the Straight Stitch but then over the working floss - this will create a loop: 


Pull the floss all the way until the loop is snug around the first Straight Stitch.  Now go back into the fabric and pull all the way through.... 


and this will complete the stitch! 


Continue working the Sienese Stitch along the parallel lines.


When finished, secure your floss on the underside of the fabric.  Here is a look at the underside of this stitch:


I learned this stitch from the book Embroidery Stitches by Mary Webb.


Wednesday, June 21, 2023

Embroidered Hot Air Balloon


I have a finished project plus all the stitch and color details to share.  This hot air balloon sailing over a city skyline is from my Hot Air Balloon embroidery pattern set. 

For the upper part of the balloon, I used Double Knot Stitch.  The pennant, the bunting, the lower outline of the balloon, the basket outline, the cloud outlines and the buildings are all done in Back Stitch. The balloon filling is Straight Stitch and the balloon skirt is Cross Stitch. The basket trim is outlined with Back Stitch, filled by Straight Stitch and French Knots.


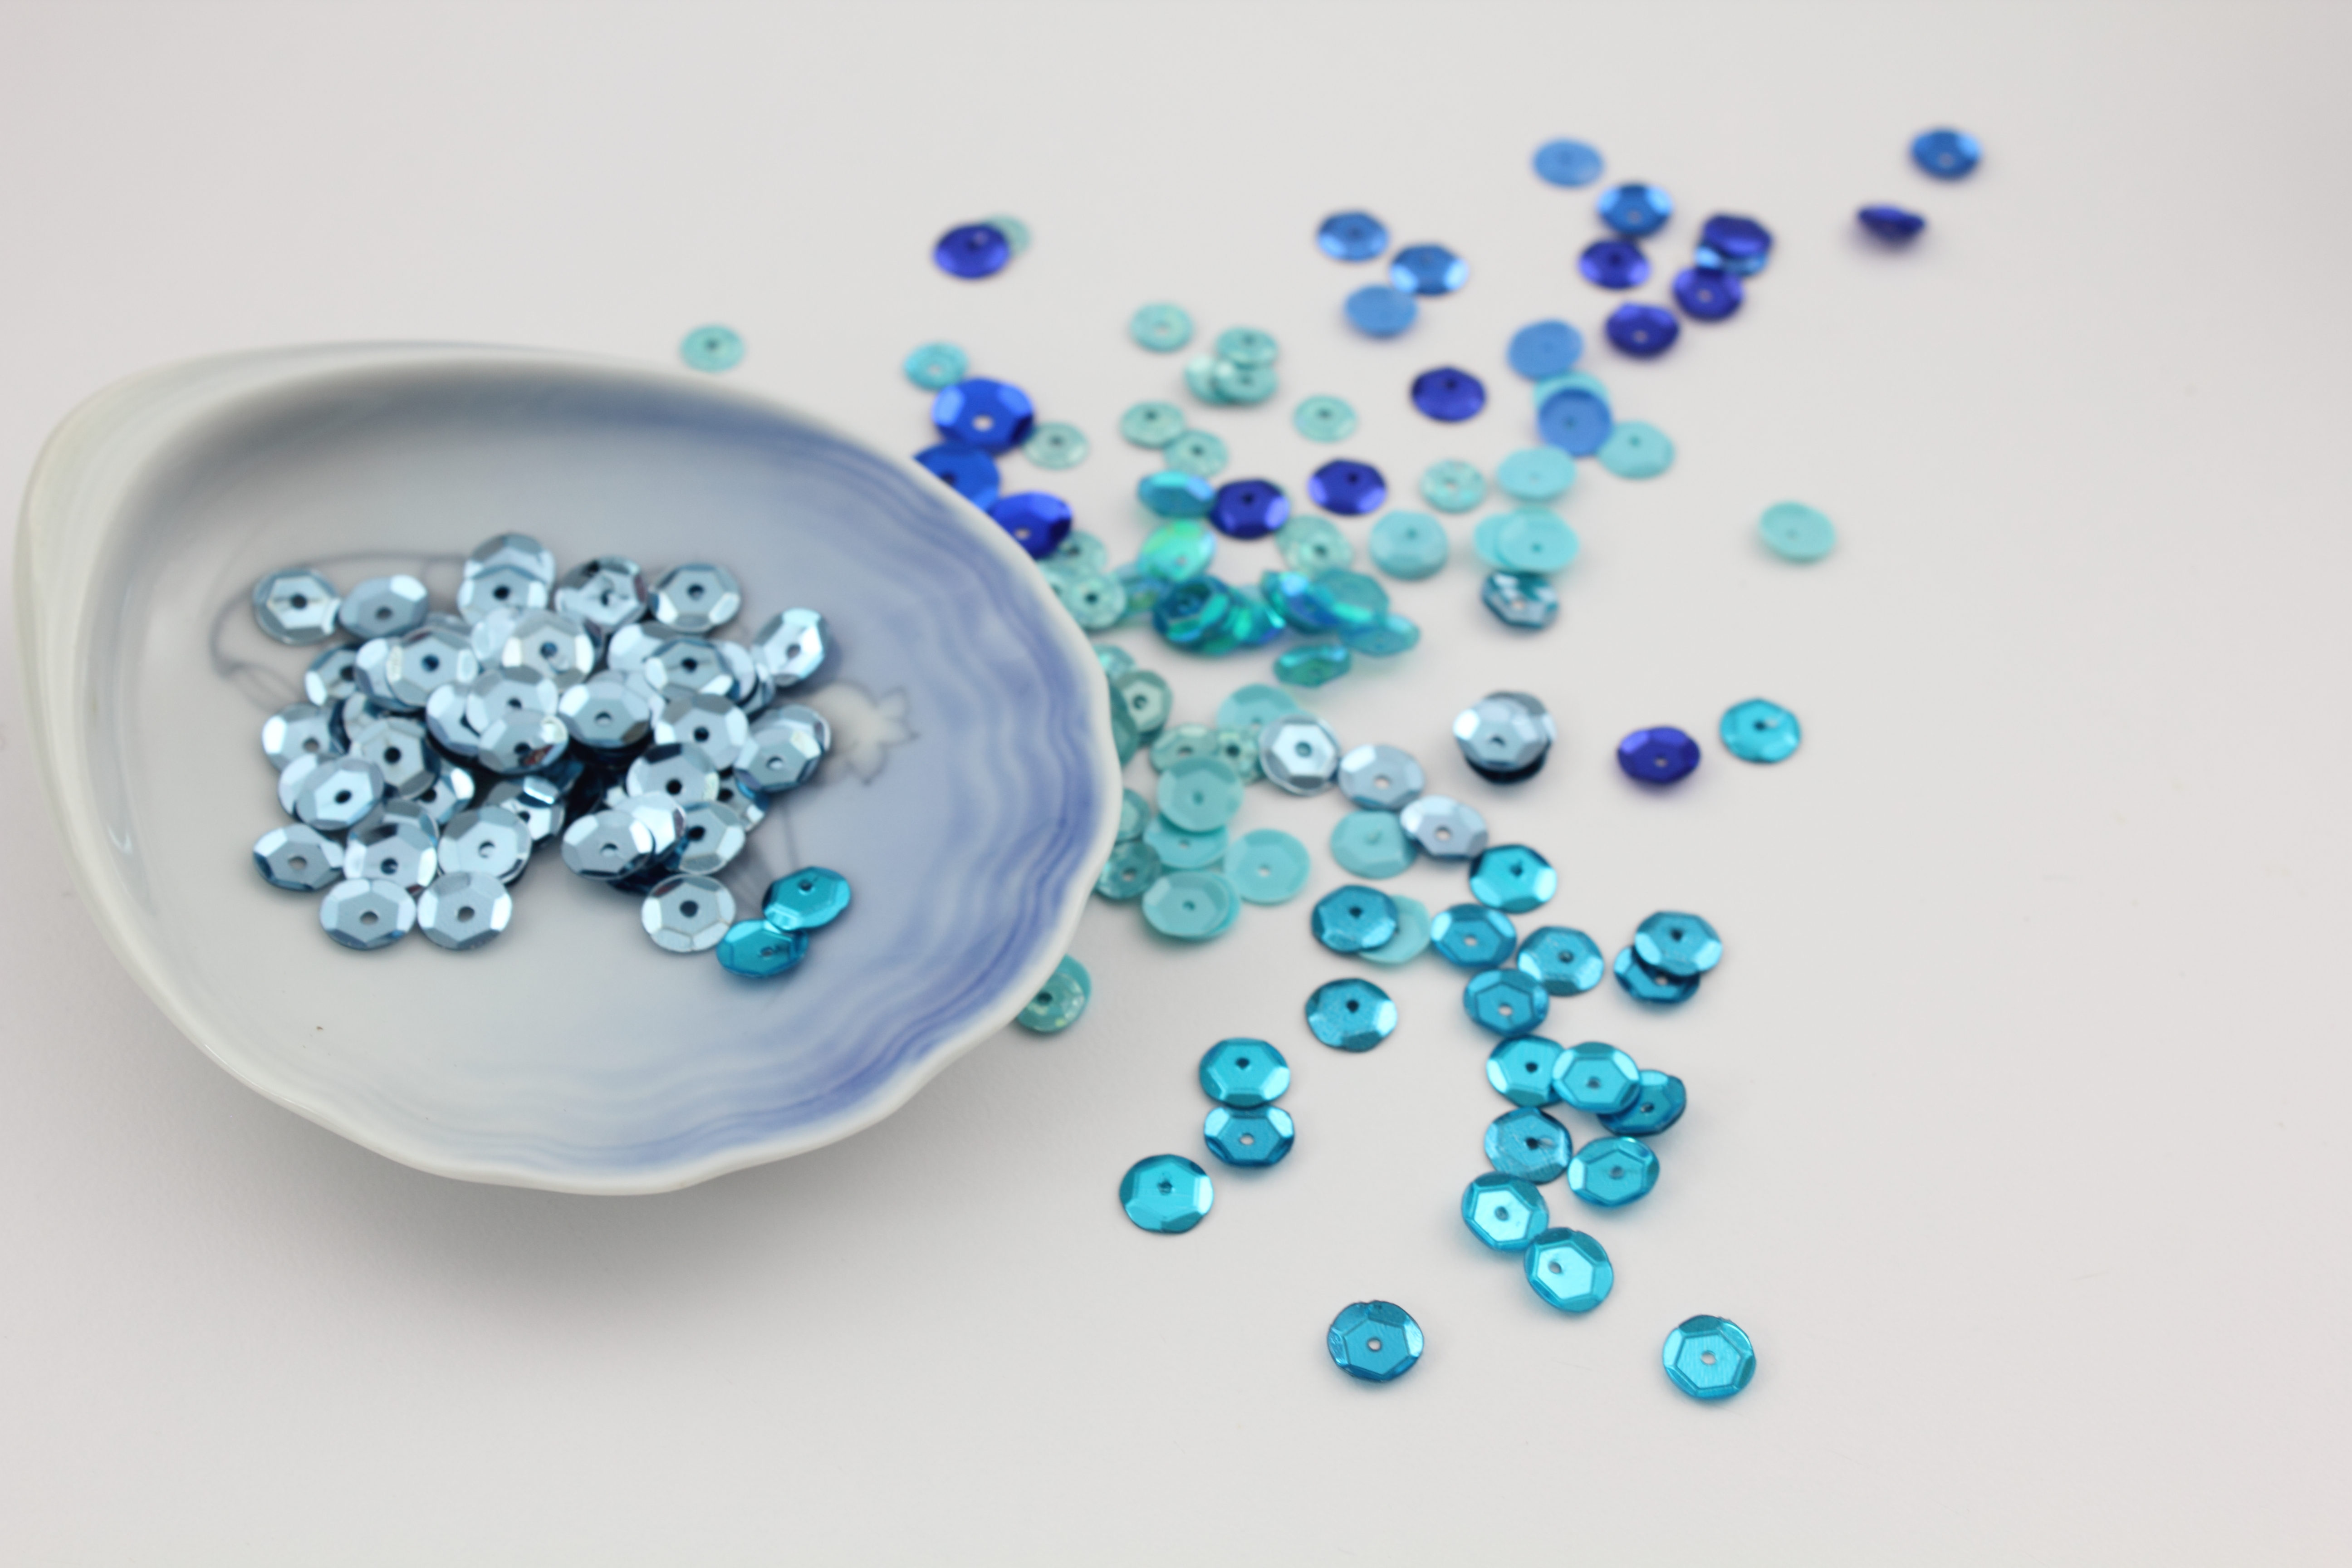
The sequins I used are 5mm faceted cup sequins.  I really love the sparkle that they add!


Here are the numbers for the embroidery floss in my project color project:


My pattern of a hot air balloon

Saturday, May 13, 2023

Honey Bees and Flowers

 This is from my Honey Bee hand embroidery pattern.  


I really like the variety of stitches used and my color palette!

The large flowers are all Spiderweb Filling Stitch.


The stem and leaves are Stem Stitch.  The daisy flowers are Lazy Daisy Stitch:


The buds and the bee bodies are all French Knots.  The bee wings are Straight Stitch using blending filament.  This is Kreinik brand.


Here is the floss color information:


I almost ran out of the pink floss before I finished this project.  You can see the small amount I had left...I also didn't have the color number!  Good thing I had enough left to match to the sample in my Embroidery Floss Swatch book:

Wednesday, April 12, 2023

Hand Embroidered Flowers


This beautiful flower spray is from my Flower Fancy hand embroidery pattern set.  

I used three different stitches for this project.  The stems are done with Stem Stitch:

The leaves are Lazy Daisy Stitch and the flowers are Spider Web Filling Stitch.

My color palette :


Tuesday, February 28, 2023

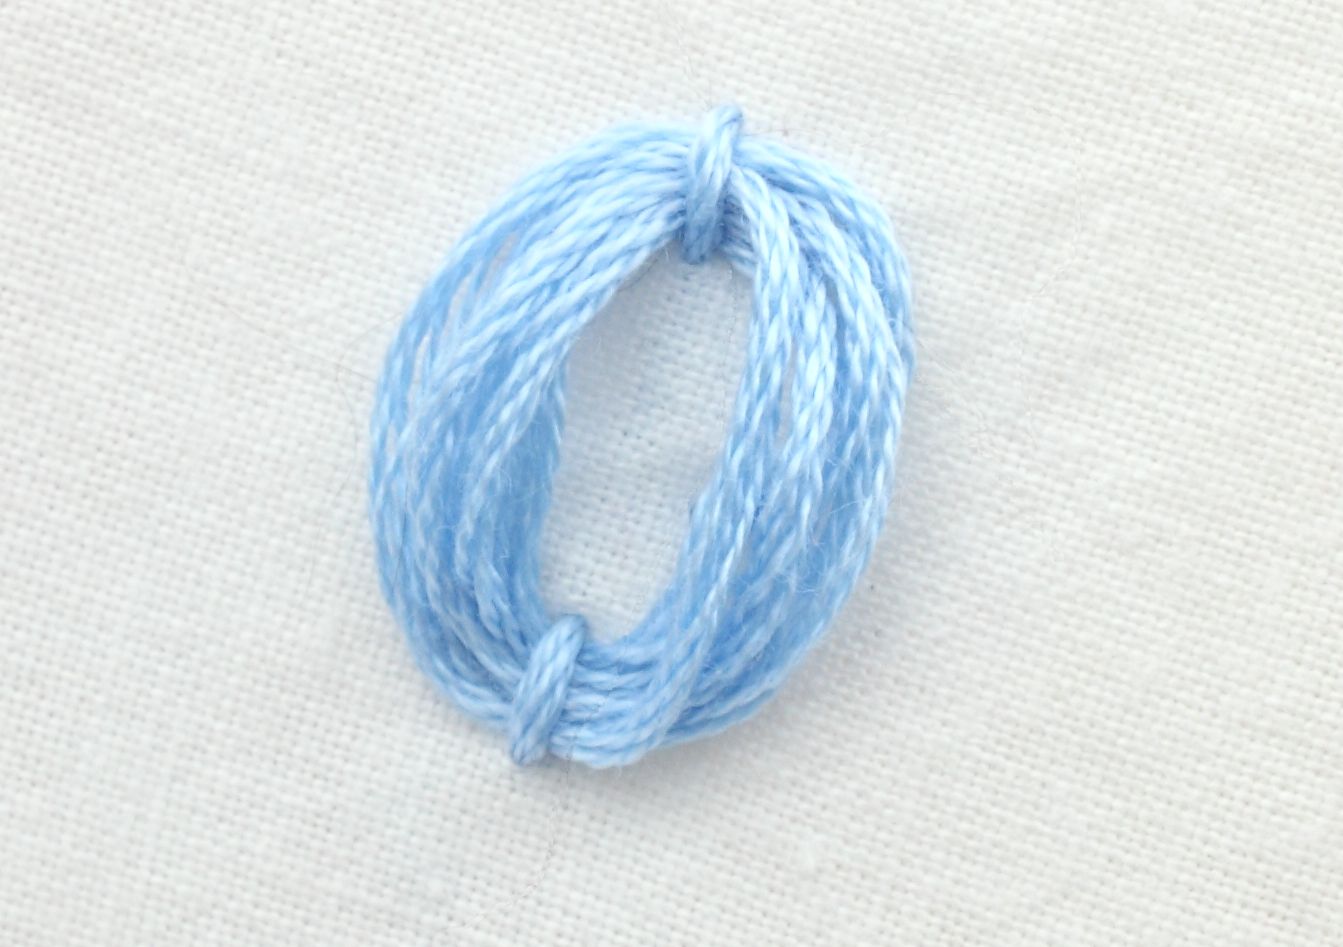
Woven Oval Stitch


I have a new stitch to add to my 100 Stitches list.  This one is the Woven Oval Stitch.  The stitch starts by making two Straight Stitches spaced apart:  


The next step is to come up through the fabric in the space between the Straight Stitches.  Not in line with them, just a little to the left or right side of them:


Now to start weaving.  Slide the needle under one of the Straight Stitches.  Notice, the needle slides under the Straight Stitch but on top of the fabric:


Pull the thread all the way through and slide the needle under the next Straight Stitch.  Keep the thread tension loose - eventually, this will create a soft oval shape.


Keep weaving and when the oval looks the way you like, go back into the fabric under the oval and secure your thread on the underside.


Simple!  I used six strand embroidery floss, I like the puffy texture it gives this stitch.