Time again for
100 Stitches! This gorgeous stitch is the step stitch:

It looks pretty difficult to do doesn't it?! It actually turned out to be easier that I thought it would be. At least my version :)

100 Stitches was a little short on some details. I had to just assume what was meant and go with that!

The first step is to draw some guidelines. 100 Stitches suggested that you make two parallel lines, approximately 1/2" apart:

Now, stitch the two lines with
chain stitch. Make sure the stitches are exactly in line with each other.

For the next steps, I chose a contrasting colored floss so that everything would be easy to see.

Come up through the fabric through the second chain stitch on the left side:

And back into the fabric through the second chain stitch on the right side. Work
straight stitches across the two rows of chain stitch...

linking every second pair...

of chain stitches:

Making a nice ladder look:

I am only stitching a few lines for my demonstration:

Three should be enough:

Now come up through the fabric right below the left side of your first straight stitch:

Make sure your floss stays on the left hand side of the needle and that your needle is pointing down. Go under the straight stitch and:

whip around the straight stitch about four or five times, until you are at the center of the straight stitch. At this point, insert your needle 1/8" above the straight stitch and bring it back up right below the straight stitch forming a vertical stitch:

Now making sure the needle is pointing up, and that your floss stays to the left side of the needle:

start whipping around the straight stitch:

about four or five times until you are at the right end of the straight stitch. 100 Stitches didn't specify how to finish this off so I just made an extra whip around and went back into the fabric and secured my floss:

Move down to the next straight stitch and start again:

When you reach the center, pass the needle under the middle vertical stitch you made on the straight stitch above you. Just pass your needle under it and pull down:

Now start whipping around the straight stitch just like you did before - remembering that this is the second half of the straight stitch so your needle is pointing up:

Finish that and start on the next straight stitch:

Just keep going until you have completed all of your straight stitches:

I hope that I did this stitch correctly, I would appreciate any advice or critiques! I also included a picture of the back of my stitching:

This stitch is #65 and is in the composite stitches section of 100 Stitches.

 these:
 and my mom made me this:
 This book has blank felt pages. I am going to stitch my favorite stitches sampler style on these pages!
 I just completed these three linen tea towels:
 This red towel is for my sister Karen who has a beautiful red kitchen. I used some of the flower patterns from the
  For my sister Kathy, I made this black towel with the green and lavender border. This pattern is one of the border patterns from the
  For my brother-in-law Mark I made this tea towel:
 You might recognize the
  Mark makes the absolute best espresso! He always makes me a latte :)
 I made all of these towels from linen fabric. Karen and Mark's are 100% linen and Kathy's is a linen/cotton blend. It was a new experience for me to stitch on these because they were a much looser weave than I am used to! I had so much fun with these and now I can wrap them up!
 I finally finished the stitching. It has been sitting in my hoop for weeks with everything stitched except one candy cane and some french knots! Now it's complete:
 Next up is this little gingerbread house:
 Lots of stitching left to do :)
 I'm not totally sold on the colors I've used so far. Mainly, I am not sure about having each window a different color:
 I am stitching the roof with the
  I wasn't sure it was going to work but now I love it and can't wait to finish it:
 Speaking of finishing, I am done stitching the little crab...


 See this rounded, puffy, 3-d looking stitch making up the center line of this blade of "sea grass"? This is the overcast stitch. 100 stitches also calls this Trailing:


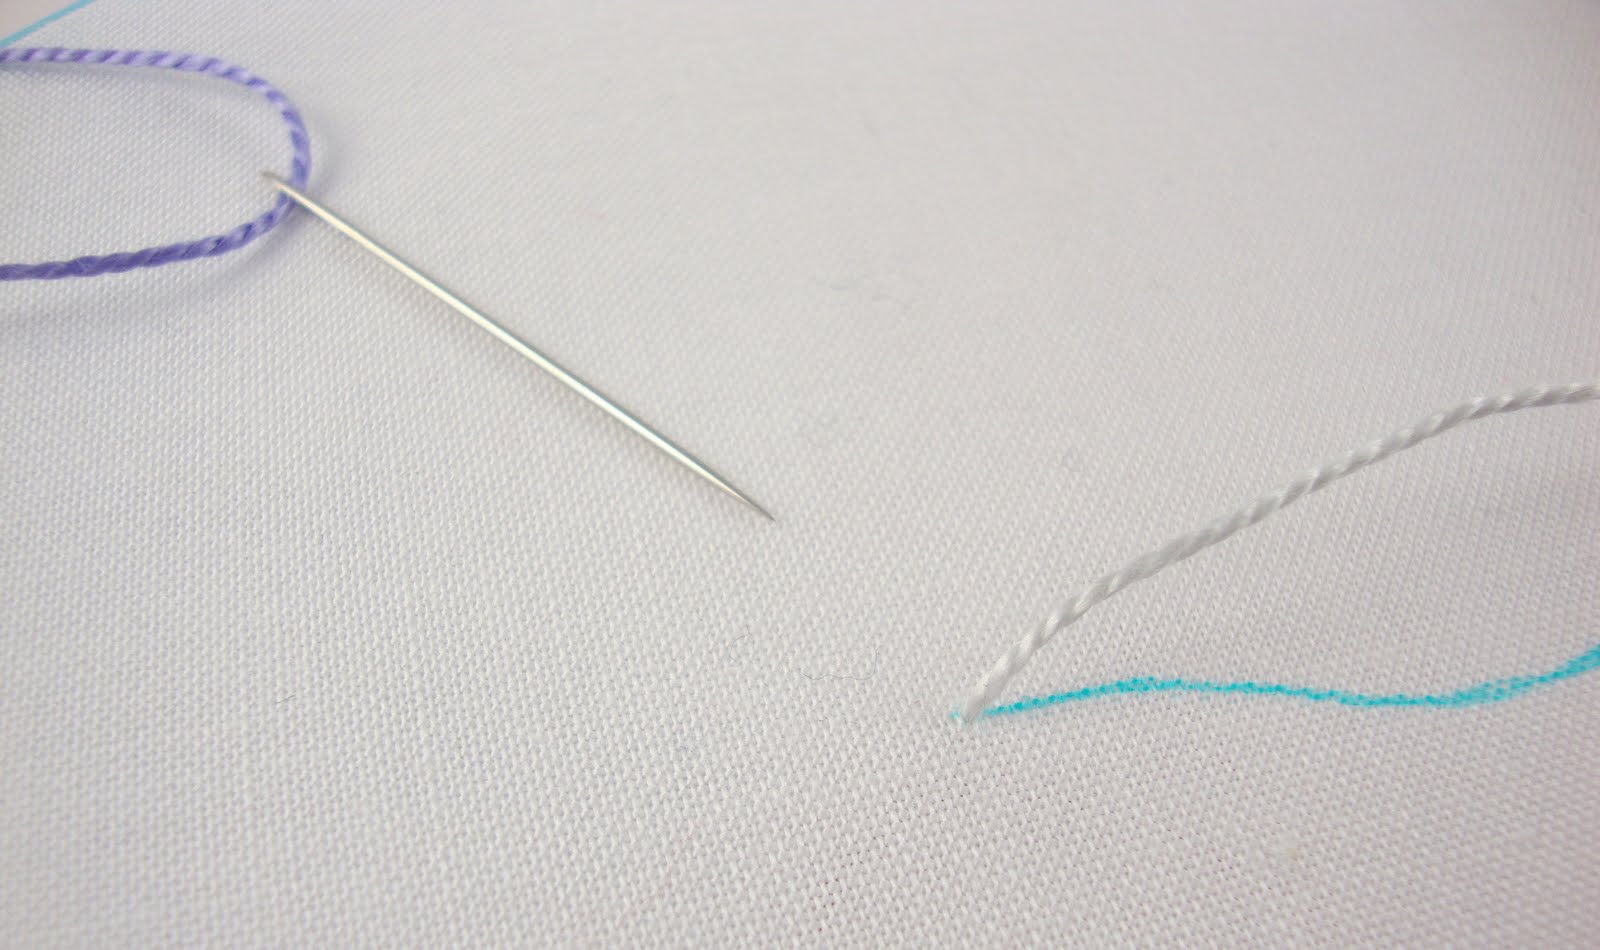


 Here is a picture of the underside of the stitch. It looks neat and clean but sort of lumpy :( Like I said earlier, this stitch looks easy to do but I had a little bit of trouble keeping all my stitches a consistent tension. I am getting better at it with practice.
 This stitch was really fun to do and I love the three dimensional look it gives. 100 Stitches suggest that you use this stitch for delicate stems and outlines. I plan on using it a lot! This stitch is #18 and is in the flat stitches section of 100 Stitches.
 I am using chain stitch, back stitch and satin stitch for the crab. I am also using chain stitch for the waves and the sand line. You can just see the sand line next to the crab's leg. For the sand line, I used a color variations pearl cotton floss. It is dmc floss #4145. I just finished stitching up this little seashell:
 This is dmc #4180.


