skip to main |
skip to sidebar
I finished my triceratops pillow. You can catch up with this project {here}
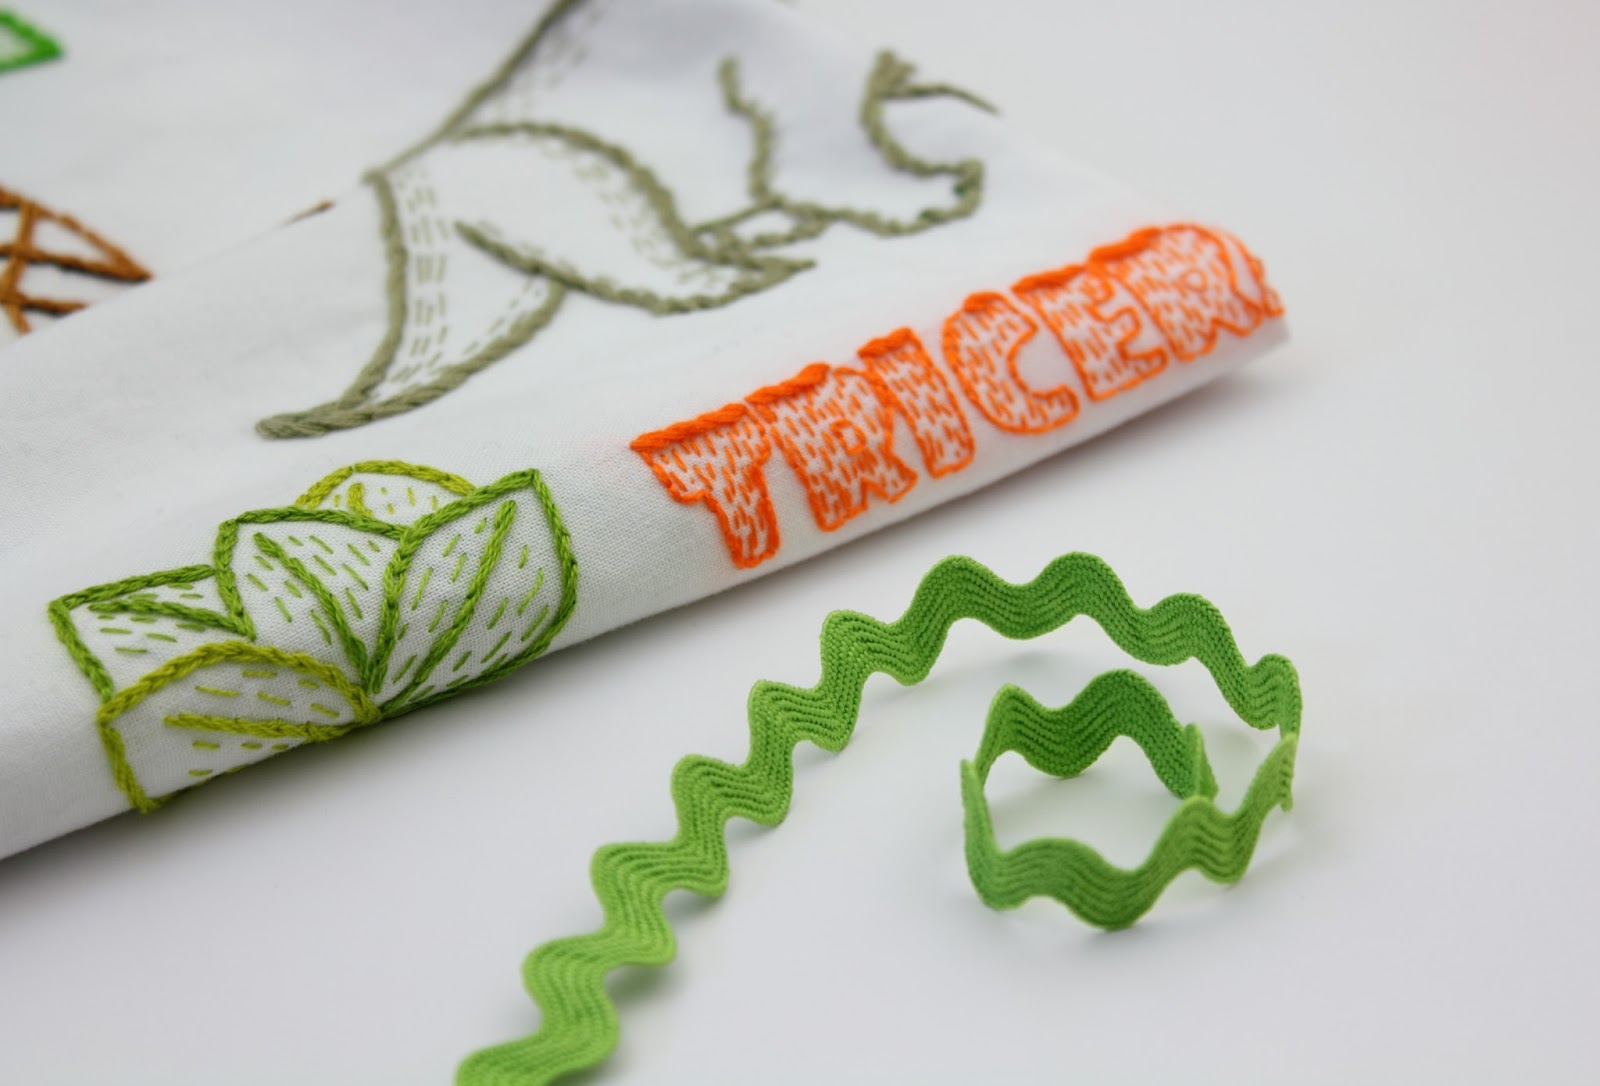
I am really happy with the result. I love the embroidered motifs, the colors and the rickrack trim:
To construct the pillow cover, I cut the orange backing fabric to the same size as the front panel. I also cut a same sized piece of white fabric to line the back of my front panel. This makes for a nice smooth surface.
I put the front and back panel right sides together and added the lining piece on the back of the front panel and pinned all three layers together.
Before I sewed the layers together, I hand basted all the way around. It really kept everything smooth with no puckering and I was able to remove all my pins before sewing on the machine.
I sewed all the sides but left a open area to turn the fabric back out and to use to add the pillow fill.
Then I turned this right sides out and started filling it with fiber fill.
When the pillow had the puffiness I wanted, I hand sewed up the opening.
This was a really simple project and I love the result.
I have a note of caution to share that I learned the hard way. When I finished sewing the three layers together and turned the pillow cover right side out, I was shocked to see that on the vertical sides of the pillow, the rickrack was right next to the seam line with hardly any white border. The horizontal edges looked perfect with a nice white border between the rickrack and the seam.
So...I have learned that if you are adding a flat trim that is not going to be incorporated into the edge seams, make sure to measure the distance between the outside edge of your trim and the seam allowance or stitching line, making doubly sure it is the same all the way around.
I had to turn this back inside out, remark the two affected seam lines to account for the width difference, sew along the new marks and then remove my previous stitching! A lot of work I could have avoided if I had been a bit more carful with my measuring :)
Time to start sewing on this Triceratops project!
You can read the progress posts up to this point here: {part one} {part two} {part three} {part four} {part five} {part six}
Since my last post, I finished the final pressing of this panel and have started to plan how to finish the project. I am intending this to be a pillow, using this piece as the front panel.
For trim, I remembered that I have a nice amount this wide, green rickrack. It is the perfect matching color and I think the chunky size complements the motifs and lettering:
I am going to use it on the face of the panel rather than inserting it into the seam that joins the front and back panel.
First, I pinned the rickrack in place:
Then I hand basted all the way around:
I took special care on the corners, I didn't want a 90 degree angle, but a curve. Happily, the rickrack was very cooperative!
Done! I like the way the rickrack provides a nice frame around the motifs and lettering:
I joined the raw edges of the rickrack by turning under the top edge, and I am not pleased with how bulky it looks. Before I actually sew this in place, I may experiment with turning both raw edges under and butting the folded edges to each other. I think it will reduce the bulk.
I will post about how this turns out, and what I am planning for the back panel.
I have finished all the embroidery stitching on my triceratops pillow project!
Once I finished the stitching, I rinsed out all the tracing lines and blocked the fabric on a towel to let it dry without too much puckering.
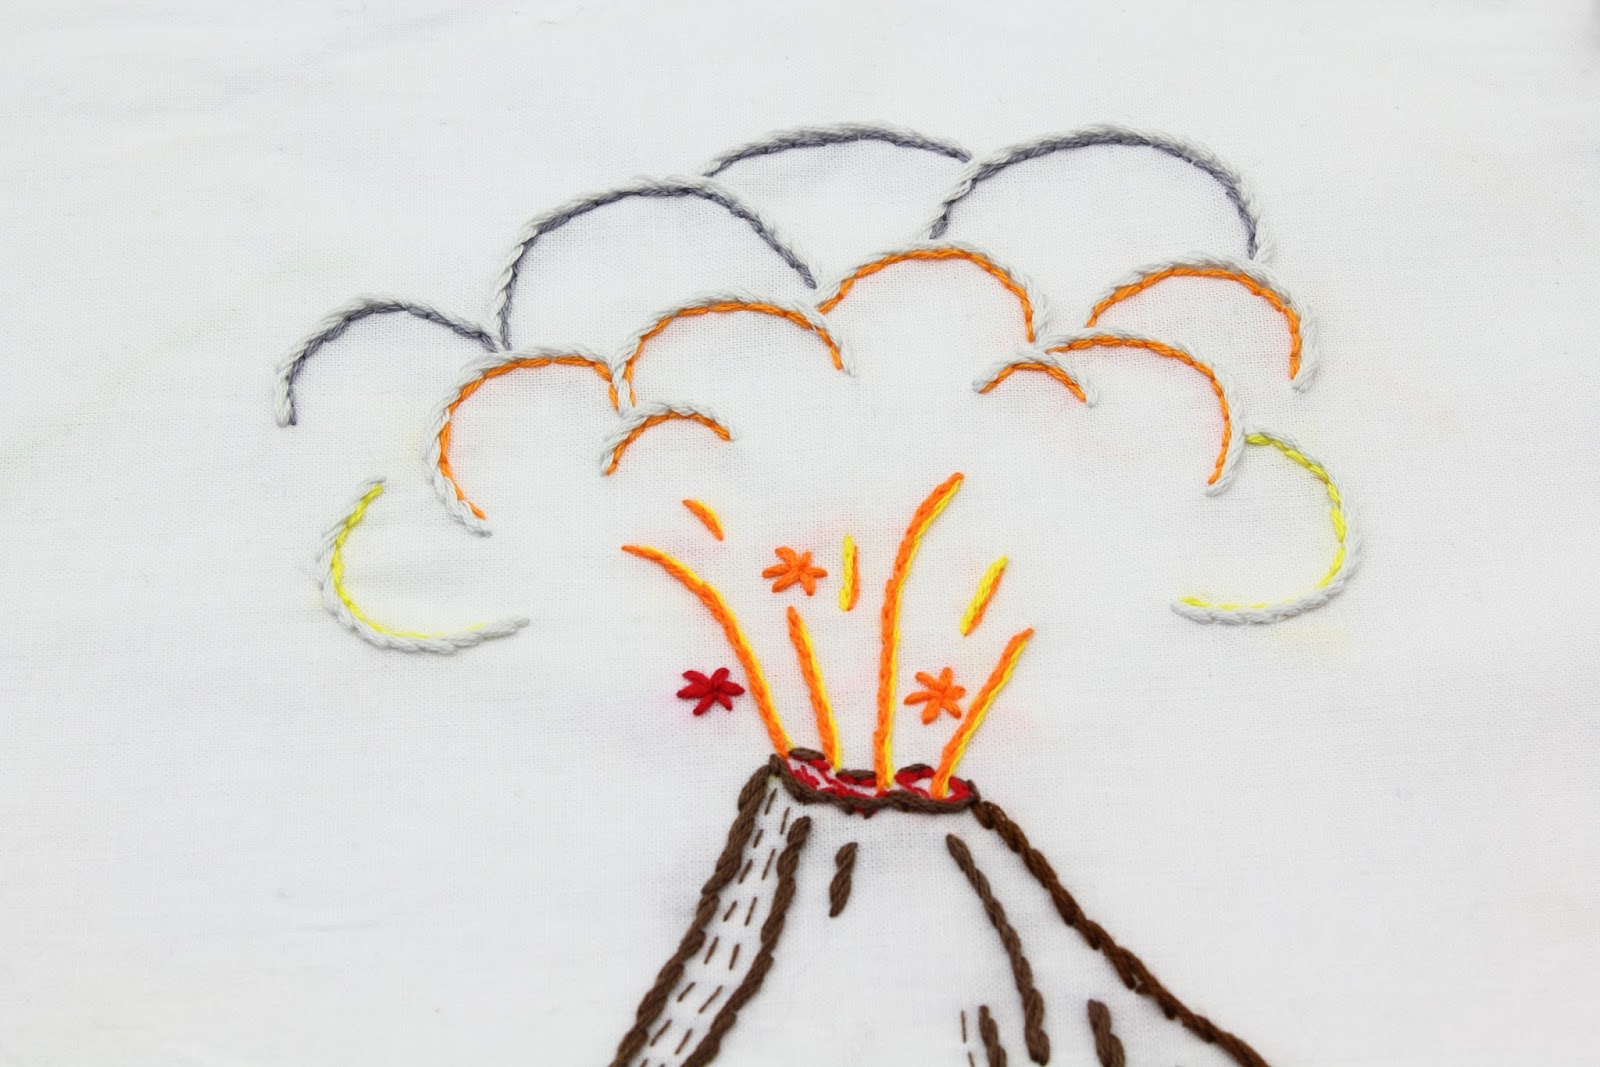
Now for some details...I didn't really have that much more to stitch since my last update, just adding some accent lines and finishing the erupting volcano:
Here is a close up of the ash clouds - on all the gray outside edges I used the stem stitch. For the colored inside edges, I used the back stitch:
After I had blocked the fabric and everything was dry, I squared off the very uneven edges of the fabric:
Now it is ready for a final pressing with the iron.
This is going to be the front panel of a pillow.
For the back of the pillow, I would like to make a patchwork panel. If I have enough fabric, I may make a pieced border around the front panel as well. I already have this bright green and this nice orange fabric with yellow accents. I think I need to add a few more colors. Definitely some browns and maybe a yellow? Any suggestions?
Here are the colors and floss numbers I used:
I am still working on my triceratops project. Since I last posted about this, I have filled in the rest of the tree leaves. I have used a straight stitch with a single strand of floss to fill them in.
I am using the same method for the plants on either side of the text:
And also for the text:
I haven't made any progress on the volcano since my last post. I think I will use the same filling method for the actual mountain.
Here is the triceratops...I have a bit more progress to show:
This project has really been fun. I like these patterns and the way they are working together.
A very young relative of mine likes these patterns too; but not for embroidery!
He loves dinosaurs and he helped me color these...he chose the colors and did some of the coloring :)
Since my last update to this project, I have made a bit of progress on some of the leaves of this big tree. I outlined them with stem stitch. To fill them, I am using lines of running stitch. I really like the effect!
I outlined the volcano and added some red to the interior...not sure yet if I will also add some yellow and orange:
Now for the lettering. I wanted to stitch the word Triceratops in a bright, bold color. I chose this orange - DMC #741:
I am stitching the top of each letter with three strands of floss and using the stem stitch.
For inside the letters, I am using vertical lines of straight stitch with only one strand of floss:
I love the color palette on this project! However, I am missing two floss color numbers. The lightest green from the plants and the brown from the volcano...when I figure out those two numbers, I will add them to my list:
My Triceratops project is moving right along! You can read the other posts in this project here: {part one} {part two}.
I have the Triceratops outlined in stem stitch. Stem stitch is a nice stitch to use for outlining and easy to do around curves. It gives a smooth line that has depth and visual interest.
I used concentric rings of back stitch for his eye.
He has some accent lines around on his frill that I am going to stitch in a deeper color green. I think I will use it add some accent lines around his toes too.
I started chain stitching around this big prehistoric plant. I have one of these plants on either side of the lettering of Triceratops.
For the volcano eruption, I am using a variety of shades of orange, yellow and red. I don't know what color I am going to use for the volcano, maybe a dark charcoal-gray?
The palm tree trunk is all stitched. I used the stem stitch for the outline and chain stitch for the diagonal accent lines. To further set the diagonals off, I am adding a single line of back stitch in black under each diagonal. It really adds dimension!
I will be sure to continue to post my progress on this project!
Since my last post on this project, I have made the following progress. I chose the motifs I wanted to use and finalized the layout. I taped them into place on my cutting mat:
Then I laid the fabric over the whole thing and transferred all the motifs to the fabric:
Then I started stitching. I am still deciding which colors I like for this and which stitches I am going to be using, but so far so good!
Walking around outside last evening, I must have been thinking about my triceratops project - everything I took pictures of looked vaguely Jurassic!
These beautiful colors are some I am considering for the color palette of my new stitching project.
I am going to be embroidering this triceratops. This is from my Dinosaur pattern. To compose a scene to embroider, I have cut out the triceratops figure, the text, and some trees and foliage:
I also cut out two different volcanoes; one that is active - starting to erupt! - and one with the sun or moon and clouds around it. I don't know yet if I will add either of these:
After I select all my motifs to embroider, I will carefully arrange them on my cutting mat and tape them in place. Next, I will lay my fabric over them and trace the motifs onto my fabric:
Then I will be on to one of my favorite parts of a stitching project, selecting the floss colors! I have already stitched a T-Rex from this pattern {you can read about that here} and I want the floss colors I select to match that project.
The yellow, red and oranges will be perfect if I choose to stitch the erupting volcano!






 Posts
Posts

