Thursday, March 29, 2012

zinnia wip - update

Here is a progress report on my zinnia project.


I have completed all the stitching:


And with no disasters!


Since my last zinnia post, I decided to use the back stitch on the sides of the pot rim:


And to add Scroll stitch along the top of the pot rim.  For the pot sides and base, I used the back stitch.  The little motif on the pot is a heart.   I decided to outline the heart using french knots:


I also used french knots for the flower center.  I am so pleased with the result! I have a fun project planned for this stitching which I will post about in a bit.


Speaking of zinnias, these beauties were from my garden and I can't wait until it is time to plant some this year. 


Zinnias are really easy to start from seed and they make very nice cut flowers too!


Monday, March 26, 2012

Whoops :(

An update on my patisserie project.   Everything was going along really well.
 

I finished the upper edge of the awning and the border around the iron sign with the double knot stitch.  I stitched the curtain swags with a couching stitch


I also used the double knot stitch on the top of the curtains.  I was loving the way it looked when I noticed the spacing between all the knots was not quite right on the left-most curtain top.  I just had to go and fix it, which meant taking the stitching out.  Can you spot the resulting disaster?


Here is a closer look.  I used my scissors to take the stitching out and snipped right through the fabric.  You may remember when I did this exact same thing on another project.  That time, the damage wasn't as bad.  I don't know how I am going to fix this!


On a much happier note, we had a beautiful, sunny weekend and I took some pictures of my daffodils:


these miniature daffodils:


And one of my rhubarb plants:


I'll be back soon to post some pictures of my zinnia wip - much happier news on that progress!

Friday, March 23, 2012

100 Stitches - Holbein Stitch

This is the holbein stitch. It is the latest stitch I have learned from 100 Stitches.    Did you notice the fabric I am stitching this on? Since 100 Stitches suggests working the Holbein Stitch over counted threads of fabric, I couldn't use my usual medium weave cotton.

I bought some "Aida" fabric. According to my research, it is a fabric that has a very open weave so that you can count the holes or squares between the warp (lenghtwise) thread and the weft (the thread that is woven under and over the warp thread). The Aida fabric that I bought is 22 count - that means there are 22 holes or squares per inch.  I even marked off a 1" section and counted and there are 22 holes in it :)


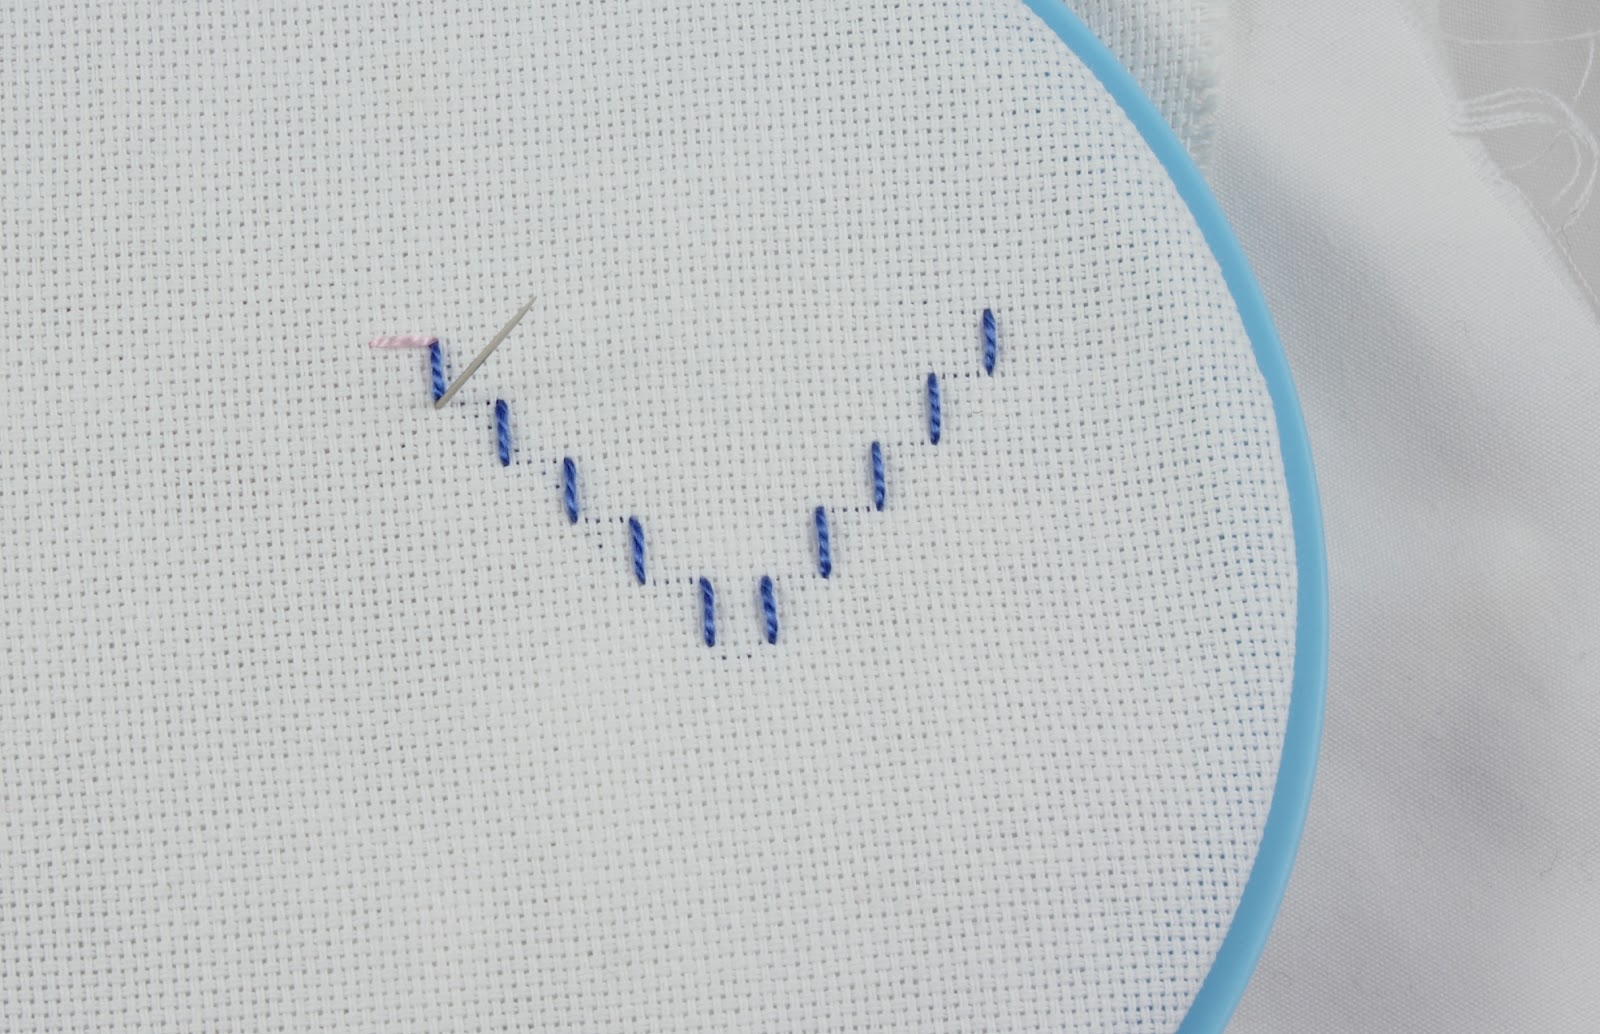
Basically, the Holbein Stitch is just straight stitches that are all the same length and the same distance apart.  The picture in 100 Stitches shows using the stitch to make a large "v" motif, so that is what I did.  The stitch is completed by being stitched in two different directions. To show the two different directions, I am using two colors of pearl cotton floss.  The pink is Variations DMC #4180 and the blue is DMC #798:


For the first part of the stitch, I am using the blue.  This is going to be worked from right to left.  The first step is to come up through the fabric.  I am going to make the right "arm" of the v motif:


Next, count as many holes or squares as you want your stitch length to be.  I came up through the fabric,  counted four holes down (vertically) and went back into the fabric in the fifth hole:


Pull all the way through to form the first stitch:


Now count to the left of your stitch the same number of holes and come back up through the fabric:


Pull all the way through and count down (vertically) the same number of holes and go back into the fabric:


Pull all the way through and now come back up the same number to the left:


Pull all the way through, count down the same number and go back in:


I am only doing five stitches here  for the right arm of my v motif, but you could keep going if you wanted a bigger line of stitching:


Now I am going to start up the other side of the v motif, so count over the same number of holes and come up through the fabric:


Now count up (vertically) the same number and go back into the fabric:


Pull all the way through to make your stitch and now count over to the left the same number of holes:


Continue just like this until you have the same amount of stitches to form left arm of the v motif:
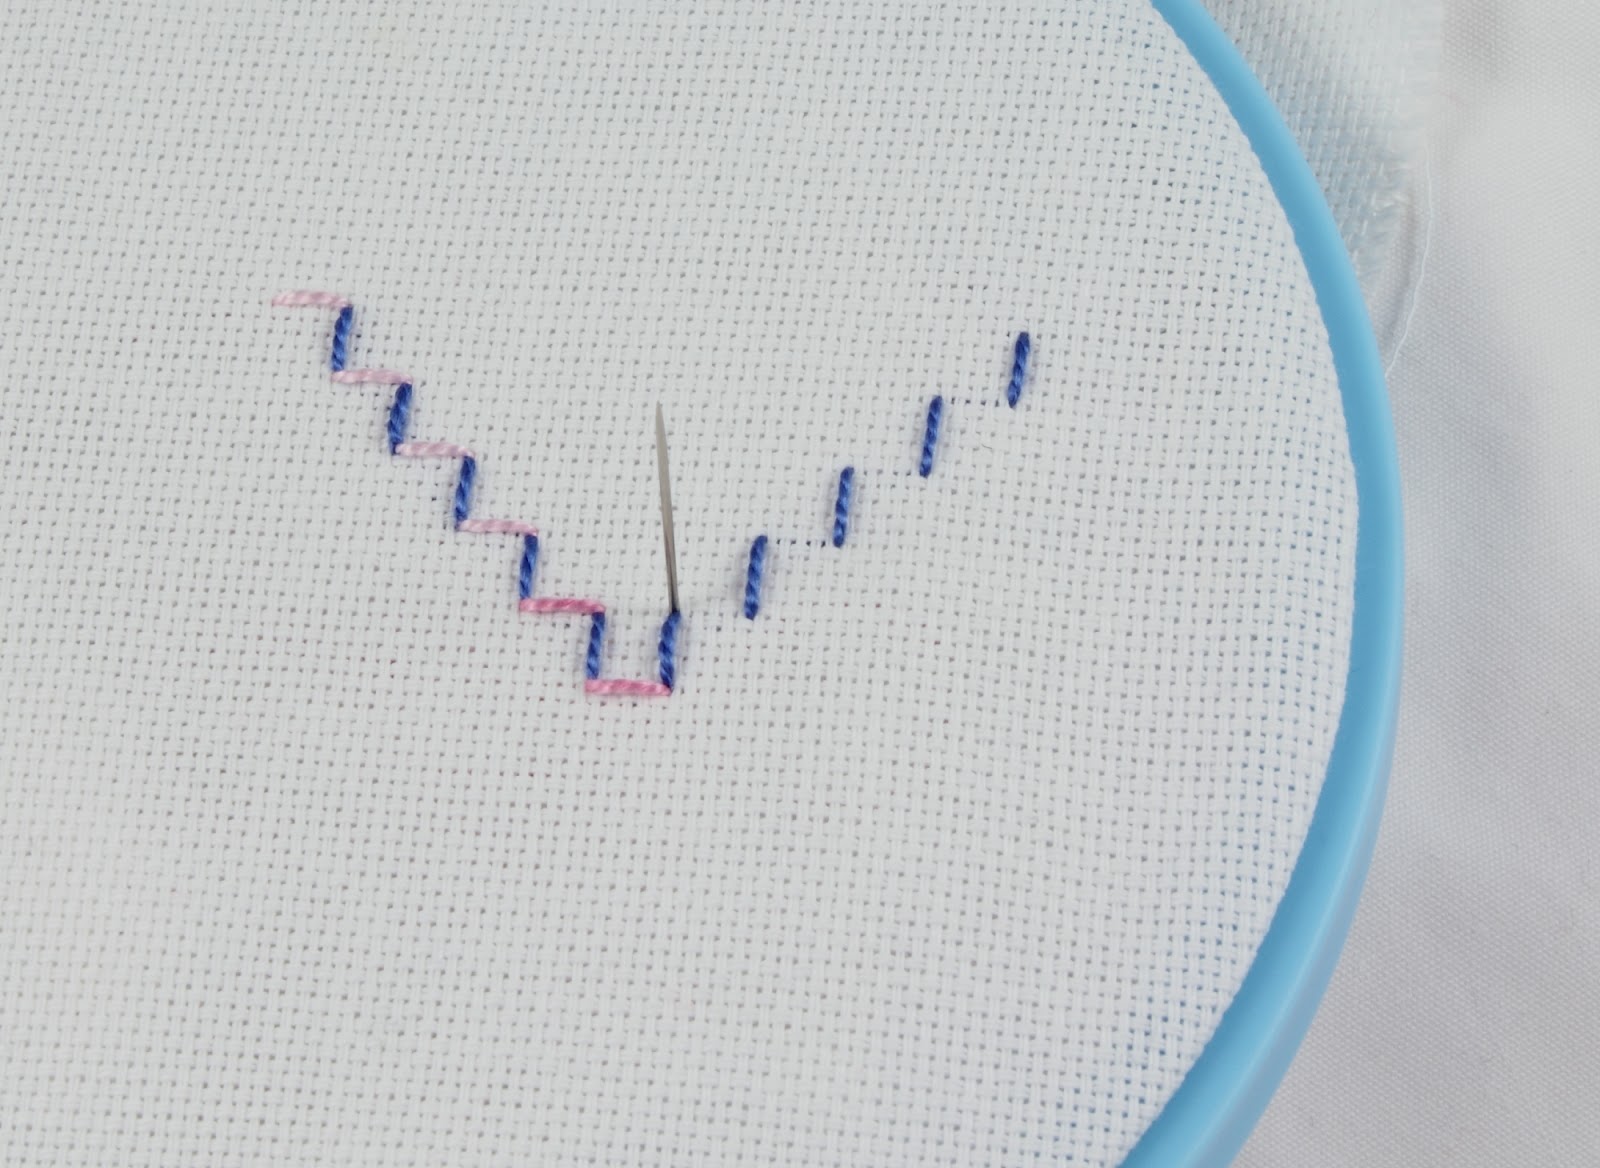

Now I started back in the other direction.  I am using the pink floss.  The first step is to count the same number over to the left and come up through the fabric:


Pull through and count the same number to the right.  If all your counting is correct, you should go back into the fabric right where the blue floss ended: 


Form the first pink stitch. Now it is really easy because you don't have to count, you are just filling in between all the blue stitches:


Working back down the left arm of the v motif:


And back up the right arm:


To finish, once you are at the top of the right arm of the v motif, count over the same number of holes and go back into the fabric:


Done!


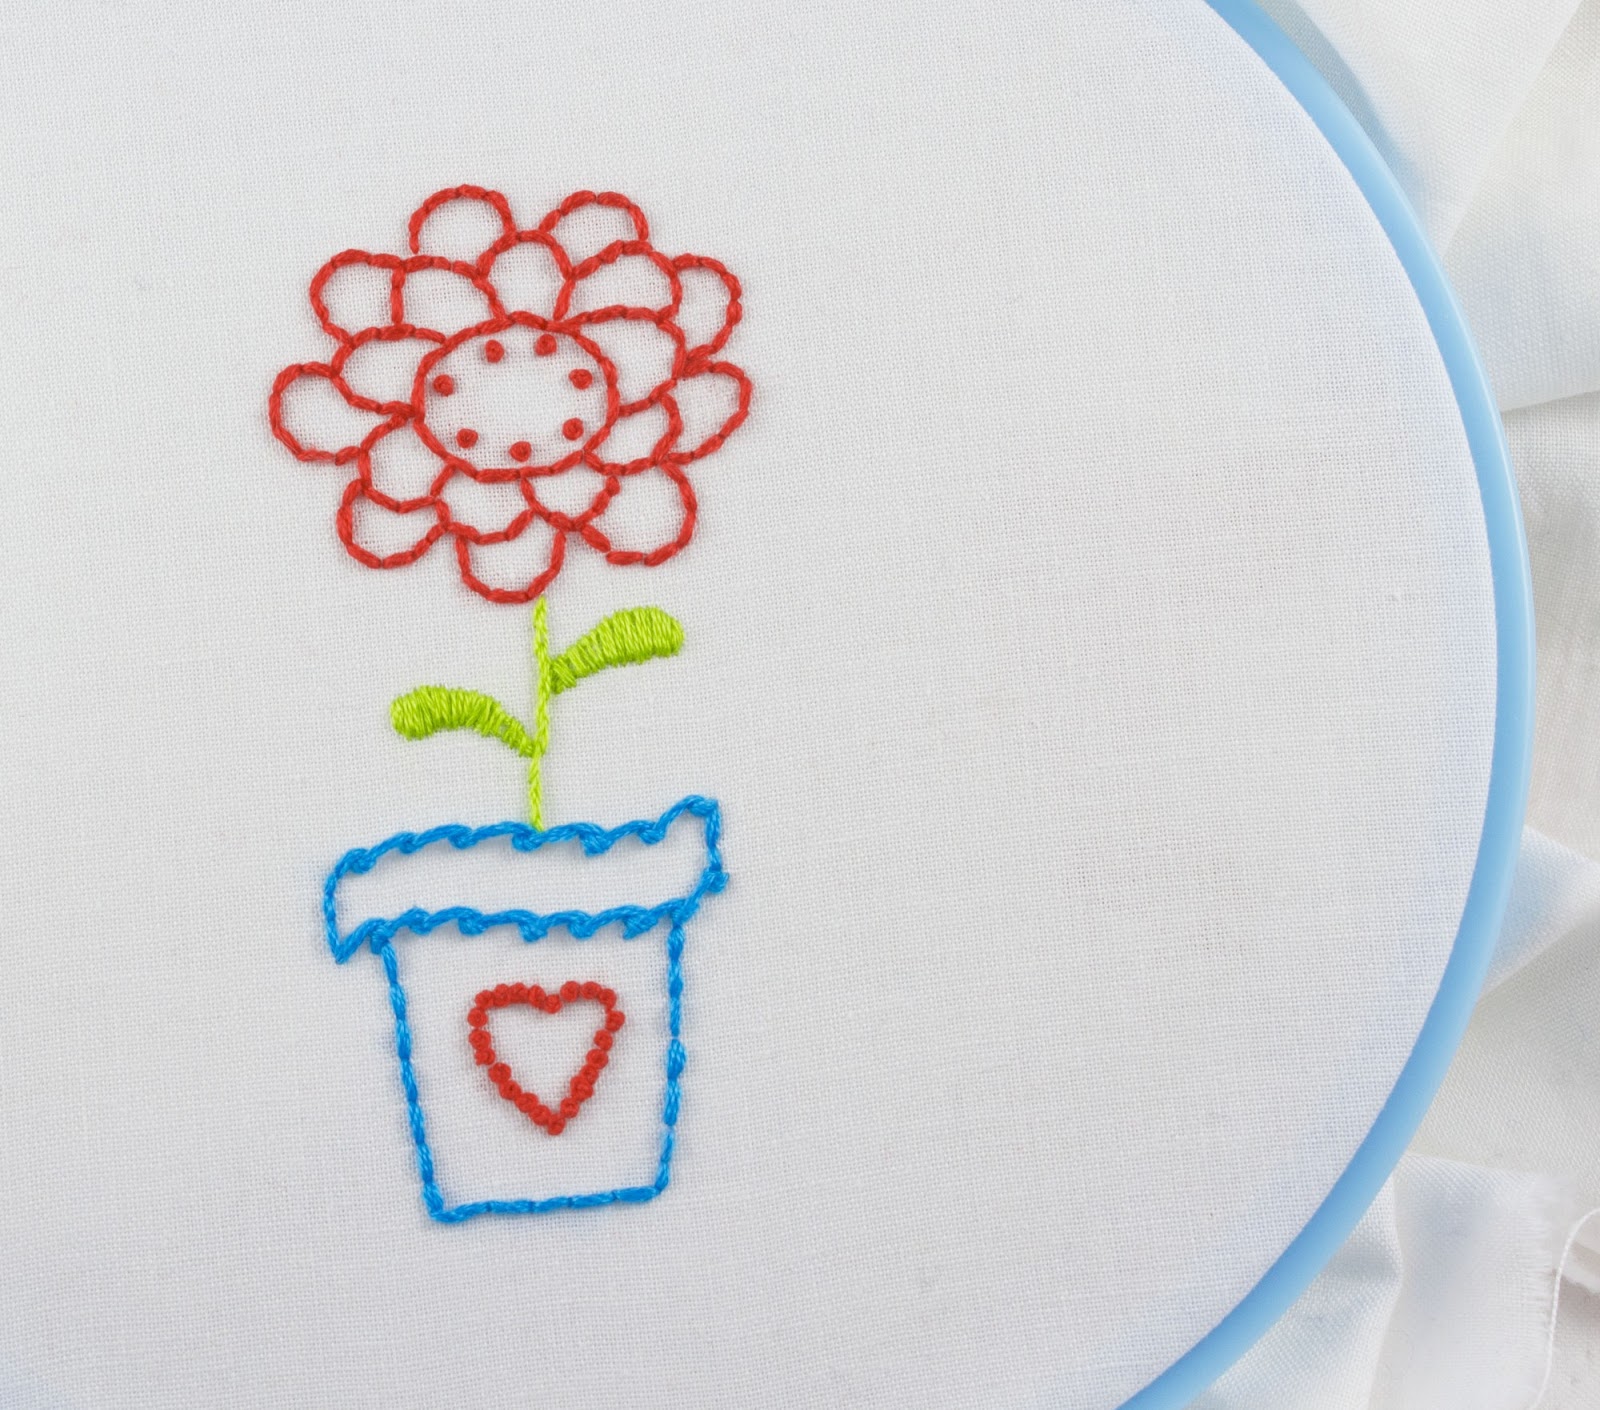
This is a beautiful stitch.  100 Stitches mentions that this stitch may be used as an outline in cross stitch designs.  I think it would make a nicel border stitch.


This is the view from the underside of the stitching.  This stitch could look the same on both sides of the fabric (if I didn't knot my floss at the beginning or secure it at the end!)


The Holbein Stitch is #20 on the list of 100 Stitches.  It is the last stitch I needed to learn to complete the flat stitches category!

Monday, March 19, 2012

A new wip and some fat quarters:

I transferred this zinnia pattern onto fabric and I am going to stitch it up in these bright colors:


So far, I have stitched the flower stem using the portuguese stem stitch and the leaves in satin stitch:


For the flower petals, I first thought I would stitch each petal in long and short stitch and use two colors of floss.  This pink and the red.  But I didn't really like the pink added into my color combination.  So then I decided to outline each petal with back stitch and fill each petal with some sort of filling stitch but I didn't really like the way that was looking:


So I outlined each petal using back stitch.  I still need to add the french knots to the flower center:


Now onto the flower pot.  I am using the scroll stitch to give swirly edges to the pot rim:


I love this blue color:


I think I will do the scroll stitch on the top edge of the rim as well. 


I will post more pictures as I finish this project.  I also wanted to share a picture of some floss that I just bought as well as these two beautiful fabrics.  Each is a fat quarter.  I really like the colors on these.

Tuesday, March 6, 2012

wip update...

I have an update of my very slow progress on my patisserie project:


I have stitched the awning on the patisserie in this bright pink floss.  I used chain stitch for the vertical stripes and back stitch for the edging.  I also added a french knot at the top of each scallop:


I am using black floss for the iron sign holder and I have stitched a yummy looking cake inside a cake dome.  I cannot decide what color I want the building to be.  Right now I am going with a light gray...I love pink and gray together!  What do you think?  I love to hear color ideas! 


Speaking of color, did you notice this sweet notebook? My sister made it for me for Christmas.  Obviously, I love the colors she used...


and I have found the perfect use for it!  I have been keeping a color number record of the floss I use on each embroidery project. Looking back through the pages, I apparently really  love dmc  #604!