

This is the Crossed Blanket Stitch. It is a variation on one of my favorite go-to stitches - the Blanket Stitch. I am sure this variation will also be a favorite. There are so many places to use the blanket stitch, it will be nice to have such a beautiful variation to use as well.
I am adding this stitch to my 100 Stitches plus journey.
I found this stitch to be easier to do if I made myself some guidelines. Much like the Blanket Stitch, this one requires even spacing to look its best!

My first step was to draw the guidelines. I drew two parallel lines. Mine are 1/2" apart - fairly wide and just for my demonstration - it is easier to see my steps. I think 3/8" would be a better, neater looking size for this stitch.

I worked this stitch from left to right. The first step is to come up through the fabric on the bottom line:

Pull all the way through:

Next I went back into the fabric on the top guideline, a bit to the right of where my floss emerged:
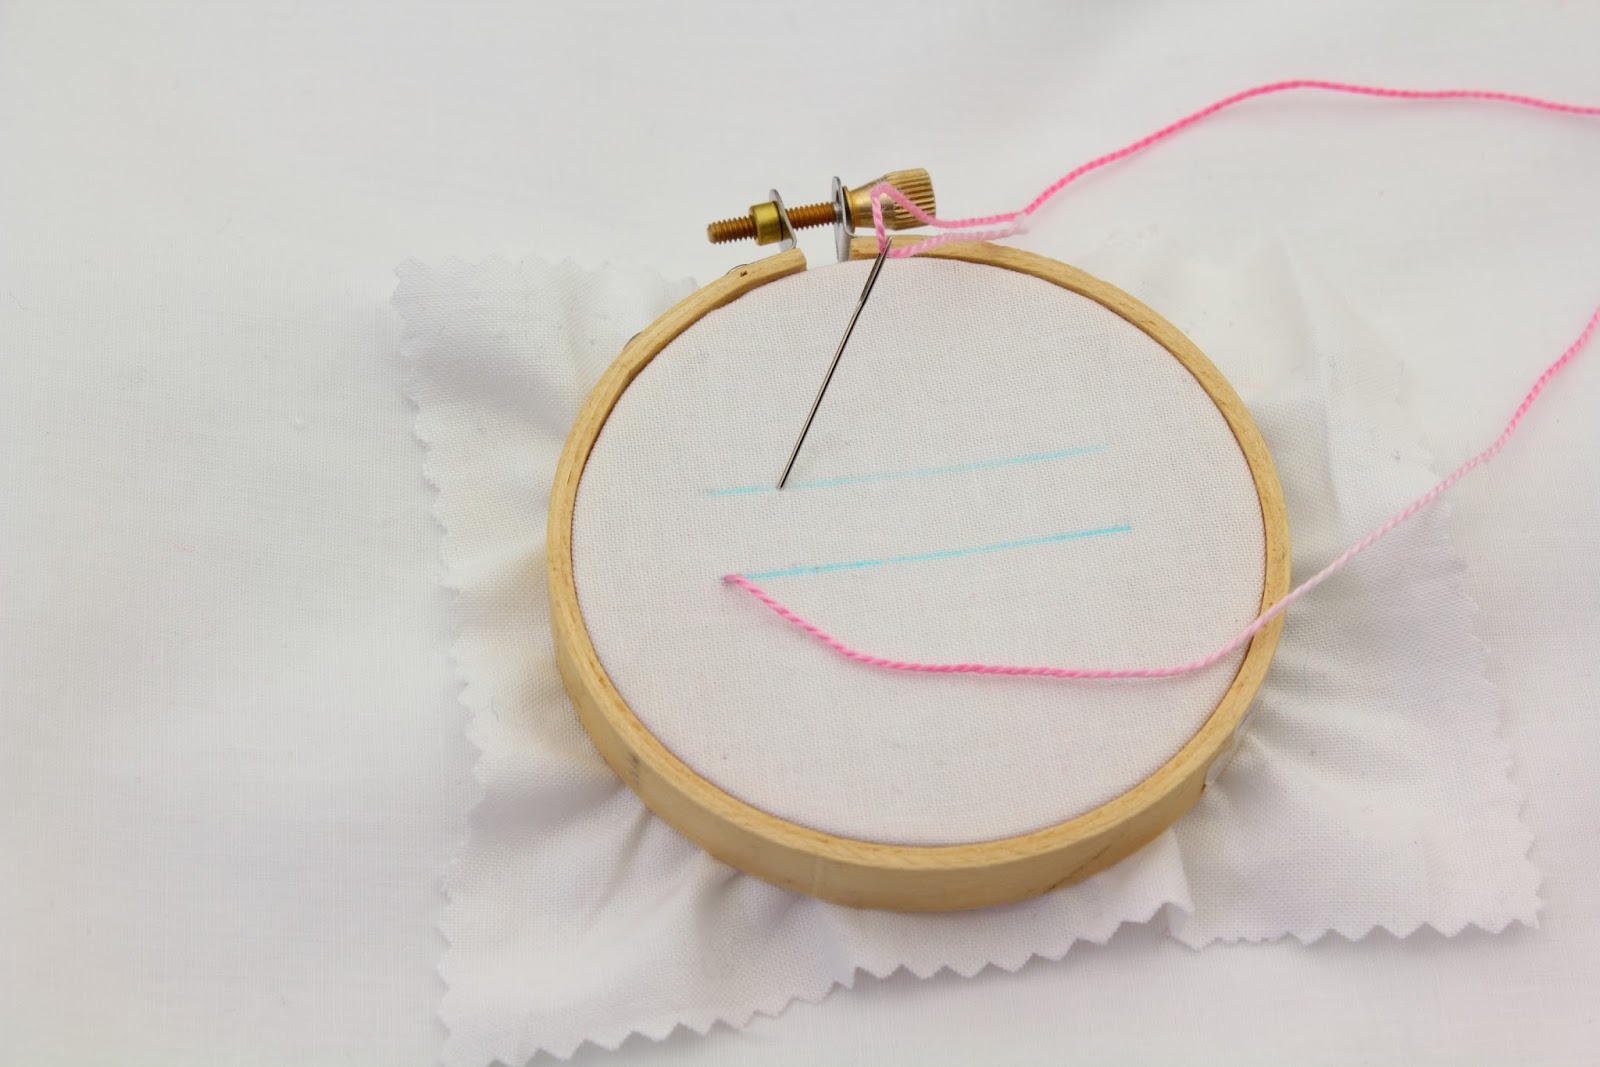
I came back out of the fabric on the bottom guideline and right next to the spot where the floss first emerged. Notice the needle is at a slant and that the tip of the needle is passing over the working floss:

Pull all the way through:

Next I brought the needle around to the top guideline and went back into the fabric a little to the left of where I first went in on the top guideline:

I came out on the bottom guideline - notice the needle is at a slant and the tip of the needle is again going over the working floss:

Pull all the way through:

That is the first stitch - notice it forms an "x". I just continued those same steps


At the end of the bottom guideline, I went back into the fabric to end the line of stitching:

Here is a look at the underside of this stitch:

When I was finished, I did this again with guidelines that were 3/8" apart. I washed out the guidelines and here is the result. I think the stitching looks better being a bit smaller:

Here is a close up view:

This beautiful stitch is from the book Embroidery Stitches by Mary Webb.


 Posts
Posts

