Showing posts with label sewing. Show all posts

Saturday, November 1, 2014

Pink Pincushion


 Since setting up my new sewing table and arranging my sewing area, I decided I needed a new pincushion.

I had this beautiful fabric, some matching trim


and quite a few buttons.  This fabric looks good with just about every color!


 I cut two pieces out of the fabric:


 These measured 5" x 5".  I allowed for a 1/2" seam allowance on all sides.


Once I sewed these together, I filled it with some poly-fil,  added the ribbon trim and buttons.  I hand stitched down through both the button on top


and the button on the bottom.  You can see that I just folded the raw edge of the ribbon underneath the bottom button and sewed right through it to keep everything in place:


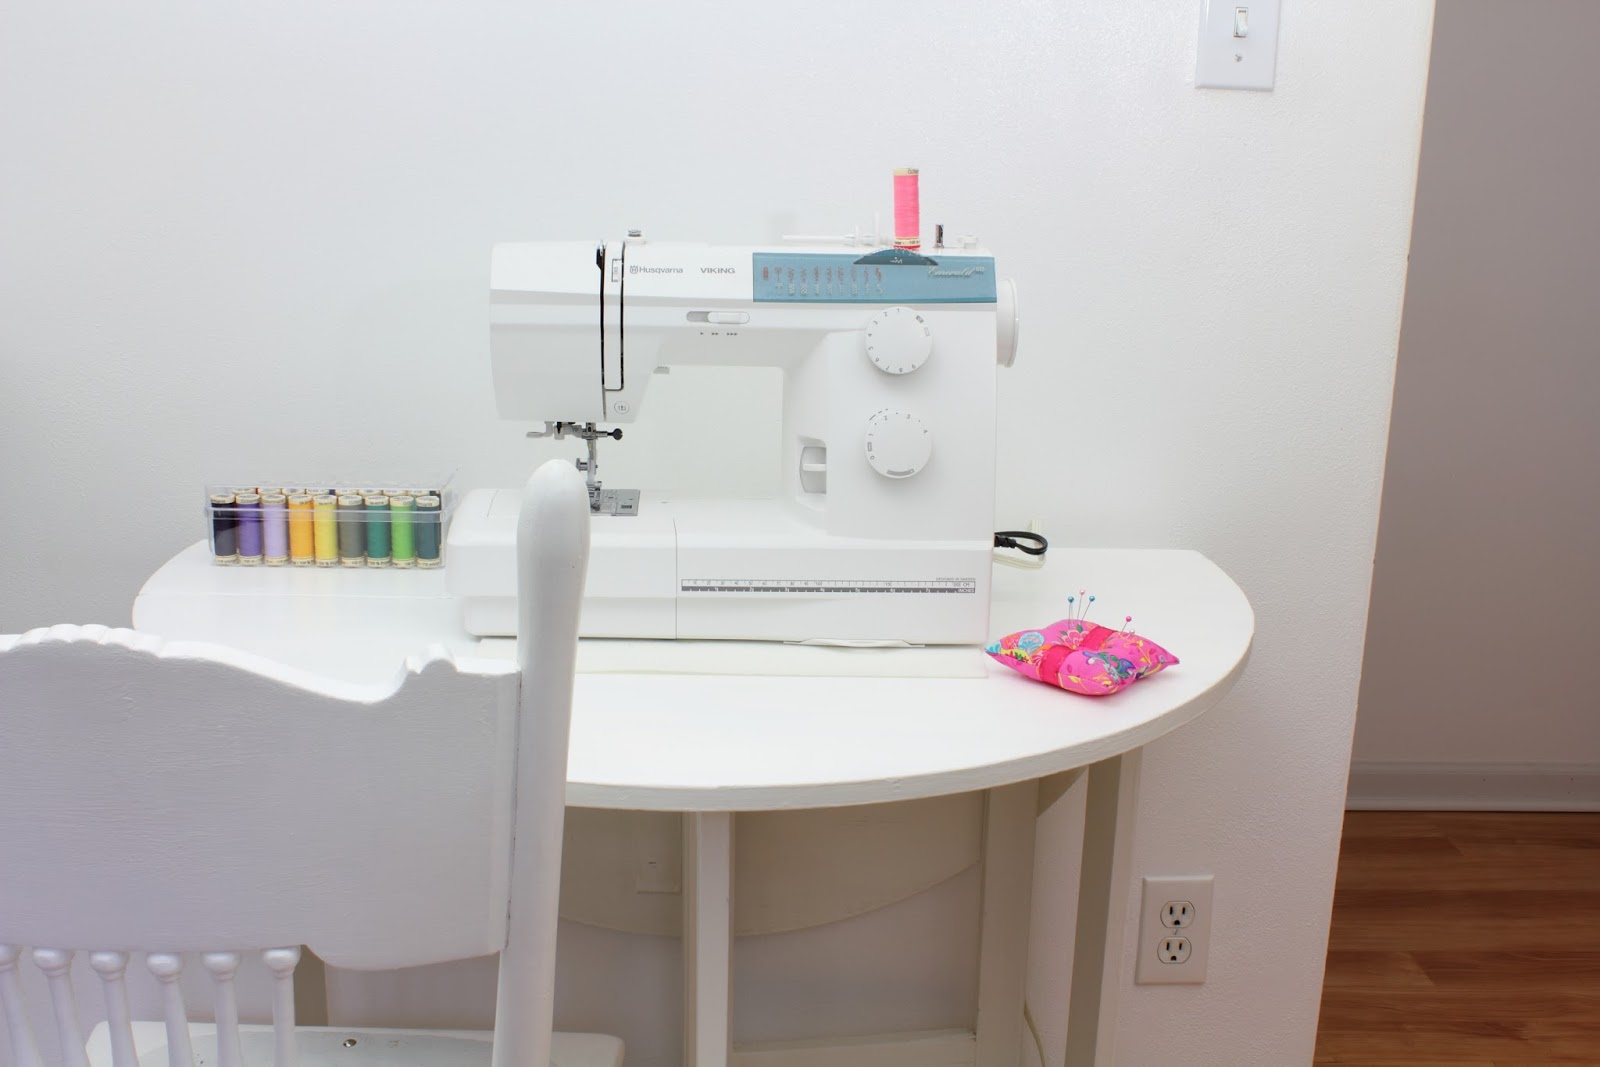
This little pincushion is working out really well and I think it looks great on the sewing table too:


Thursday, October 16, 2014

Sewing Table Update


You may remember way back last spring, I posted about my sewing machine table situation. 


I did not have a dedicated sewing table so I had been doing my sewing at my big work table.  The work table is quite tall and I had been sewing standing up.  Not an ideal situation!  

Happily, my sister gave me a table she had that she wasn't using anymore.  


 It was the perfect size and even had drop down sides so that it could sit flat against a wall.


It just needed a new coat of paint! 


Since that post, I have painted the table and set it up with my sewing machine.

The table fits perfectly in the space!  I have a really nice chair that matches:


Did you notice all that beautiful sewing thread on the new table? 


That was a gift for my recent birthday along with these sewing needles!


You may have also noticed the pin cushion.  I just finished it and I will post about that project soon!

Saturday, October 5, 2013

Laura Wheeler Pattern - Update


One of the projects on my list of works-in-progress is the Laura Wheeler vintage pattern for a dog.  Do you remember this?   I have the doggy put together and the next step is to add his nose.   I have cut the nose pattern piece out of this nice black fabric.  You only need one piece.  I am a little concerned about attaching this because the only instruction on the pattern piece or direction sheet is to "sew up dart" where indicated - nothing about turning the raw edges under or stitching it in place on the dog!  I think I can probably figure it out...


I used this pink fabric for his tongue.   I am remembering to put a sample of each of my fabrics in my sewing journal


and of course to record all the details of the pattern!


I will make sure to post a picture when I finish this - I still need to find eyes and a ribbon.

Thursday, May 9, 2013

Progress Report - Laura Wheeler Dog Pattern

I have some progress to report on the Laura Wheeler dog pattern project.   Since my last post,  I cut out the body pieces and the ear pieces and transferred all the pattern markings:


I sewed them all together.  I have run into quite a few problems!  I have had some trouble with seams lining up. Under each leg I had to rip out my stitching because of puckers and hand stitch them back together.  I also had trouble with the head.  I noticed the top of the head piece and the face piece were not really fitting together correctly, I did something wrong pinning them in and stitching and now it is off center.  I don't know exactly where I went wrong, but I am going to finish him and then try this pattern over again.  What do you think of his color combination?  I love his white underside!


I am using a loose fiberfill for the stuffing.


It packs in really nicely to fill out the legs and the tail. 


Now I am working on the ears.   I used a small piece of fusible interfacing inside each ear.  These pins are marking where his left ear will sit, the pattern instructions say to stitch the ear to the head along the seam line.  I can't wait to see how they look.


Next I need to cut out the nose and the tongue and stitch those on.  Then find some perfect eyes and a bow for his neck.  I will be sure to post more pictures of my progress!

Monday, April 29, 2013

Organization - Sewing Journal

I have really enjoyed using my embroidery journal and being organized. So much so, that I decided to also make a sewing journal! I enjoy sewing and I am beginning to do a lot more of it.


For my sewing journal, I created pages to record all the information needed when planning a sewing project.  There are 11 pages for recording this stuff as well as a cover sheet and two pages of binder spine inserts.  Some of my favorite pages are the pages for recording all the measurements you need for a perfect fit - there is a page for recording female and a page for male pattern measurements:


There are pages for information about the specific pattern you are using for your project, whether you are sewing for yourself or someone else, there is a lot of information you need to know, record and remember:


I also have pages for keeping track of all the patterns you have.  I have several boxes of sewing patterns and I am going to love going through them and recording all the pattern names, numbers and details:


It is also nice to have a record of all the sewing related equipment you have.  The brand name, manufacturer, model and serial number of your sewing machine, serger and iron.  I also record my warranty information and repair record information.  These are nice to have all in one spot!


One of my favorite parts of the sewing journal is the fabric page.  I have a nice sized fabric stash and I am having a lot of fun taking a swatch from each piece of fabric, noting the selvedge information if I still have it and then cutting a swatch of the fabric with my pinking shears:


I take the swatch and attach it to the fabric page.  Then I record all the fabric information as well as where and when I purchased the fabric, how much I have, the width, fiber content and care instructions etc.


Then put it into the binder.  The great thing about the fabric page is that I can print it as many times as I need.  I can include all my fabric swatches and put the page in a sheet protector to protect the swatches.  So organized!


I made the sewing journal available in five colors - blue, green, black, lavender and pink. 


I have added the Sewing Journal to my Etsy shop!


Monday, April 8, 2013

Laura Wheeler Dog Pattern #520

You may remember when I posted about some vintage patterns I received from my grandma.  One of the uncut patterns was for a dog.  I had intended to scan the pattern and use the copy to construct the dog. {You can read about that here.}  After I had all the pattern pieces, I realized I didn't have what I considered suitable fabric so I set the project aside until I could find a fabric I liked.


Well, weeks turned into months, I'm sure you know how that goes!  Recently, I was looking through my fabrics and I found these two fabrics.  One is a small piece of medium/heavy weight white cotton and the other is a big length of blue cotton fabric.  The blue fabric is Essentials by Patty Reed Designs.  It is a nice medium weight fabric, blue background with a swirly hearts pattern in white.  I immediately thought of the dog pattern.  Wouldn't he look good in blue and white?!


I have decided which pieces I will be doing in blue fabric:


and have started cutting!  I will share more pictures as I work my way through this project.

Tuesday, July 31, 2012

Salad Tea Towel - Completed!

I finished my salad tea towel!  And here is my "surprise" hem trim...


Ruffles! A double row of ruffles:


I love the way this trim finished this towel.  The green ruffle reminds me of curly lettuce so it is perfect for this towel's theme :)


I am really happy with the fabric color match to my embroidery floss too:


I have really learned a lot making this ruffle trim.


I followed directions from a basic sewing book.  There were so many options for making and attaching ruffles!  I knew I wanted a double layer ruffle and I wanted to sew the double layers in the center so that both edges of each layer would be free and ruffled.


To make the ruffles, I cut a strip out of each of the fabrics I wanted to use for the ruffles.  Factoring in the seam allowance,  I cut the bottom ruffle 1/2" wider then the top ruffle.  As for the length, both strips are the same length, but to allow ruffling, the instructions said to cut 3 times the finished length!  This is for a fully gathered ruffle.


I finished the edges of both of the strips:


Then I machine stitched two lines of stitches on each strip using a basting stitch:


Then I carefully pulled the basting stitch threads, gathering up all the length on each ruffle.


I pinned everything in place and sewed through all the layers with one line of stitching centered on the top ruffle.


I turned the ruffle strip ends under and hand stitched them in place:


I also decided to embellish the other end of the tea towel.


I used one of the border patterns from the Salad Fixings embroidery pattern packet:


and stitched it up!


I love this tea towel and I really like the ruffles.  I want to make this again and I really want to try out the other ruffle variations.