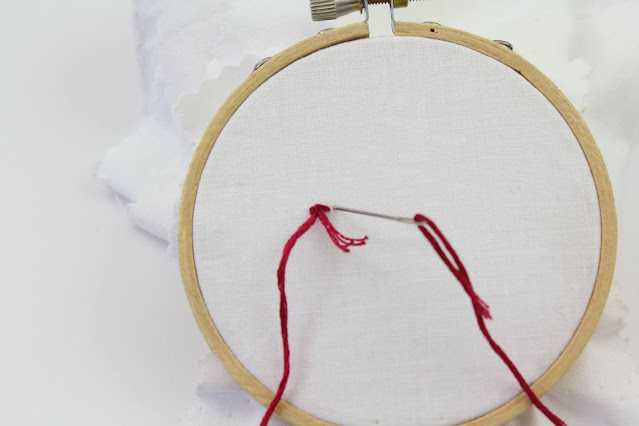
Usually I use perle cotton floss for my demonstration but since the final result of this stitch is fringed, I needed to use six strand floss. This beautiful floss is DMC no. 150.
The stitch is worked from left to right. Step one is to go into the fabric with your needle:
Do not use a knot at the end of the floss, just pull the floss most of the way through the fabric and leave a tail laying on the fabric surface:
Step two is to come back up through the fabric on the right hand side of the tail:
Pull the floss all the way through:
Step three is to bring the needle around and go back into the fabric next to the left side of the tail:
Pull the needle through:
Step four is to come back up through the fabric just to the left of the tail. This loop will close and secure the tail in place:
That is the stitch. Repeat the first four steps to make a line of looped stitches.
Finish by going into the fabric and securing the floss on the underside.
I have always wanted to learn Turkey Work - however, I could not find instructions in any of my embroidery stitch books - I learned this from various YouTube videos!
I wanted to know how to do this stitch because I am developing a nutcracker embroidery pattern - I thought this would be the perfect stitch for his beard. I am working two rows of the stitch. I am really happy with it so far!


