skip to main |
skip to sidebar
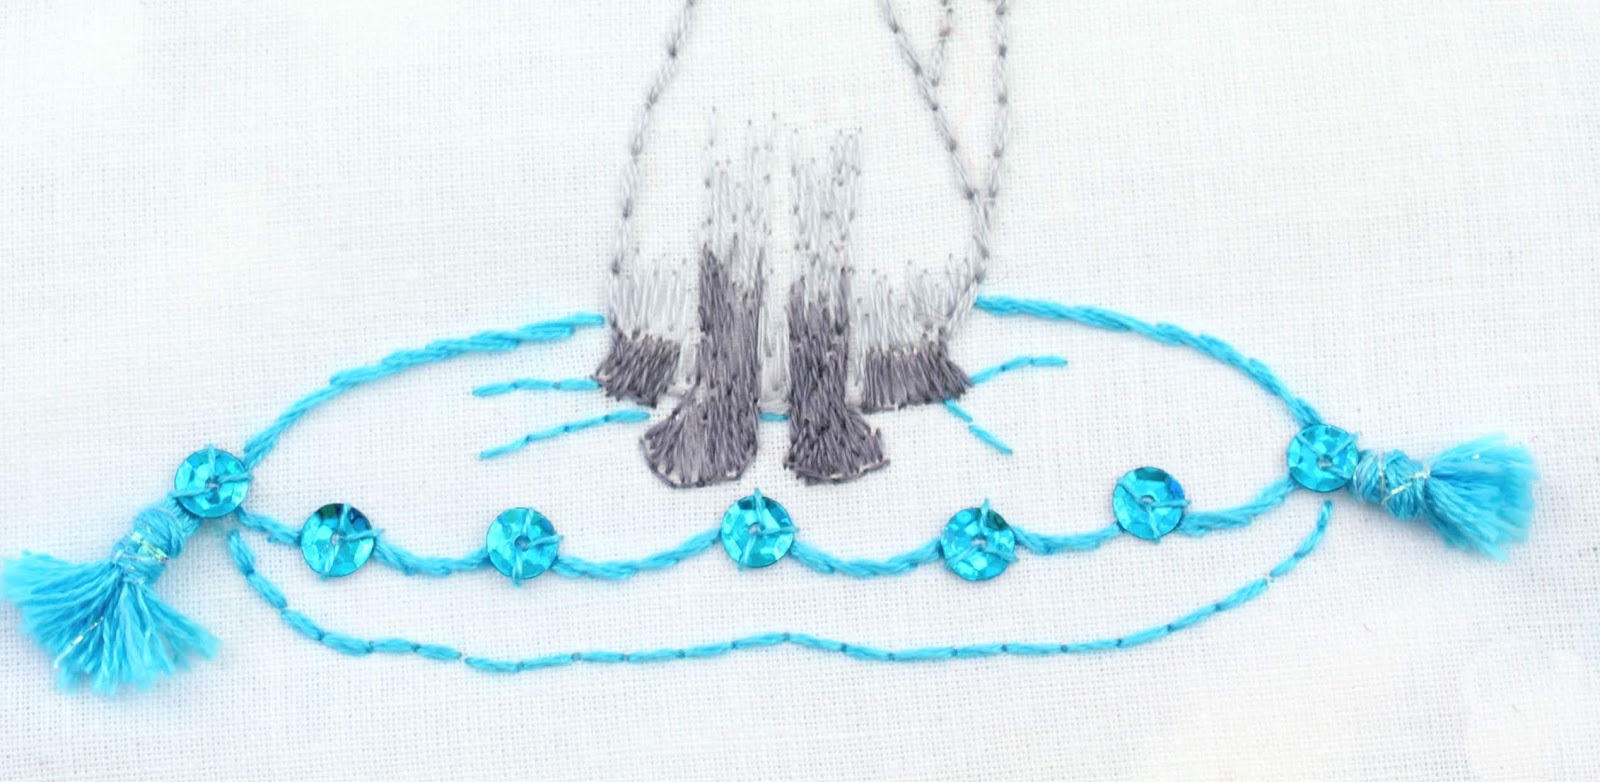
Notice some 3D additions to this embroidery? Sequins and pillow tassels! I am very pleased with the way these look - especially the tassels. As you can see from the pattern, these tassels could be stitched using an outline stitch such as Back Stitch or Stem Stitch. They could have been done with a filling stitch such as Satin Stitch.
I made these tassels using 6 strands of cotton embroidery floss. There are quite a few tutorials on YouTube on making tassels - most suggest using a safety pin to loop your embroidery floss. When the tassel is the size you want, cut the safety pin free. The floss is in a double layer of fringe, which forms the tassel:
Project Details - This fancy kitty is from my Le Chat embroidery pattern set.
The sequins are 5mm cup style.
Here is the stitch information for this project.
For the cat's outline, I used the Back Stitch. I used one strand for his head and three for his body. The ears, fur, mouth and eye and collar outlines are also Back Stitch. The eyes, nose and collar jewels are Satin Stitch. The whiskers and the pillow top outline are Stem Stitch. The pillow bottom and accent lines are Back Stitch.
My color palette floss numbers:
This wheat sheaf border is another of the motifs from my Thanksgiving embroidery pattern set.
This was a very easy embroidery project and did not take me long to stitch.
I used simple stitches on this project. The wheat heads are done with Straight Stitch and Lazy Daisy Stitch. The Straight Stitches are six strands of cotton floss, the Lazy Daisies are done with perle cotton floss. The wheat stalks are done with Stem Stitch - in three strands of cotton floss. The center heart is done with Double Knot Stitch using three strands of cotton floss.
Here are the color numbers for the floss I used:
Now which of these should I start embroidering next? I really like the pumpkin!
I have a new stitch from my 100 Stitches plus list to share. This is the Eyelet Stitch.
This is a filling stitch and is done in small circles. To form perfect circles, I used a template and a water soluble marker:
I also marked the center of each circle:
The Eyelet Stitch is made up of Back Stitches. These are worked alternately around the outside of the circle and to the center point and back.
It is important to pull the floss tight so that a center hole will be created. This center technique is similar to the Star Eyelet Stitch.
If you remember from my last post, I had just finished the embroidery on this Thanksgiving motif.
Now I want to share the stitches I used and color palette information for this project. The circular border is done with Stem Stitch. The text is done with Back Stitch The green leaves are done with Fishbone Stitch. The leaf and berry stems are done with Stem Stitch. The maple and oak leaves are done with Long and Short Stitch. The acorns are done with Back Stitch and the berries and brown accent dots are done with French Knots:
Here are the colors and DMC color numbers that I used:
I also wanted to point out the beautiful ground fabric I used for this project. Instead of my usual quilter's weight cotton I used 100% linen:
I found this linen to be a perfect weave and weight for embroidering. The only drawback to this wonderful fabric is that I cannot see through it to transfer the image I want to stitch!
This wasn't really a problem, I just used some carbon/graphite transfer paper and a stylus to transfer the image to my fabric. If you want to see this transferring process in depth, I posted about it here and here.
You can see how nicely the carbon paper transferred the image - very easy to see the lines!
My next project is this wheat sheaf motif: