Showing posts with label la patisserie embroidery pattern. Show all posts

Tuesday, February 5, 2013

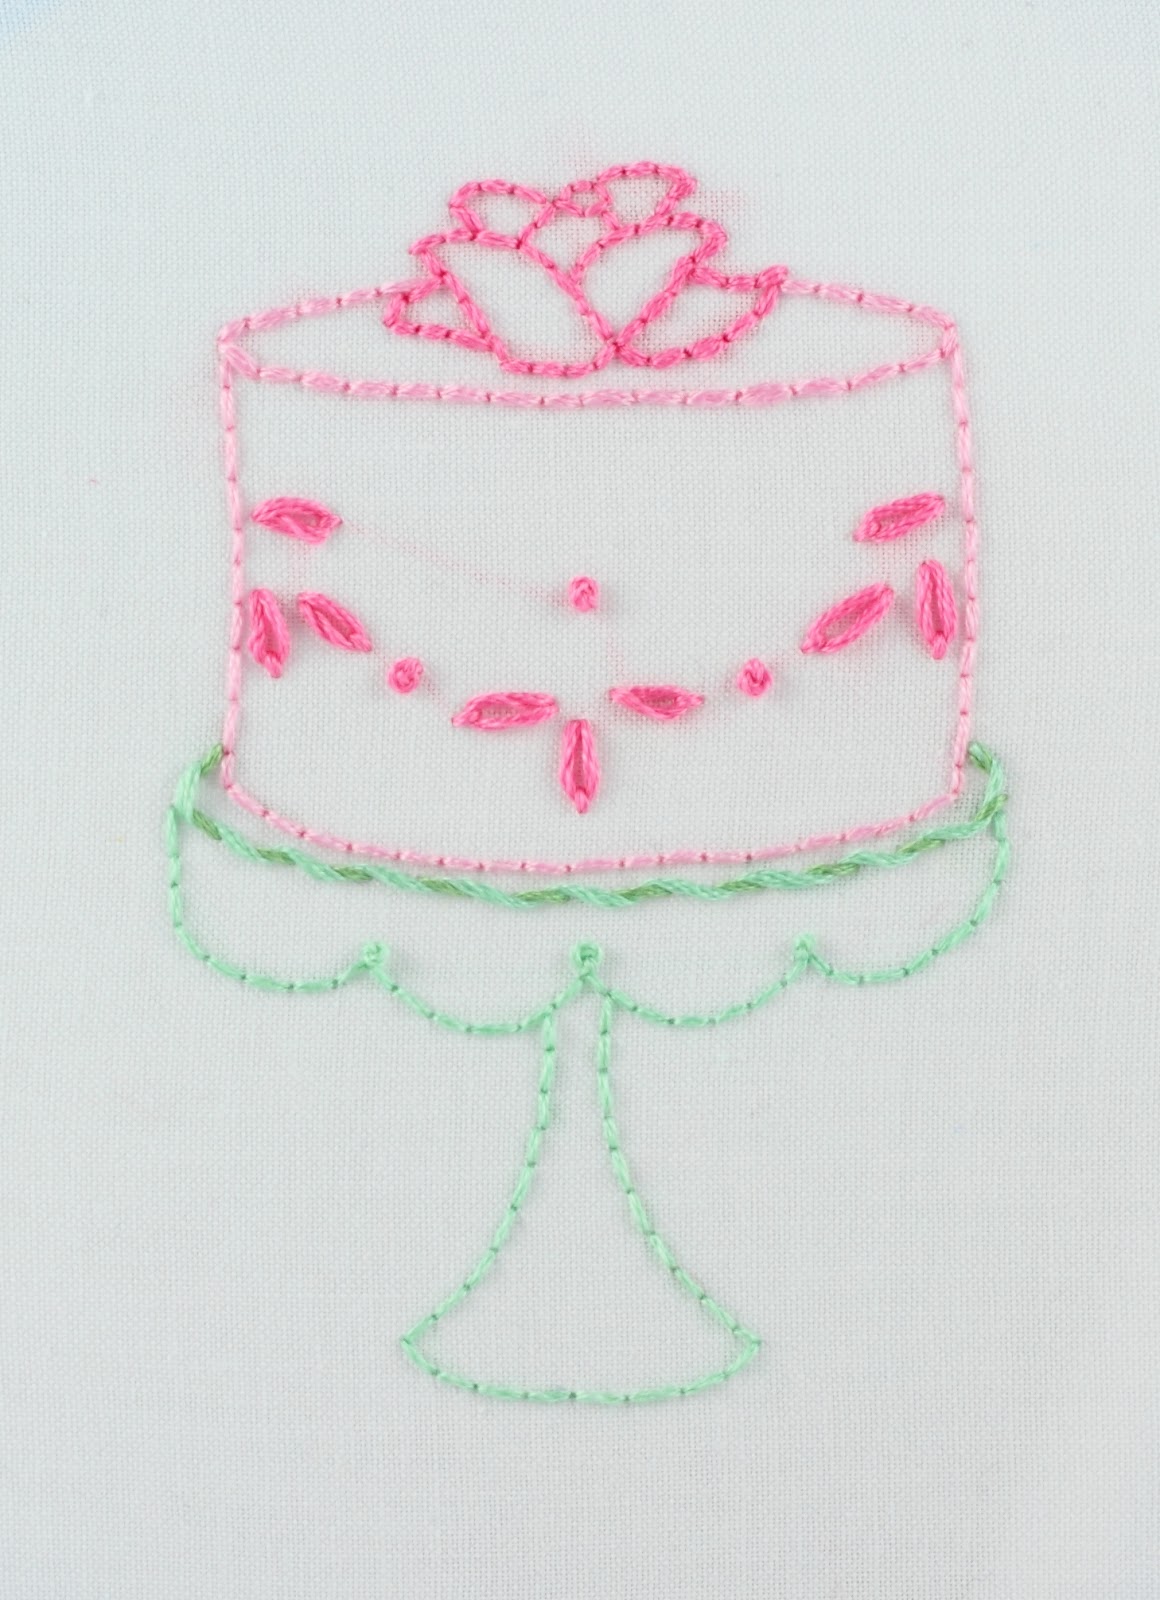
Patisserie cake wip - finished

Remember my La Patisserie cake wip? I finished the next cake.


I am really pleased with the result:


For the cake plate, I used a combination of these two greens.  I used the whipped running stitch to give the cake plate a decorative edge.   


I used two different pinks on this project.  A light pink for the cake and a darker pink for the cake decorations:


You can really see the color difference here:


I used three strands of floss for the cake body, and six strands for the top of the cake:


I stitched all the decorations using six strands of the dark pink, then I switched back to only three strands to do the very top of the rose.


You can see here the smaller line of stitching that using just three strands gives:


All the stitching is done and I washed out the blue transfer lines:


Now I am going to start on another one! 


Here are the floss colors and numbers I used for this project:


Thursday, January 10, 2013

More La Patisserie cakes!

The stitching on my wip is done!  I finished this cake from the La Patisserie pattern.


Now I think I will start on another cake.  There are five different cakes that are sized the same in this pattern packet and I want to stitch the whole series. 


You may remember when I finished this one.  I love the way it turned out, but I may want to stitch it again without any text...


So which cake is up next?


I think this one with the frosting rose on top - or maybe it is a chocolate rose?  I am going to enjoy doing the lazy daisy stitch around the cake!  I have transferred it onto fabric and now my next decision will be colors


Should I stay with the pink and red..or just pink or perhaps another color combination???


For this particular cake, here are the colors I used:


Saturday, January 5, 2013

A new wip

My first stitching project for 2013 is this fancy cake from the La Patisserie pattern.  For the floss colors, I am going to use pink and red. 


I have done the cake stand in red, using the back stitch and the double knot stitch for the top rim of the cake stand. 


For the cake, I am doing the back stitch using three strands of pink cotton floss.  For the frosting decorative border I am using three strands of satin floss.  It is really beautiful!  I am using the couching stitch with this, to hold the strands in place and give the border a draped look.  In between each draped element, there is a round shape and I am using the satin stitch to fill those:


I was having a hard time doing the satin stitch with this satin thread :) the thread kept slipping out of the needle and it was becoming very frustrating.  I remembered that I had some smaller needles that have a smaller eye so I switched to this size 28 chenille needle.  It made all the difference!  I had been stitching with my size 24 chenille needle - you can see the difference between the two - the top is the 24 and the bottom is the 28:


The 28 really holds the satin floss better.  Since the 28 is shorter I find it easier to work the satin stitch.  Here you can see the two needles threaded, I am using only one strand of the satin floss to do the satin stitch.


I will be sure post my pictures as I make more progress on this one!


Friday, April 6, 2012

Patisserie wip update

You might remember the little incident that occured when I was taking out some stitches on this project. I'm happy to say this has all been fixed!


I really want to thank everyone for their helpful comments on that post, I really appreciate it and I received so many good ideas and solutions.  The solution I used was to carefully stitch over the hole with long stitches, first horizontally: 


and then vertically. For the vertical stitches, I wove the thread over and under the horizontal thread.  This was quite a challenge! In fact, I had to use a delicate sewing needle with a tiny eye rather than my usual embroidery needle.  When I first started the repairing stitches, I used white sewing thread.  The whites didn't quite match so it was very obvious and the sewing thread weight-wise was actually too coarse and heavy.  I wasn't sure what sort of thread to use that would match both in color and weight.  After a bit of experimenting,  I ended up using a thread from my embroidery fabric!  I carefully pulled the thread out of the weave along the cut edge of my fabric.  It worked really well and you can barely see the repair.


The next step was to re-stitch the double knot stitch across the top of the curtain:


Now the repair just fades into the background :)


another view:


I finished the patisserie sign, if you remember on my last wip post, I had stitched the "e" in pink.  I didn't like the way it looked so  I decided to carefully take the pink stitches out and stitch all the letters in black.


I have completed all the stitching around the building.  To make the foundation line of the shop stand out, I used two lines of stitching.  One in  a light gray and one in a darker gray.  I also stitched all the delicious sweets in the patisserie. 


I used the double knot stitch on the second tier of this three-tiered cake and I am really pleased with the frosting look that a border of french knots gives:


I love the way this turned out!

Monday, March 26, 2012

Whoops :(

An update on my patisserie project.   Everything was going along really well.
 

I finished the upper edge of the awning and the border around the iron sign with the double knot stitch.  I stitched the curtain swags with a couching stitch. 


I also used the double knot stitch on the top of the curtains.  I was loving the way it looked when I noticed the spacing between all the knots was not quite right on the left-most curtain top.  I just had to go and fix it, which meant taking the stitching out.  Can you spot the resulting disaster?


Here is a closer look.  I used my scissors to take the stitching out and snipped right through the fabric.  You may remember when I did this exact same thing on another project.  That time, the damage wasn't as bad.  I don't know how I am going to fix this!


On a much happier note, we had a beautiful, sunny weekend and I took some pictures of my daffodils:


these miniature daffodils:


And one of my rhubarb plants:


I'll be back soon to post some pictures of my zinnia wip - much happier news on that progress!

Tuesday, March 6, 2012

wip update...

I have an update of my very slow progress on my patisserie project:


I have stitched the awning on the patisserie in this bright pink floss.  I used chain stitch for the vertical stripes and back stitch for the edging.  I also added a french knot at the top of each scallop:


I am using black floss for the iron sign holder and I have stitched a yummy looking cake inside a cake dome.  I cannot decide what color I want the building to be.  Right now I am going with a light gray...I love pink and gray together!  What do you think?  I love to hear color ideas! 


Speaking of color, did you notice this sweet notebook? My sister made it for me for Christmas.  Obviously, I love the colors she used...


and I have found the perfect use for it!  I have been keeping a color number record of the floss I use on each embroidery project. Looking back through the pages, I apparently really  love dmc  #604!


Saturday, February 18, 2012

Transferring a new project

I am transferring a pattern from La Patisserie to this fabric. I am really looking forward to stitching this little patisserie! The fabric I am transferring to is a nice 100% cotton.


When I can easily see the pattern through the fabric, I like to tape the pattern to a firm, smooth surface like my cutting mat.  This is one of those "self-healing" mats that you can cut right on.  I love it!


Then I put my fabric over the pattern and tape the fabric in place too.  Now I can use my water soluble marking pen:


I usually keep a copy of the pattern I am transferring so I can refer to it while tracing:


Now I have the pattern ready to go!  This is my big 10" embroidery hoop.  I really like the way it holds the fabric so snug:


My next step is going to be color choices!  So far, I love these:


I will keep posting progress reports on this one!