Showing posts with label dmc 4180. Show all posts

Tuesday, November 5, 2013

100 Stitches - Wave Stitch Filling


I have another100 Stitches post!  This beauty is the Wave Stitch Filling.  This is a drawn fabric embroidery stitch. Notice the open effect this has on the fabric where the stitches meet: 


I am not sure that I did this stitch correctly but my final result certainly looks like the diagram from 100 Stitches so I think it will work.  I found the instructions so confusing!  I will explain why a little further on in this post.  I am using perle cotton floss, this is DMC #4180 Color Variations


This stitch is worked from right to left so my first step is to come up through the fabric on the right hand side of my stitching area:


Count four threads above where the needle emerged and two threads to the right and go back into the fabric:


Pull the thread all the way through:


Count four threads to the left and come back out of the fabric:


Pull the floss through and then go back into the fabric in the same hole where the needle very first emerged.  Make sure to pull the floss firmly, this draws the hole bigger to start giving the open effect:


Pull the floss through and then count over to the left four threads and come back up through the fabric. 


Pull the floss through.  Count four threads up and two threads to the right and you should be going back into the fabric in the same hole as the end of the last stitch: 


Just continue in this fashion to the end of the stitching area.


Now this is where I found the directions confusing.  At this point, you are supposed to turn the fabric around to start the second row.  At first, I thought you were supposed to come out of the fabric just like you started the first line of stitching.  But if you did this, you are coming back out the hole you just went into and obviously, the stitch just falls out.  So don't do this:   


What I think you are supposed to do is to come back out of the fabric four threads up and two threads to the right of where you just went into the fabric: 


pull the floss all the way through and then go into the hole:


Then just stitch the row like you did the first row of stitches going through the same holes to make the open effect.


At the end of that row, turn the fabric around again and this time, have your needle emerge four rows down and two rows to the left to start the next row of stitching.  Does this seem right?    I figured that as long as I was making these diamond shapes and pulling my floss through the same holes to keep making the open effect, I was doing it correctly. 
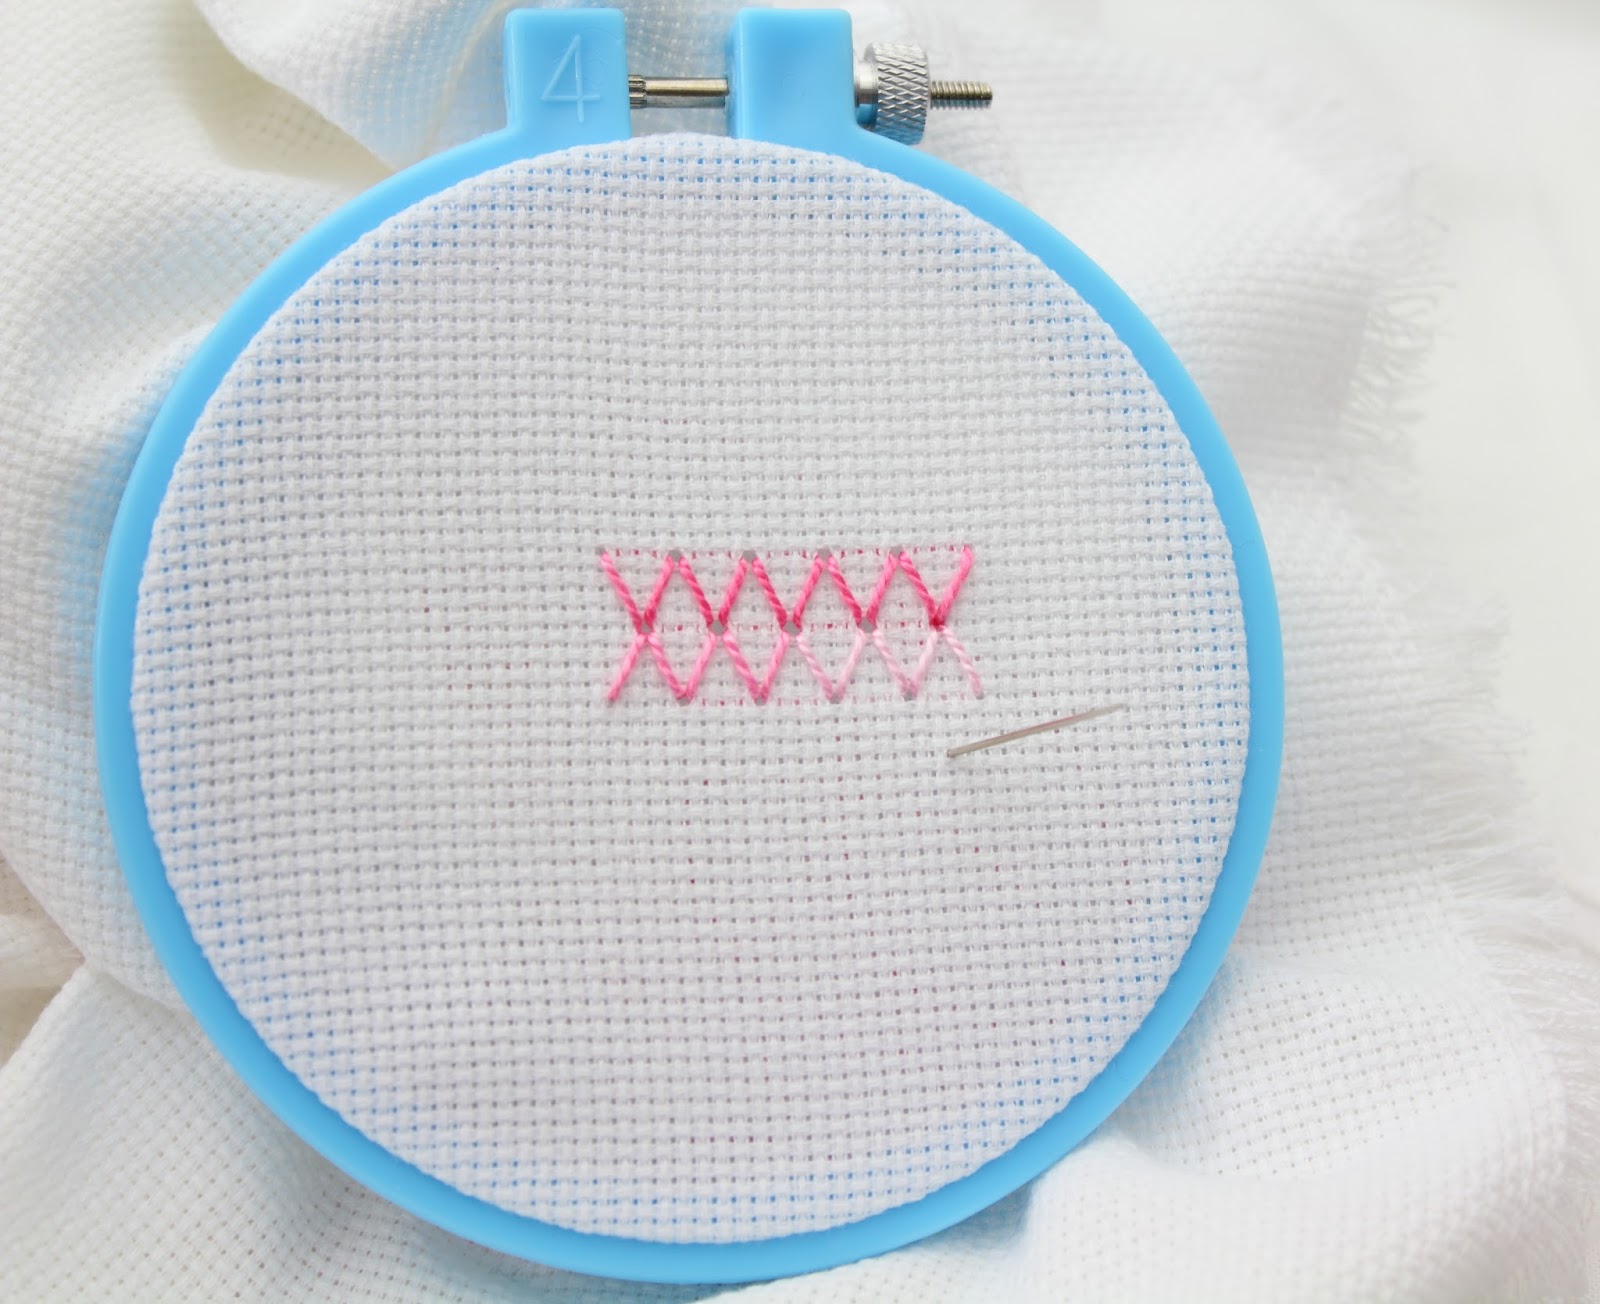

I stitched along the third row:


and when I was done, it looked just like the diagram in 100 Stitches:


Here is a closer view. 


And a shot of the underside.  See the huge knot I made on the left hand, second row of stitching?  I made the knot that big because on my first attempt at this stitch, my knot actually pulled through the fabric when I was trying to draw my floss firmly enough to achieve the open effect!


This certainly is a beautiful stitch. I would appreciate any comments or advice if you know anything about doing this stitch!


This is #91 on the 100 Stitches list.  It is from the Drawn Fabric Embroidery Section of 100 Stitches.

Saturday, July 13, 2013

100 Stitches - Diagonal Raised Band Stitch


I have learned another stitch on my list from 100 Stitches.  This is the Diagonal Raised Band Stitch.


This stitch is from the Drawn Fabric Embroidery Stitches category.  Stitches from that category require the ability to count the threads in the fabric so I used a medium weave linen fabric.  As you can see, it is so easy to count the individual threads!  For my floss, I used DMC Color Variations perle cotton.  This is #4180: 


The stitch is a series of straight stitches worked from right to left and back again.  It results in a diagonal line of stitching.  The first step is to come up through the fabric at the bottom right side of the stitching line:


Count up four threads above and two threads to the left of where the needle emerged and go back into the fabric:

Pull all the way through to make the first straight stitch.  Next, come back up through the fabric two threads down and two threads to the left of where the needle went back into the fabric:


Pull all the way through.  Now count up four threads above where the needle just emerged, go back into the fabric and pull all the way through to make the next straight stitch:


Now count down two threads and two threads to the left and bring the needle up through the fabric to start the next straight stitch.


Just continue to do those steps until you have a diagonal line of straight stitches.  To start back down the line, come up through the fabric just like you were making the next straight stitch:


But now go back into the fabric four threads to the right - the needle goes right into the same hole made by the top of the straight stitch four threads to the right:


Pull all the way through to make a straight stitch.  Now bring the needle up through the fabric two threads down and to the left of where your needle just went into the fabric.  Notice the needle is emerging from the hole at the base of the straight stitch you just crossed:


Pull all the way through and count four threads to the right and go back into the fabric:


Just continue those steps all the way to the last straight stitch.  100 Stitches did not have any instructions for ending this line of stitching so I just went back into the fabric and secured the thread under the fabric.


Here is the finished stitch:


Here is a picture of the underside of the stitch.  You can see how I secured the floss:


Remember to pull the floss tightly to create the drawn fabric look of this stitch.  I think this is a really pretty stitch!


This stitch is #92 on the 100 Stitches list.

Wednesday, November 28, 2012

100 Stitches - Seeding Stitch

The seeding stitch is the latest stitch on my 100 Stitches  journey.  This stitch should really be called the easiest stitch ever! 


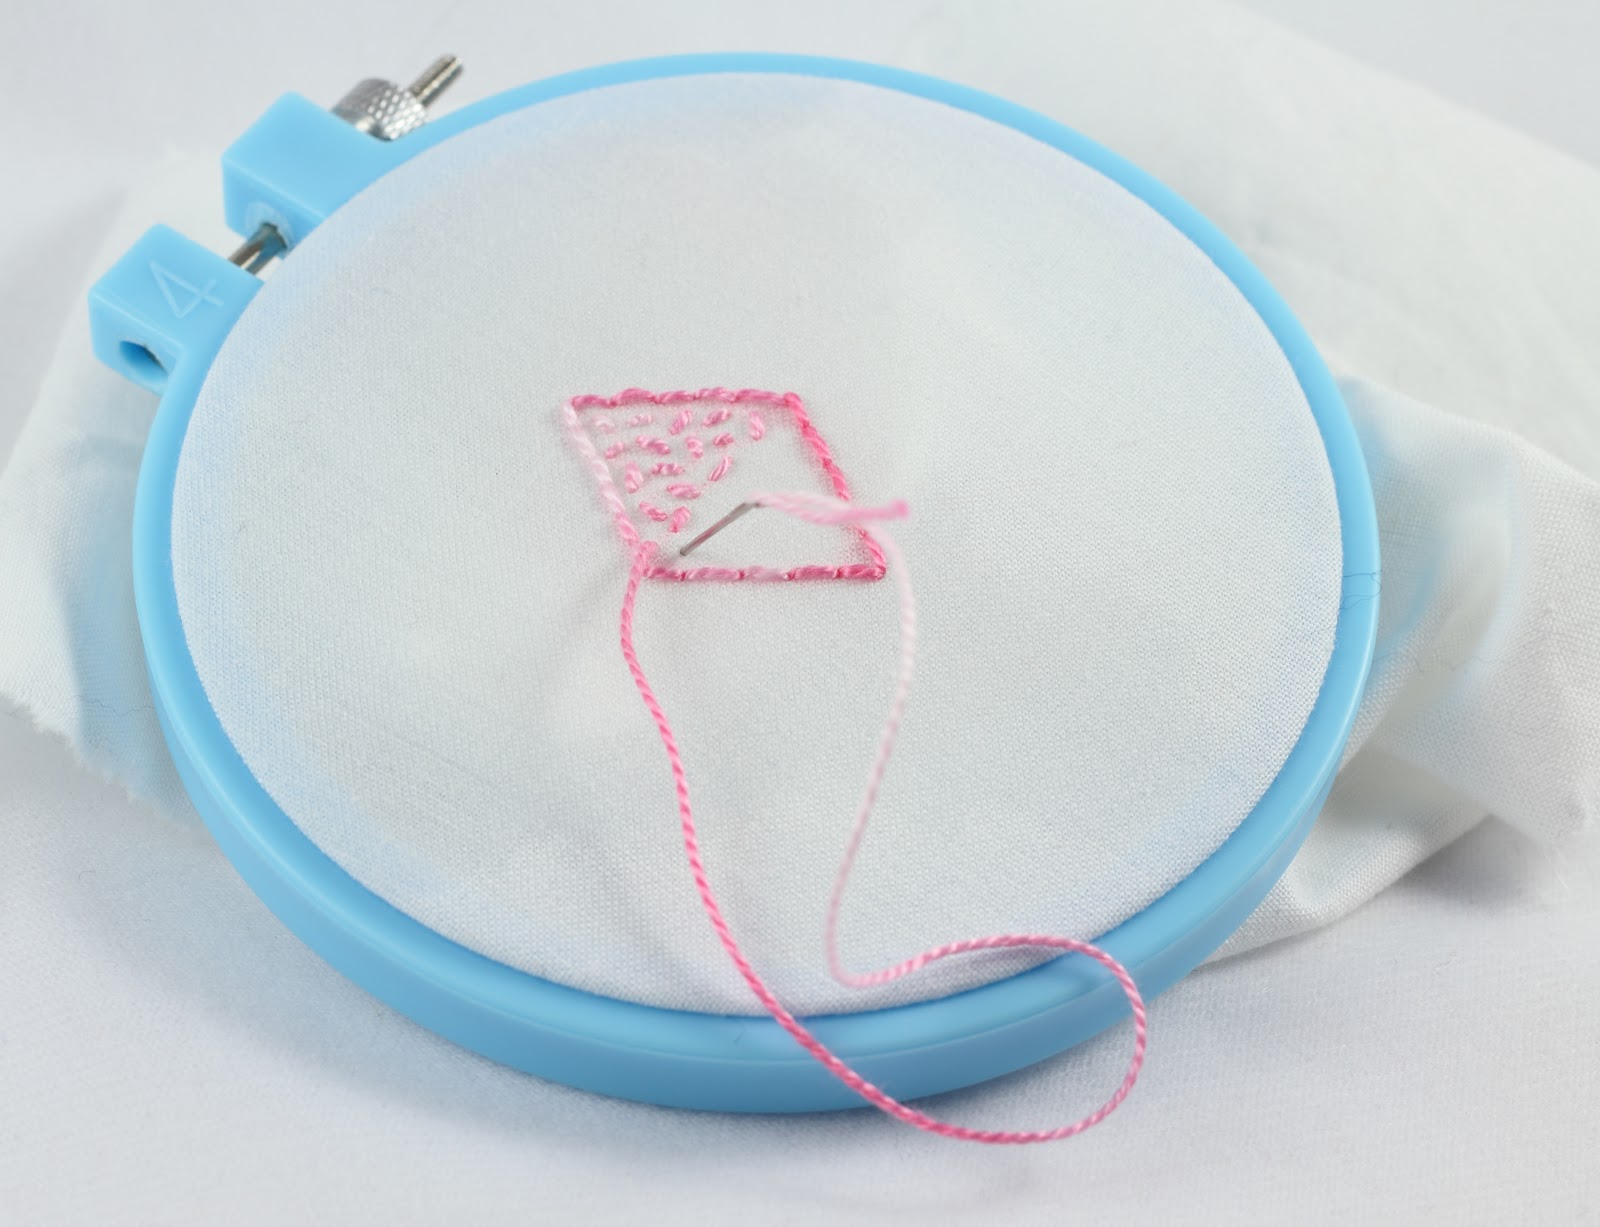
This stitch is a filling stitch and is used to fill in blank spaces inside shapes.  For my shape, I used a template:


I copied the diamond shape onto my fabric:


I first outlined the shape using the back stitch. Now to the seeding stitch. The reason the seeding stitch is so easy is that it is just small straight stitches stitched in all different directions. The only concern is to make all the straight stitches the same length. The first step I took was to come up through the fabric. I started at the top but you could start anywhere inside the shape:


Then I just started taking small straight stitches:


in a random pattern:


 stitching, stitching, stitching until…


 the whole diamond shape was filled:


So easy, and really beautiful when finished:


The underside of the stitching looks almost like the top side:


This is definitely a stitch I will use!


The seeding stitch is #72 and is in the Couching and Filling category of 100 Stitches.
Friday, January 13, 2012

100 stitches - knot stitch edging

This beautiful stitching is knot stitch edging. According to 100 Stitches, this is also know as Antwerp Stitch Edging.  This is the first stitch I have done on my 100 Stitches journey that is done of the edge of fabric and I didn't use an embroidery hoop!


I did however, very much enjoy making a hem using my wonderful sewing machine!  I am really pleased with the nice way it stitches:


To demonstrate my stitch, I am using this lovely pink floss, DMC color variations pearl cotton #4180:


For the first step of this stitch, the 100 Stitches instructions say to bring the thread in from the back of the fabric.  I wanted to hide the knot so I started by slipping the needle into the hem:


and out through the bottom of the hem pulling all the way through. Now the the knot is hidden inside the hem:


The next step is to set up your needle and floss like you are doing a single blanket stitch.  Just bring your needle down through the top or right side of the fabric out the back.  Where you put your needle in determines how long vertically your stitch will be.  I put mine right on my hem stitching line so that I could use that line as a guide line. Notice the postition of the needle and the working thread - the needle is going to pass over the working thread:


as you pull, it begins to form a blanket stitch:


pull all the way through:


Bring your needle around and pass it above the floss that is edging the bottom of the fabric but behind the loop you have just formed:


and start to pull it through - again notice the needle is going to pass over the working thread:


pull all the way through forming the "knot"


That is all there is to it!  Now you just set up for the next stitch:


make the single blanket stitch:


and then the knot stitch:


100 Stitches suggests that you space these stitches about 1/4" apart:


It makes for an impressive line of stitching.  I think this would look so pretty as an edging on a pillowcase:


This stitch is just as beautiful on the back too:


This stitch was very easy to learn and do. It was a relief after all the trouble I had with the eyelet hole stitch :) Thank you again everyone for all your help!
This is stitch #56 and is in the knotted stitches section of 100 Stitches.