I am thrilled to have learned this beautiful stitch!

This is a couching stitch

and it is the latest stitch on my
100 Stitches list

This is actually two couching stitches, the Trellis Couching Stitch and the Jacobean Couching Stitch. Since 100 Stitches counts them together, I am too. The Trellis Couching Stitch can be seen in the center of the pink flower and the yellow flower. The Jacobean Couching Stitch is in the center of the blue flower:

To show you how I learned the stitch, I drew two squares and put straight lines in one and diagonal lines in the other. I am using two different colors of pearl cotton floss so that it is really easy to see how these stitches work:

First I will do the square with the straight lines, this will show how to do the trellis couching stitch. Bring the floss through at one end of one of the straight lines. I don't think it matters where you start.

Pull the floss through and go back into the fabric at the other end of the line you started on. You are making long stitches that are essentially laid threads :

Now do the same for the next line:

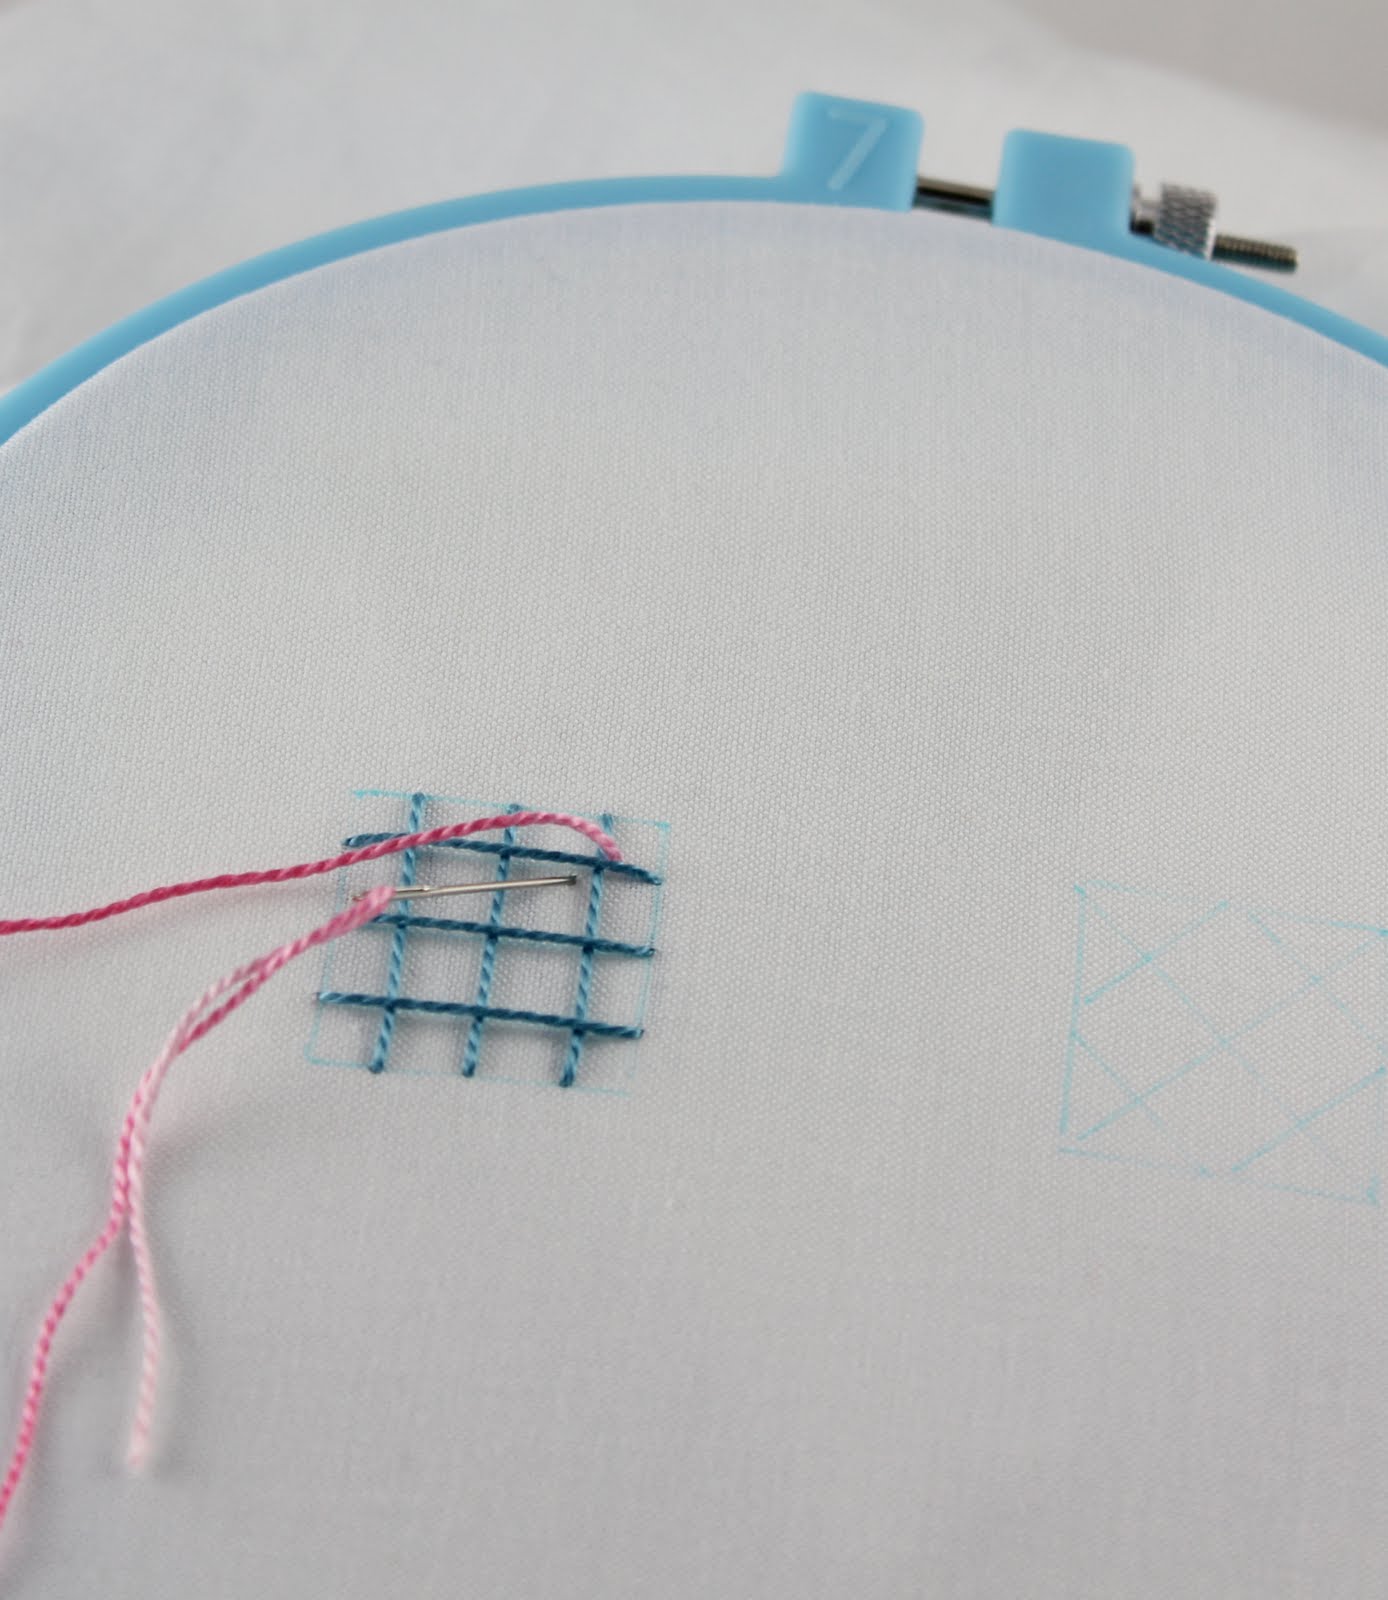
When you have completed all the vertical lines, come through at one end of one of the horizontal lines:

Stitch a long horizontal stitch on each of the horizontal lines. The next step is to "tie down" or couch the floss at each of the intersecting points.

If you are using two colors of floss like me, secure your first floss on the underside and then switch to your other color floss. Bring the new color floss through at one of the intersections:

Take a small slanting stitch to tie down the intersecting lines:

Head for the next intersection and do the same:

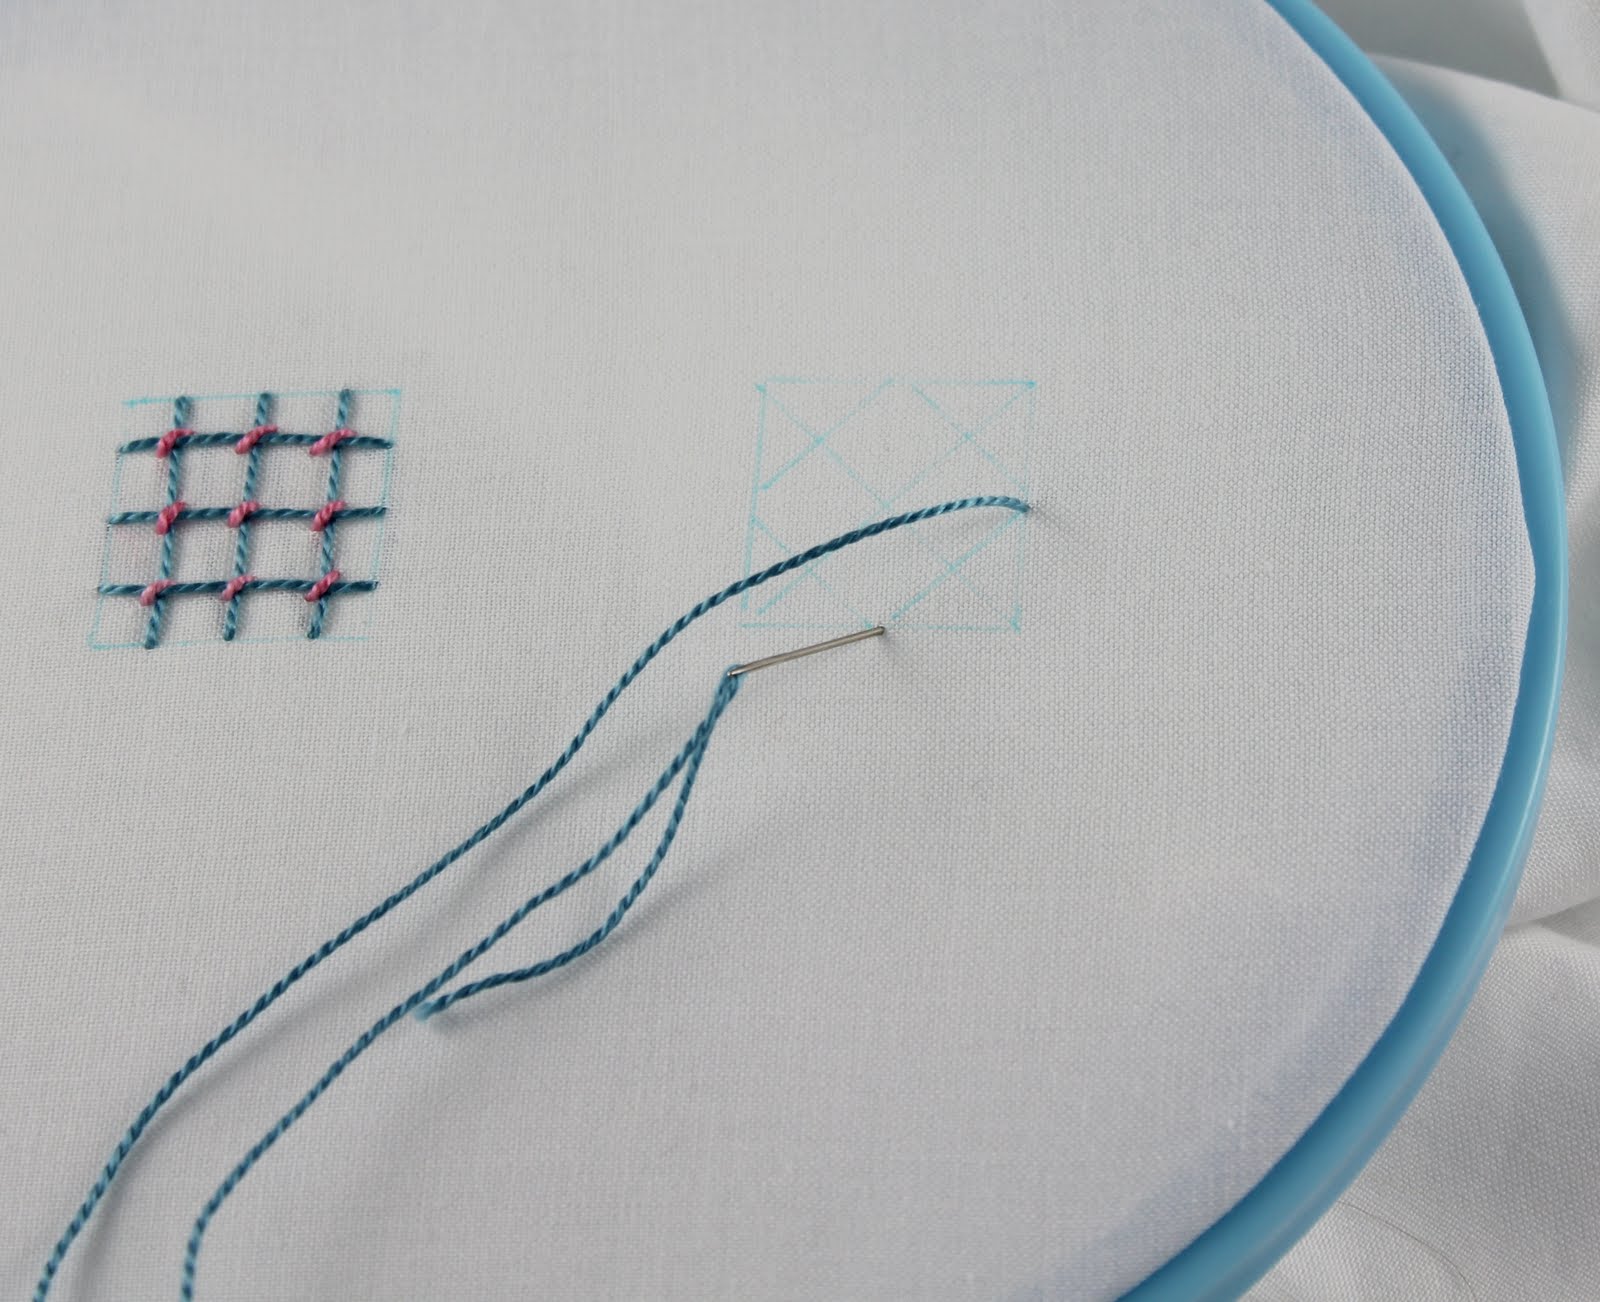
Do this at each intersection. That is the Trellis Couching Stitch:

Now for the Jacobean Couching Stitch. Start by bringing your needle up on one end of one of the diagonal lines:

go back into the fabric at the end of the line you started on:

and just like before, stitch each of the diagonal lines:

Next, tie down each intersection. According to 100 Stitches, the tying down can be done with a slanted stitch or a cross stitch. The 100 Stitches illustration did not show how to do the cross stitch, it just shows a horizontal

straight stitch:

and then a vertical:

straight stitch:

which cross each other:

Tie down each of the intersections:

I think these stitches are so beautiful and really easy to stitch. They do make for a little bit of a messy underside however!

I like the way these stitches work as flower centers:

These pretty flowers are part of a border from the
Ladybug Pattern Packet

These stitches are in the
Couching Stitches section of 100 Stitches and are #70 on the 100 Stitches list.






 Posts
Posts

