skip to main |
skip to sidebar
Time for another 100 Stitches post. This beautiful stitch is the Rice Stitch. This is actually two stitches that are combined. I don't know why it is called the Rice Stitch...I think a better name would be the Argyle Stitch! That is what the pattern looks like to me :) Isn't this a lovely color combination? The floss that I am using is perle cotton. The black is DMC 310 and the pink is DMC Color Variations 4180.
This is another stitch from the Canvas Embroidery section, you can read about the different types of canvas I have been using for this category {here}.
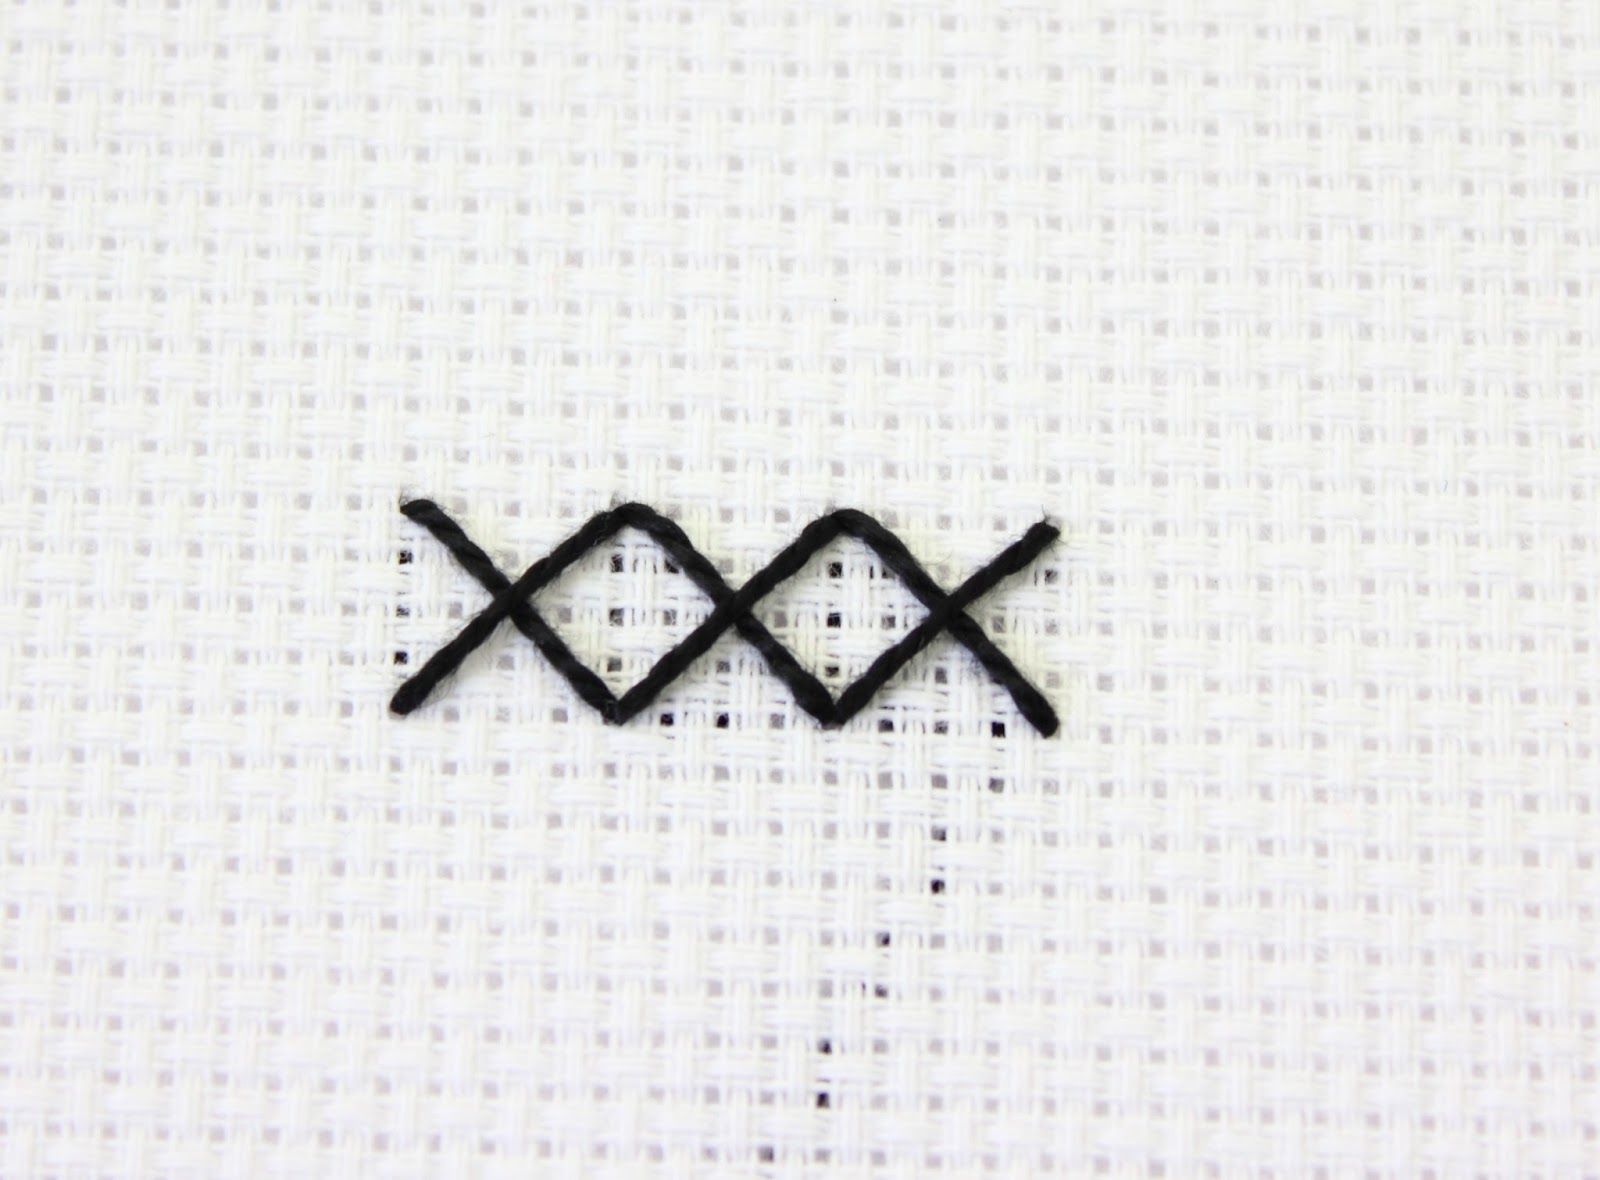
This first stitch is a Cross Stitch. It is worked over four squares in each direction. To start, I came up through the fabric:
Then I counted four squares to the left and four squares above where my floss first emerged and went back into the canvas:
Pull through and then count four squares down and come back up through the canvas:
Next, count four squares to the right and four squares above and go back into the canvas:
Pull through and that completes the first cross stitch:
Just continue in the same fashion
until you have as many Cross Stitches as you want for your stitching line:
Now for the next part of the combination. This is a series of diagonal stitches that are worked over the arms and legs of the Cross Stitches.
First, work the right side of the first Cross Stitch. Come up through the canvas in the bottom center square of the Cross Stitch:
Pull all the way through and make a slanting stitch by going back into the canvas two squares to the right and two squares above where your floss just emerged:
Pull all the way through and now come up through the canvas two squares above and two squares to the left:
Form another slanting stitch by going back into the canvas two squares to the right and two squares below:
Next, come up through the canvas where you originally started:
This time, work the left side of the first cross stitch in the same way:
All the way across:
Here is a look at the underside of this stitch - a lot going on!
This looks complicated but is really very easy and so pretty!
This is stitch number 87 and is from the Canvas Embroidery Section of 100 Stitches.
This was the last stitch on my 100 Stitches list! I have learned every one of the stitches from this book.
Because I want to keep learning stitches and improving my embroidery skills, I have compiled a list of stitches that I would like to learn. These are all stitches that I like the look of, that present a challenge to learn and most importantly, that I see myself actually using on embroidery projects.
I will post all about my new list soon!
I finished my triceratops pillow. You can catch up with this project {here}
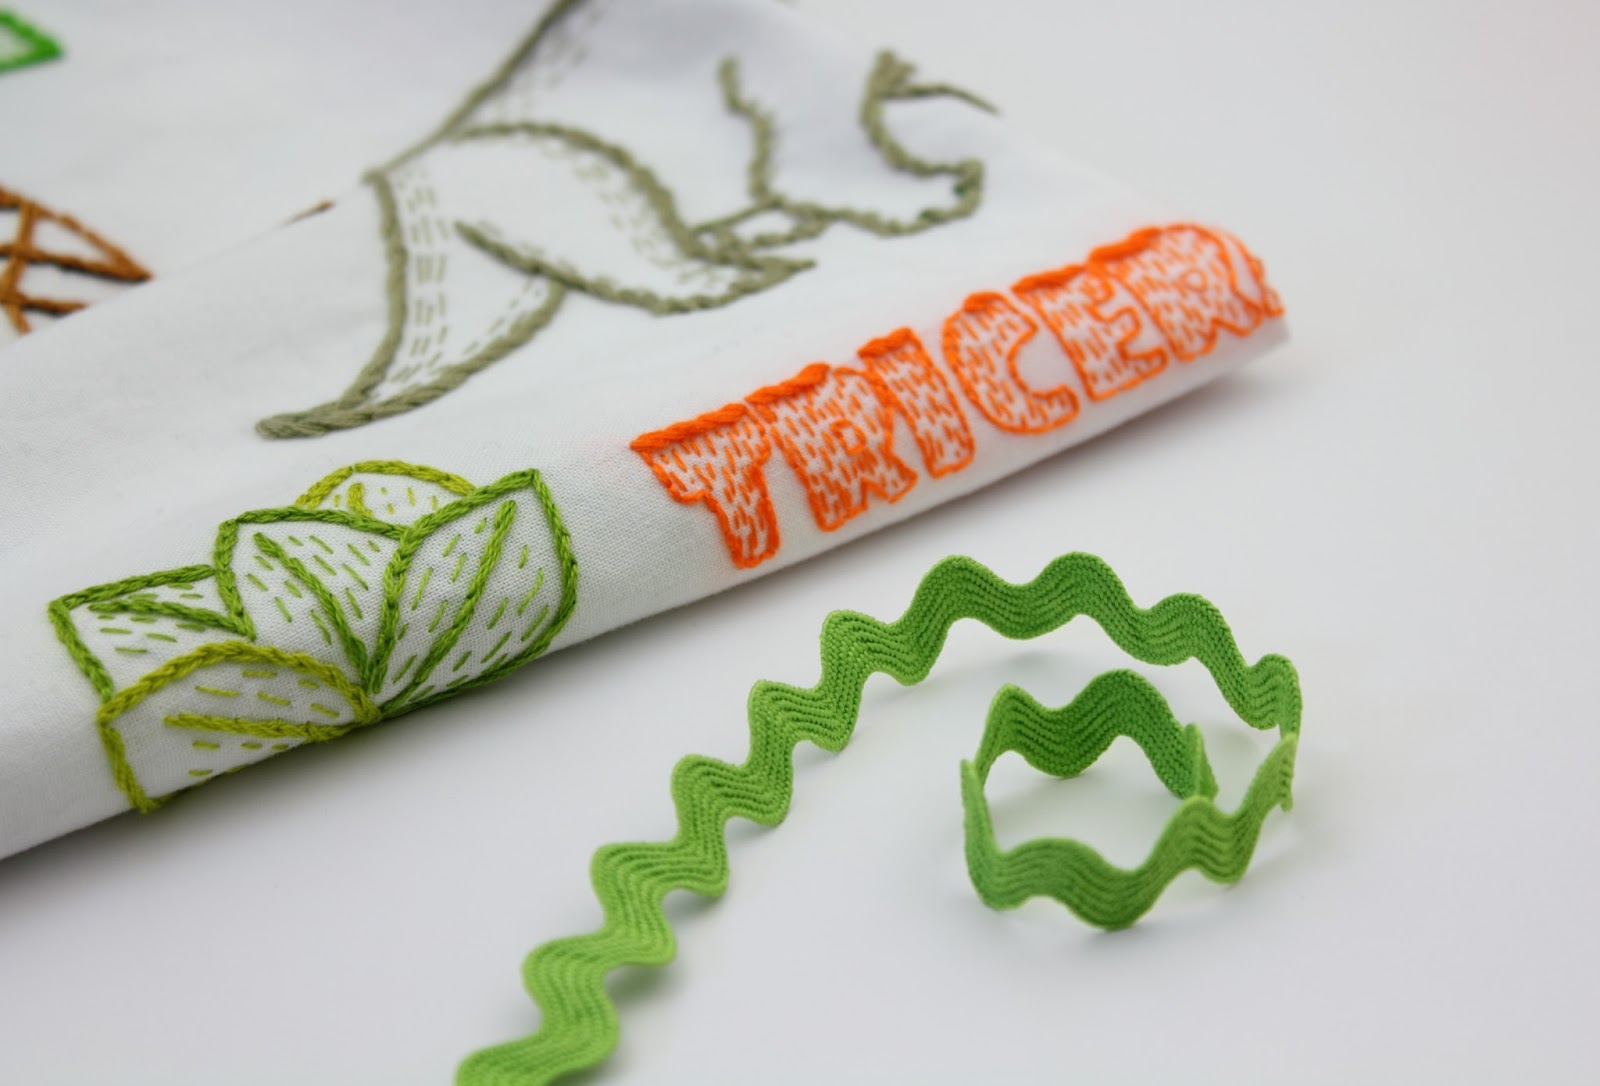
I am really happy with the result. I love the embroidered motifs, the colors and the rickrack trim:
To construct the pillow cover, I cut the orange backing fabric to the same size as the front panel. I also cut a same sized piece of white fabric to line the back of my front panel. This makes for a nice smooth surface.
I put the front and back panel right sides together and added the lining piece on the back of the front panel and pinned all three layers together.
Before I sewed the layers together, I hand basted all the way around. It really kept everything smooth with no puckering and I was able to remove all my pins before sewing on the machine.
I sewed all the sides but left a open area to turn the fabric back out and to use to add the pillow fill.
Then I turned this right sides out and started filling it with fiber fill.
When the pillow had the puffiness I wanted, I hand sewed up the opening.
This was a really simple project and I love the result.
I have a note of caution to share that I learned the hard way. When I finished sewing the three layers together and turned the pillow cover right side out, I was shocked to see that on the vertical sides of the pillow, the rickrack was right next to the seam line with hardly any white border. The horizontal edges looked perfect with a nice white border between the rickrack and the seam.
So...I have learned that if you are adding a flat trim that is not going to be incorporated into the edge seams, make sure to measure the distance between the outside edge of your trim and the seam allowance or stitching line, making doubly sure it is the same all the way around.
I had to turn this back inside out, remark the two affected seam lines to account for the width difference, sew along the new marks and then remove my previous stitching! A lot of work I could have avoided if I had been a bit more carful with my measuring :)
Time to start sewing on this Triceratops project!
You can read the progress posts up to this point here: {part one} {part two} {part three} {part four} {part five} {part six}
Since my last post, I finished the final pressing of this panel and have started to plan how to finish the project. I am intending this to be a pillow, using this piece as the front panel.
For trim, I remembered that I have a nice amount this wide, green rickrack. It is the perfect matching color and I think the chunky size complements the motifs and lettering:
I am going to use it on the face of the panel rather than inserting it into the seam that joins the front and back panel.
First, I pinned the rickrack in place:
Then I hand basted all the way around:
I took special care on the corners, I didn't want a 90 degree angle, but a curve. Happily, the rickrack was very cooperative!
Done! I like the way the rickrack provides a nice frame around the motifs and lettering:
I joined the raw edges of the rickrack by turning under the top edge, and I am not pleased with how bulky it looks. Before I actually sew this in place, I may experiment with turning both raw edges under and butting the folded edges to each other. I think it will reduce the bulk.
I will post about how this turns out, and what I am planning for the back panel.
Isn't this a beautiful stitch? This is the Knotted Stitch. It is number 88 on my list of 100 Stitches.
The Knotted Stitch is another one from the Canvas Embroidery category. Since this stitch {according to the 100 Stitches book} is usually worked on a double thread canvas, I am using this stiff 11 count Aida cross stitch fabric.
For my floss, I am using perle cotton, this is DMC 988.
This stitch is worked from right to left. The first step is to come up through the fabric:
pull the floss all the way through:
and then go back into the fabric three squares up and one square to the right of where the floss first emerged:
Bring the needle back out of the fabric two squares down:
Pull all the way through and this creates a diagonal stitch:
The next step is to take a small tying stitch across the slanting stitch. Go back into the fabric one square to the left and one square up of where the floss just emerged:
Pull all the way through and it makes a nice tying stitch across the floss:
Come back up through the fabric two squares down and one square to the left of where the tying stitch floss went into the fabric:
Pull all the way through:
And now just repeat those same steps:
Just continue on in that same fashion until you have a whole stitching line:
This is a peek at the underside of the stitch - very clean and neat!
I think this is an easy stitch to learn and do. I really like the look of it as well!
The Knotted Stitch is number 88 on the 100 Stitches list and is from the Canvas Embroidery section.