Showing posts with label couching and filling stitches. Show all posts

Saturday, August 15, 2015

Pendant Couching Stitch


As the title of this post suggests, this beautiful stitch is the Pendant Couching Stitch.  It is the latest stitch I have learned from my 100 Stitches Plus list. 

I found this stitch in the book The Encyclopedia of Embroidery Techniques by Pauline Brown.  

This stitch is made up of a length of floss that is couched {held in place} by small straight stitches. I decided to use two colors of floss as it makes it easier to see the techniques.  

After looking at the diagram of the stitch, I thought it might be a good idea for me to draw some guidelines. I wanted to be able to have a straight stitching line to follow but also to have a guideline to ensure that the pendants would all be the same size. 


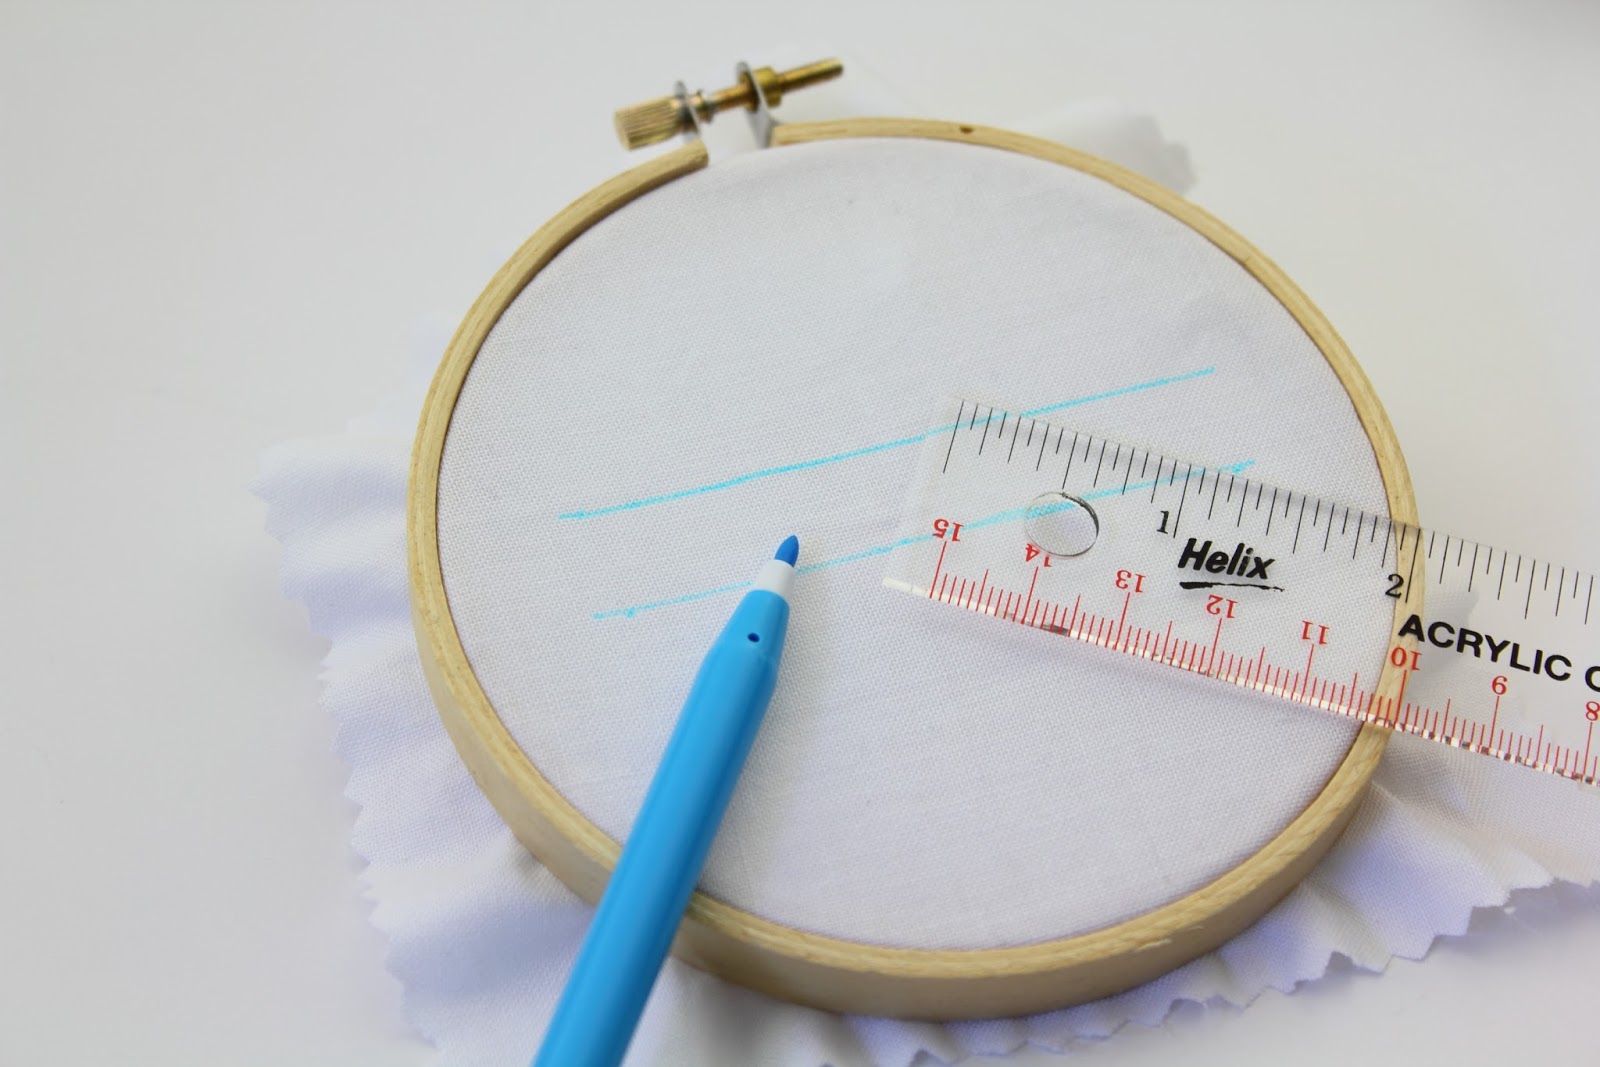
With my water-soluble marker, I drew two parallel lines - 1/2" apart:

For the length of floss that is going to be couched, I used this pink perle cotton.  This is a color variations floss -  DMC 4180.  

I made sure to use a long length of floss, this is going to form all of the pendants so it needs to be much longer that just the stitching line.


The first step is to come up through the fabric on the top stitching line.  It wouldn't matter which way you worked this stitch, I did mine from left to right so I started at the left end of the line:
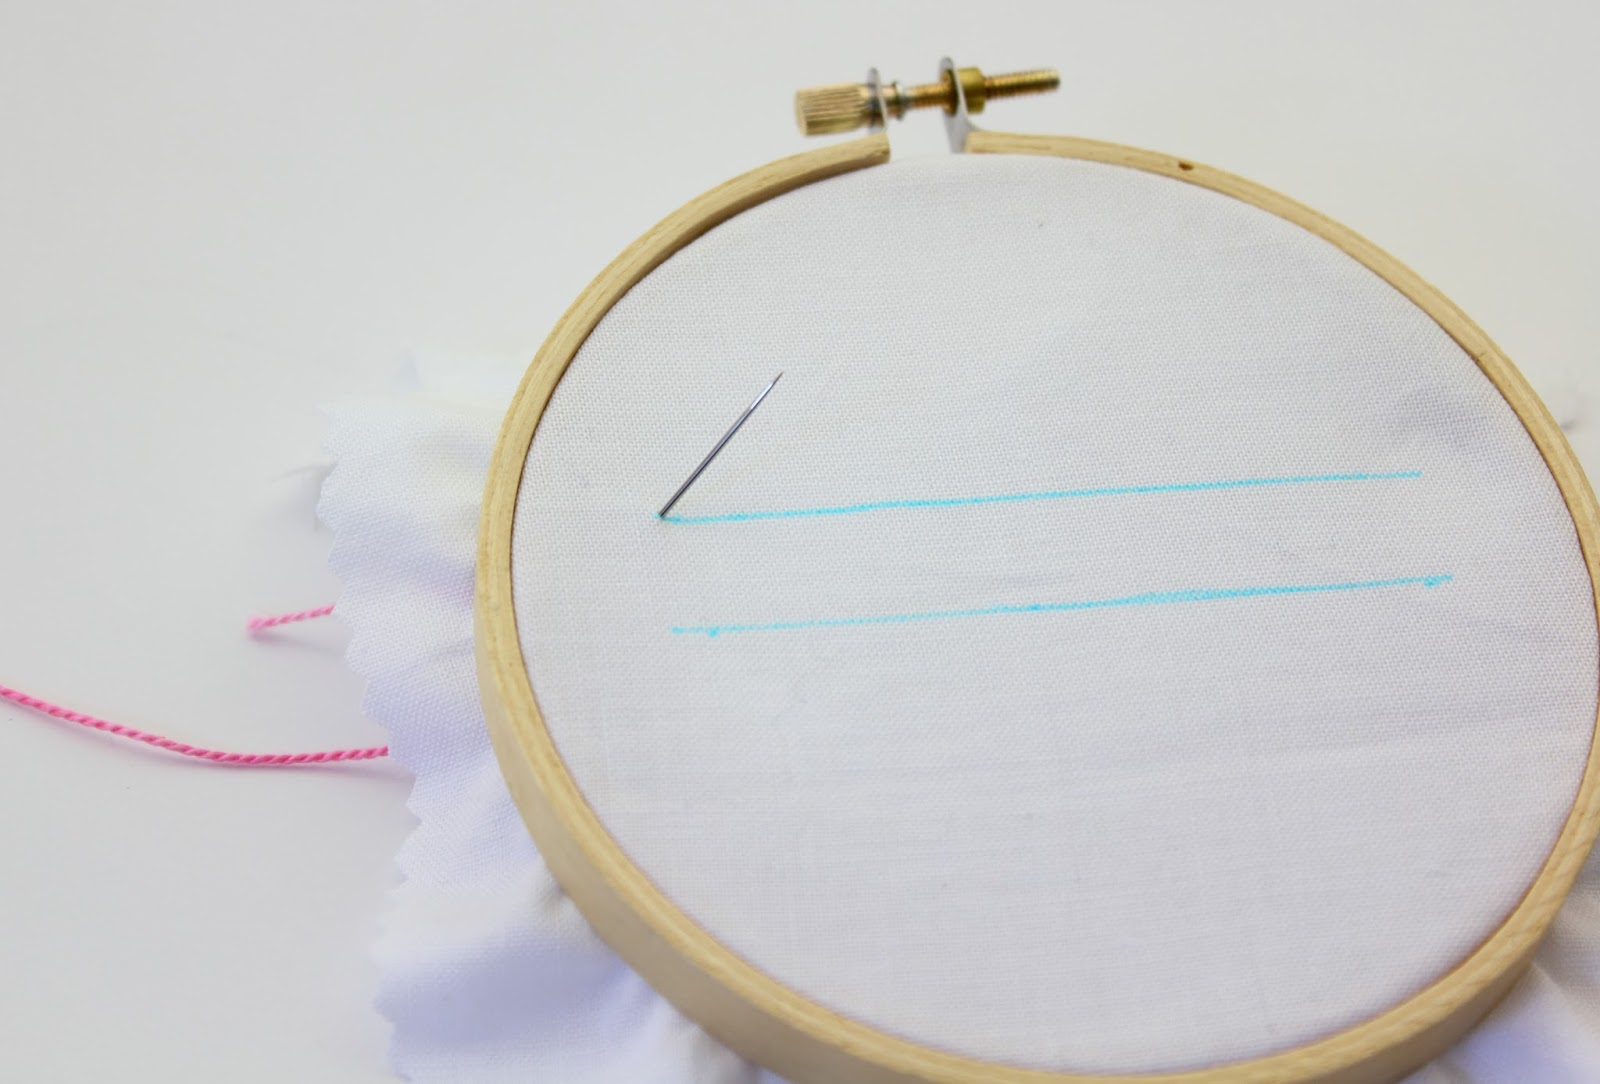

Pull the floss all the way through.  You can see here how long my length of floss is:


For the couching floss, I again used perle cotton. This black is DMC 310.

Loosely lay the floss to be couched along the stitching line.


Bring the couching floss up through the fabric a little below and a little to the right of where the length of floss to be couched first emerged:


Pull all the way through:


Take a small stitch by going back into the fabric right above where your floss just emerged.  Take the stitch right over the floss that is being couched:


Pull all the way through making a small stitch.  This is the Couching Stitch.  The length of floss is now held to the fabric:


Just continue making these Couching Stitches - the directions suggested spacing them fairly close together, I ended up making mine about 1/4" apart.


Continue in the same way until you reach the end of the stitching guideline:


Next I started to form the pendants.  You can see I still had a lot of floss to work with: 


Using my needle, I carefully started drawing the excess floss back through the Couching Stitches:


I started forming the pendants by pulling enough floss between two Couching Stitches to make a loop. 


When I had all the pendants formed, I took the excess floss back into the fabric and secured it. 

You can see several of the pendants are still a bit uneven and not reaching all the way to the lower guideline:


I solved this problem by pinning a few in place and carefully adjusting the rest until they were all even!


Here is a look at the underside - you can see where I secured the floss:


I rinsed out the guidelines:


and took it out of the hoop.  

I think this is a beautiful stitch and so easy!


Wednesday, November 28, 2012

100 Stitches - Seeding Stitch

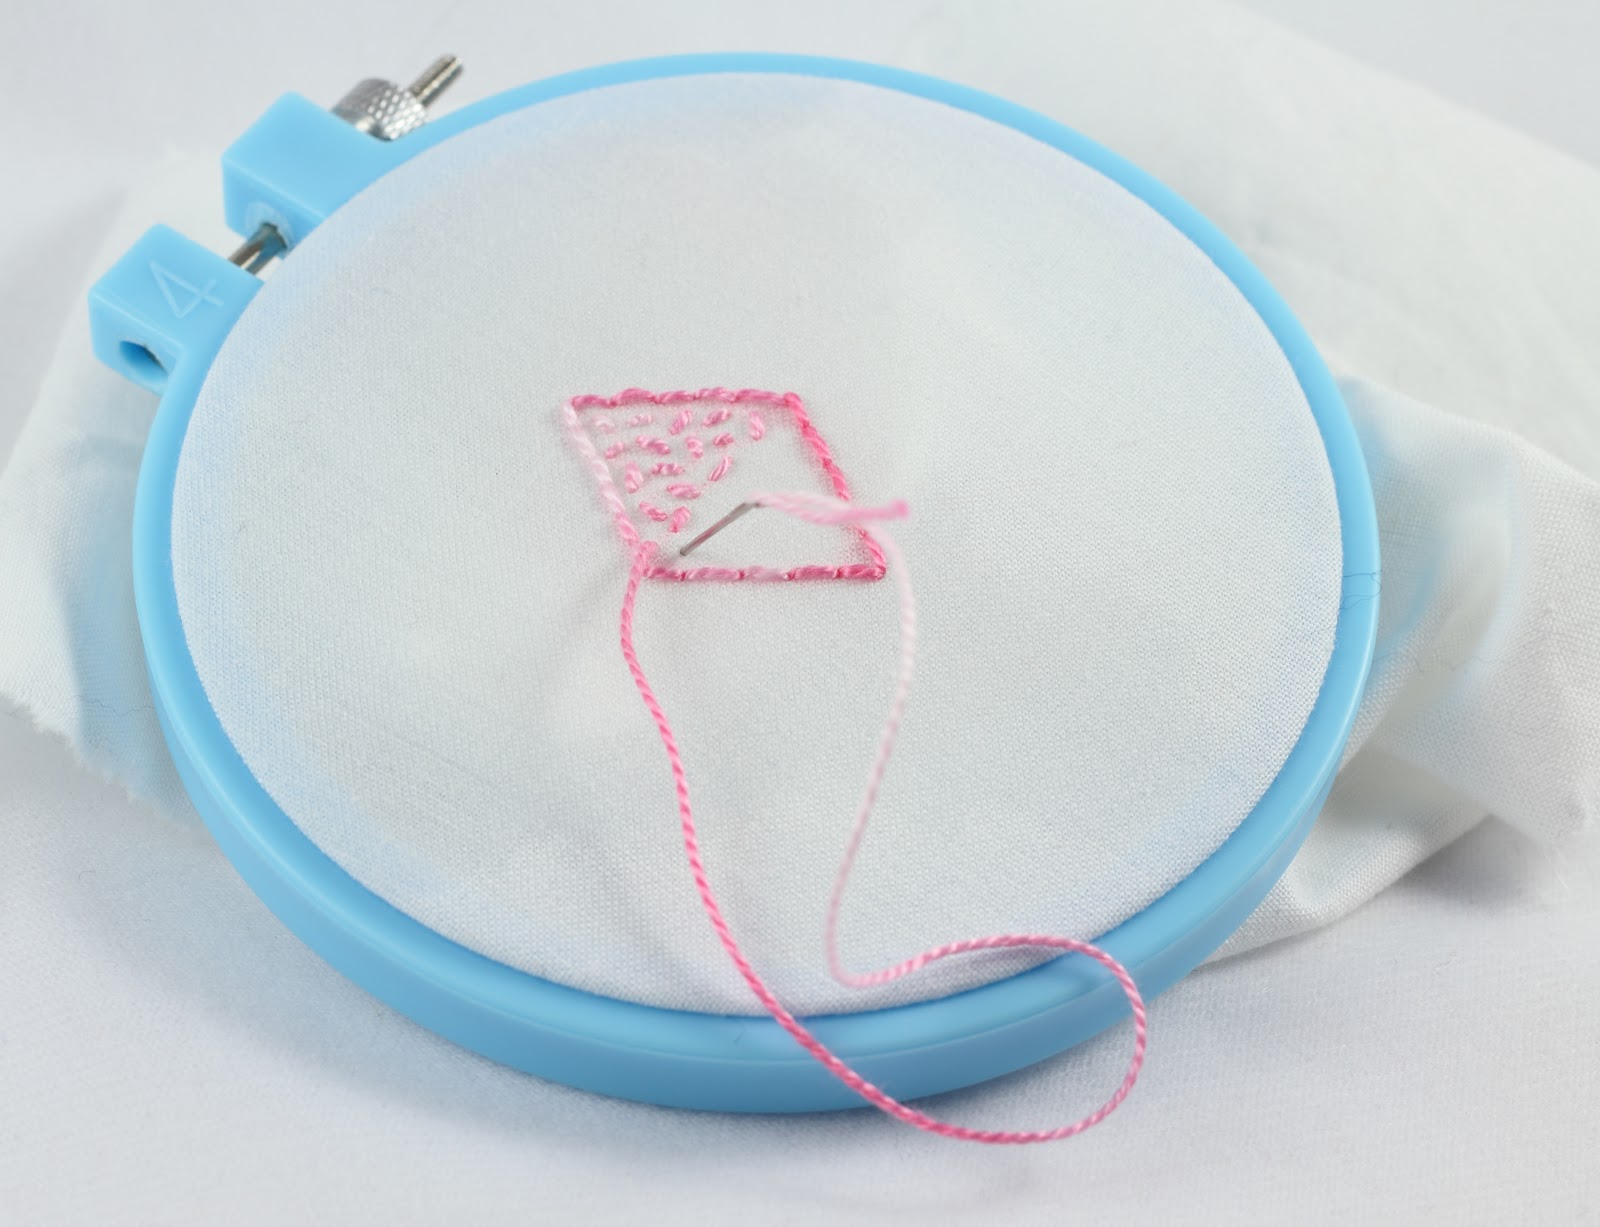
The seeding stitch is the latest stitch on my 100 Stitches  journey.  This stitch should really be called the easiest stitch ever! 


This stitch is a filling stitch and is used to fill in blank spaces inside shapes.  For my shape, I used a template:


I copied the diamond shape onto my fabric:


I first outlined the shape using the back stitch. Now to the seeding stitch. The reason the seeding stitch is so easy is that it is just small straight stitches stitched in all different directions. The only concern is to make all the straight stitches the same length. The first step I took was to come up through the fabric. I started at the top but you could start anywhere inside the shape:


Then I just started taking small straight stitches:


in a random pattern:


 stitching, stitching, stitching until…


 the whole diamond shape was filled:


So easy, and really beautiful when finished:


The underside of the stitching looks almost like the top side:


This is definitely a stitch I will use!


The seeding stitch is #72 and is in the Couching and Filling category of 100 Stitches.

Wednesday, October 31, 2012

100 Stitches - Punch Stitch

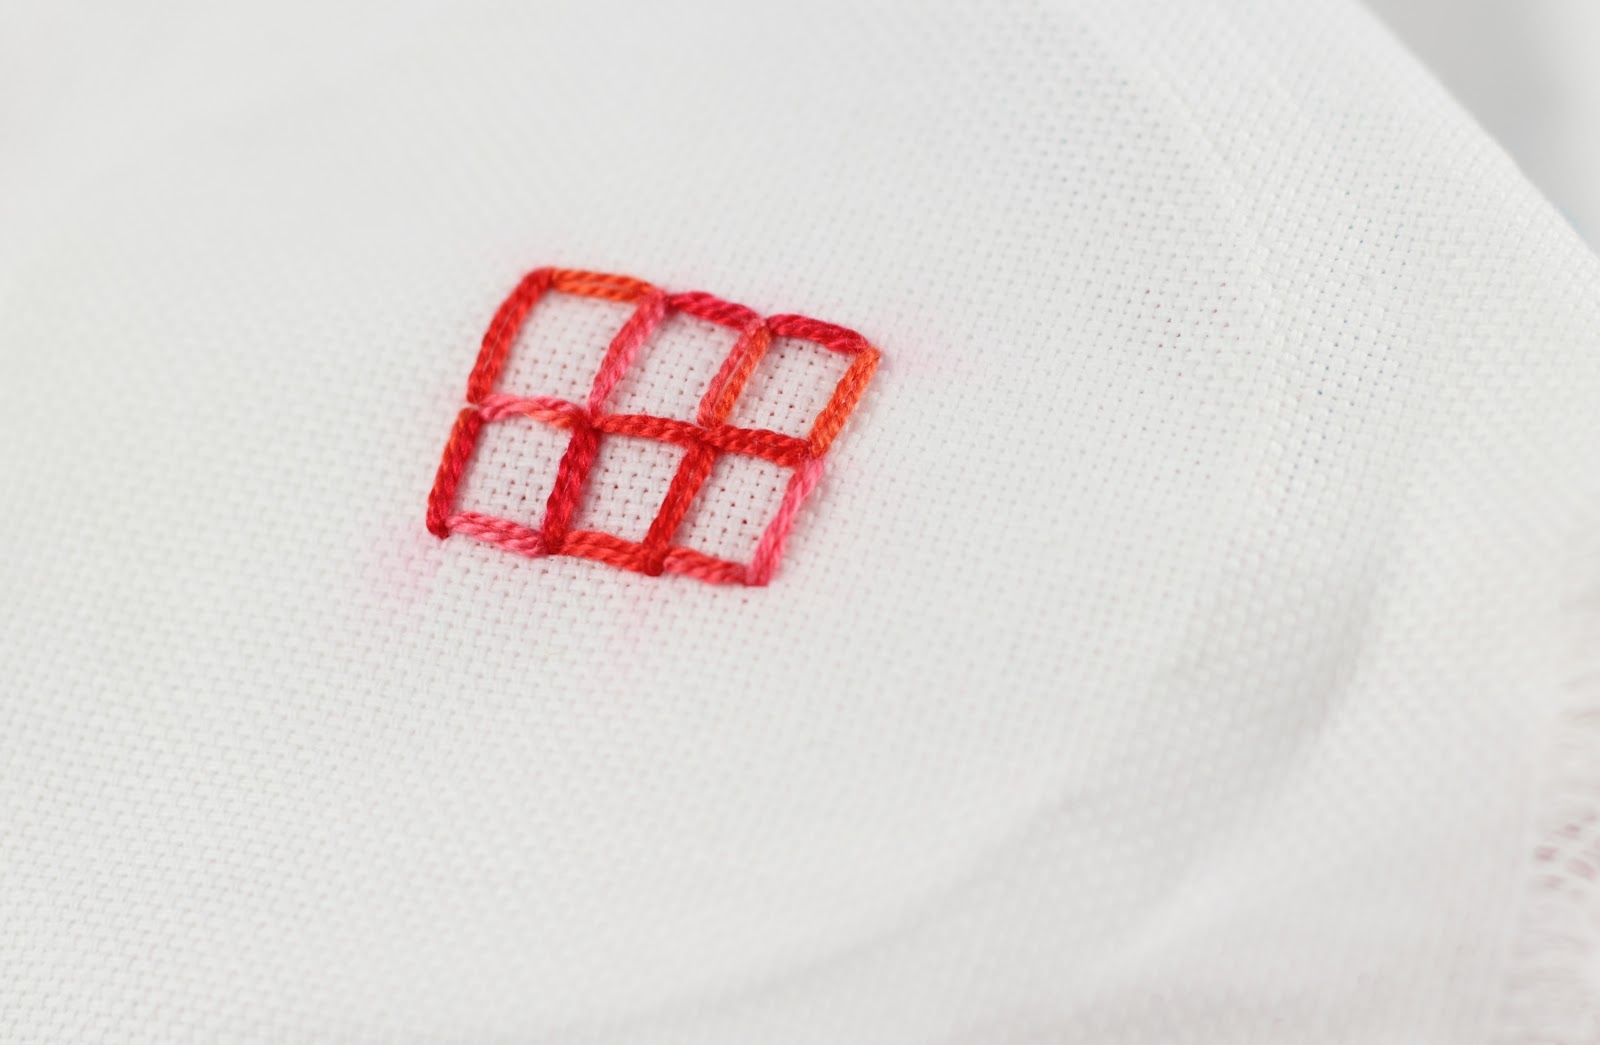
No, this is not a little embroidered window, this is the Punch Stitch!  This is the latest stitch I have learned from my 100 Stitches book. 


I say learned but I am not really sure that I am doing the stitch correctly!

According to 100 Stitches, this stitch is used in a variety of ways.  It can be used as a filling stitch over an image of squares or dots in a grid.  It can also be used in Drawn Fabric Embroidery {I don't know anything about Drawn Fabric embroidery but I see that there are nine different stitches in the Drawn Fabric section of 100 Stitches so I will know about it soon enough!}


If this stitch is used as a filling stitch, a punch needle is supposed to be used to make holes to stitch multiple times through.   I don't have a punch needle so I used a wider woven fabric - 22 count Aida cloth - {I first learned about this cloth here} to try to compensate for the holes.  I drew the grid that is shown in 100 Stitches:


The stitch starts out being worked from right to left.  So I came up through the fabric on the right hole of the second row.


Then back into the fabric on the right hole of the top row:


Come back out of the fabric in the same hole where the thread first emerged - the middle row right:


Pull all the way through and this creates a straight stitch:


Now go back into the fabric in the top row right hole and come back out at a diagonal in the next hole to the left of the second row:


Pull all the way through and a second straight stitch is formed and you are ready to start the whole process again:


Just like before, go back into the fabric on the top hole and stitch to the left to finish the row.


This ends up with three sets of two straight stitches. 


There were no instructions about what to do with the thread at this point, just that you turn the hoop upside down and work the same way as before making the next vertical row:


Starting on the right again:


and working your way across the row:


Now turn the hoop right side up again and start across the third row:


When you complete that row it should look like this:


The next step is to turn the hoop sideways {!} and start at what is now the right side hole of the second row:


Just stitch across in the same fashion:


as before:


and when you complete that row, turn the hoop upside down and start stitching from right to left:


Just like before - stitch all the way across:


When you are done, you will have a completed punch stitch:


It is a beautiful stitch:


and is really interesting on the underside:


I think the reason I don't know if I am doing this stitch correctly is that there was no mention of what to do with the thread at the left end of each row...there isn't another hole to take a diagonal stitch to so I just took a second straight stitch.  I think that is the obvious way to finish, but if anyone knows anything about this stitch or if I am doing something wrong, I would love to hear from you!


The floss I used is floss - pearl cotton DMC color variations #4210 - radiant ruby.  This stitch is #74 and is in the Couching and Filling Stitches section of 100 Stitches.