Monday, November 22, 2021

Turkey Work


This stitch is called Turkey Work or Fringe Stitch.  This is the latest addition to my learning list!

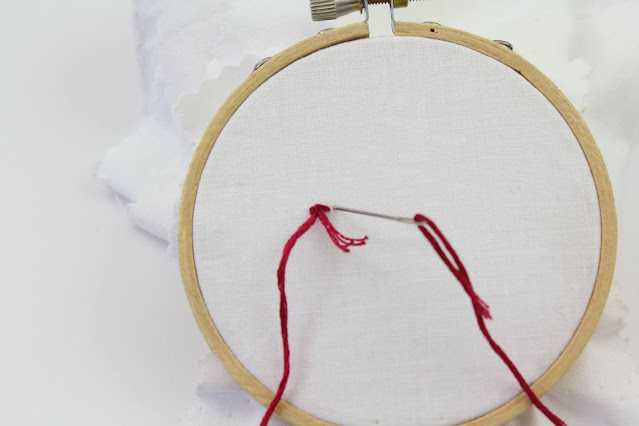
Usually I use perle cotton floss for my demonstration but since the final result of this stitch is fringed, I needed to use six strand floss.  This beautiful floss is DMC no. 150.


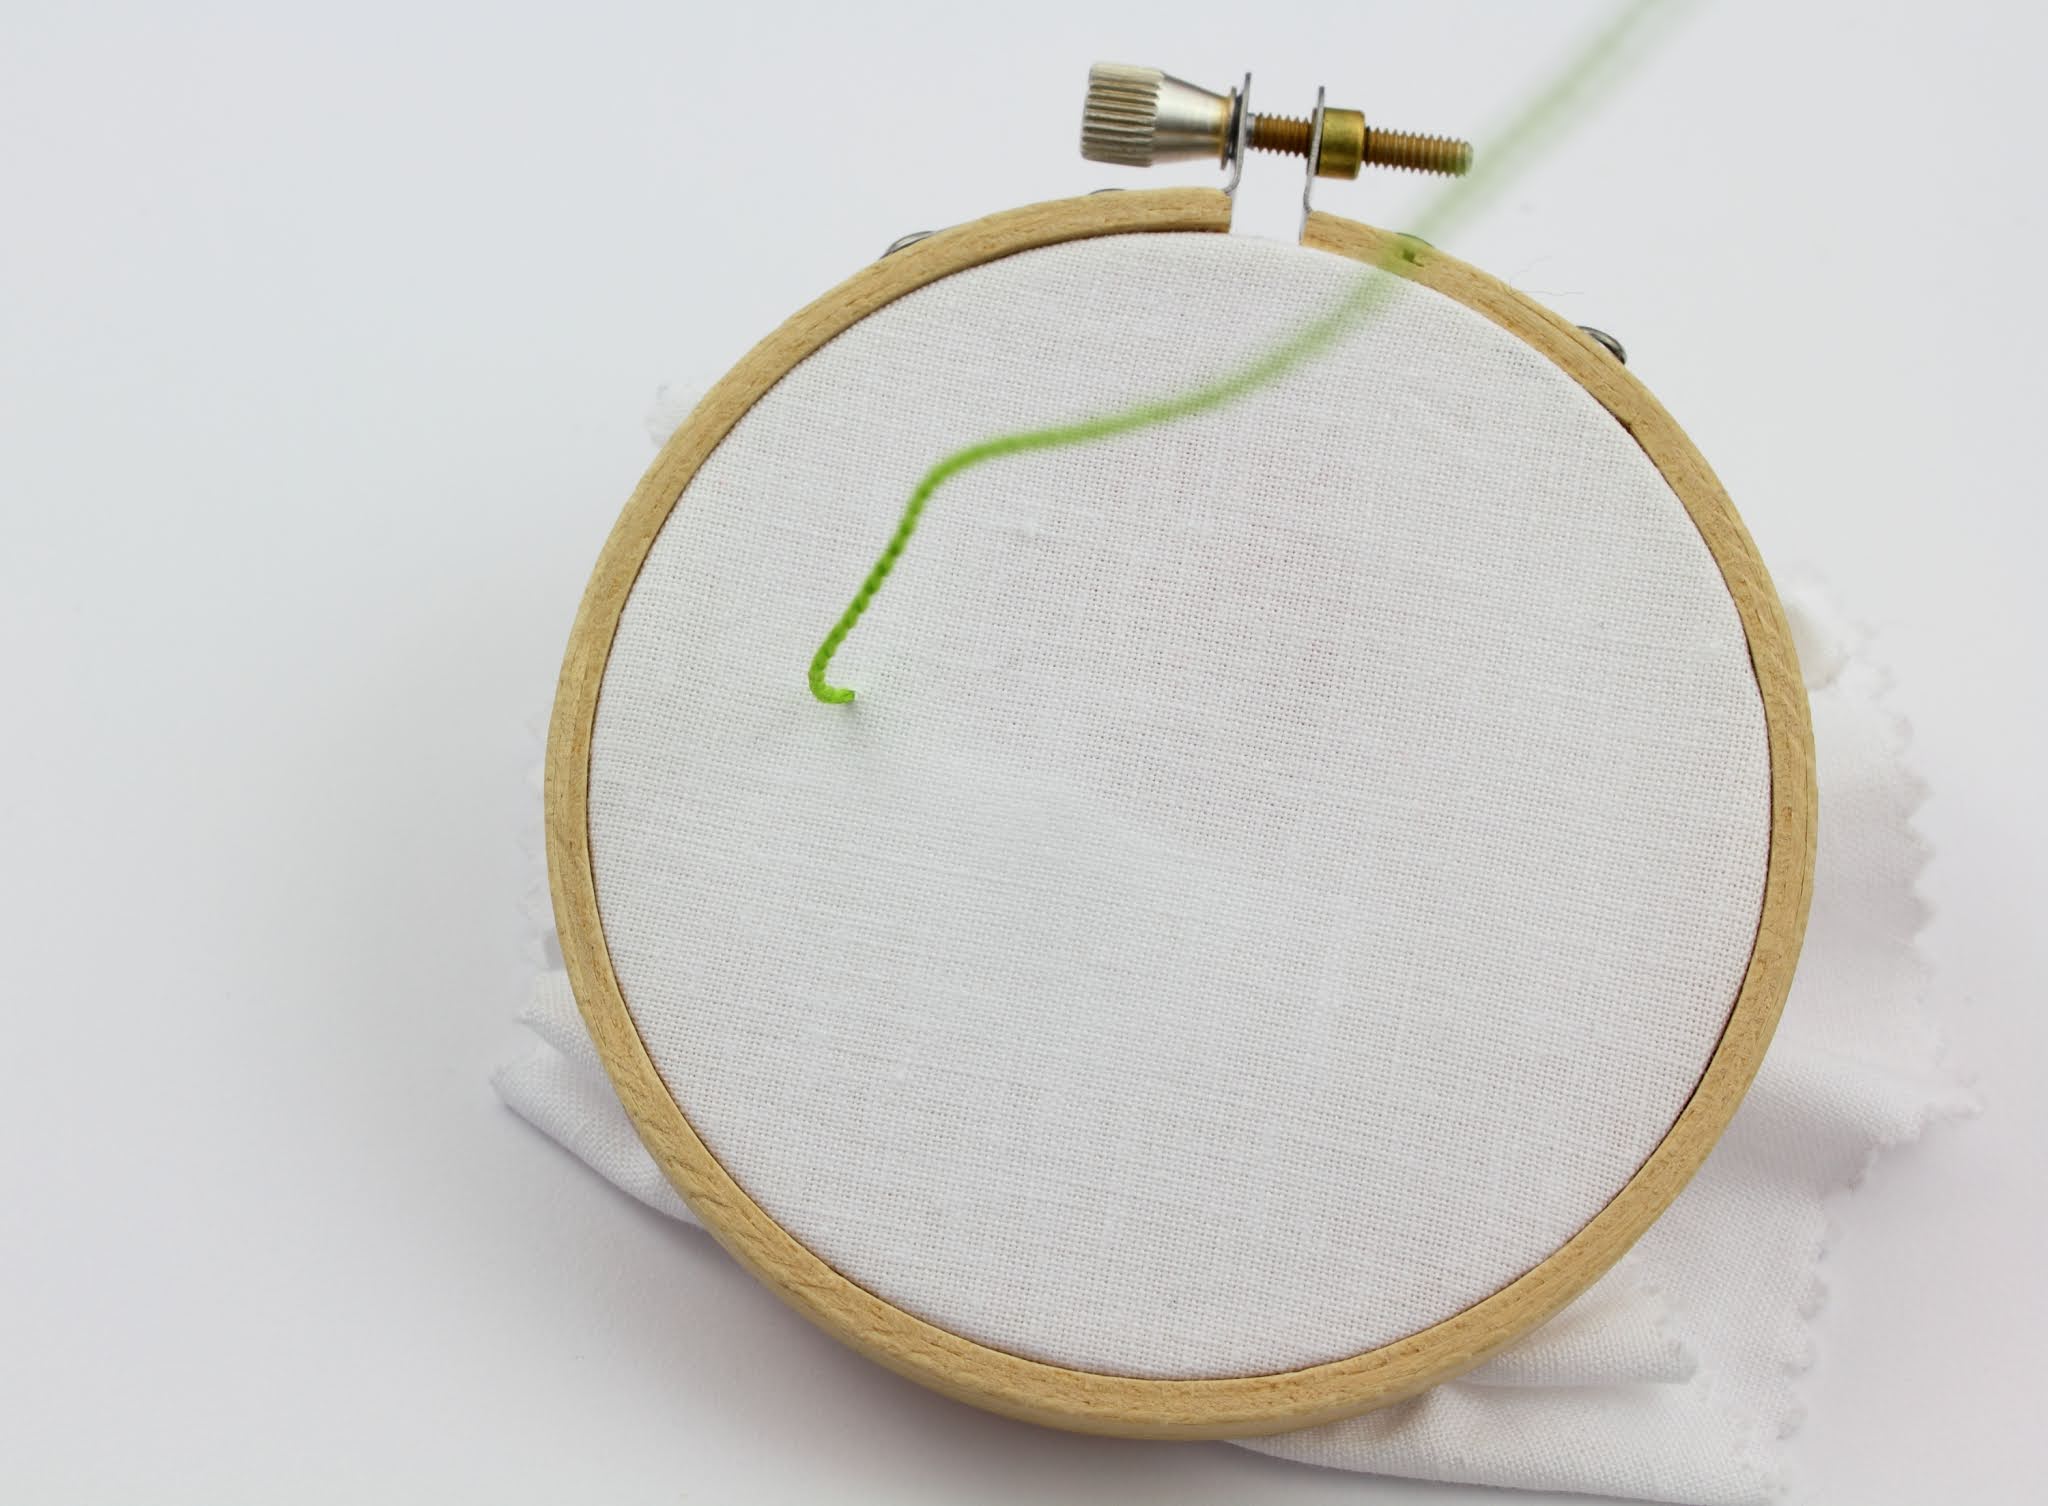
The stitch is worked from left to right.  Step one is to go into the fabric with your needle:


Do not use a knot at the end of the floss, just pull the floss most of the way through the fabric and leave a tail laying on the fabric surface:


Step two is to come back up through the fabric on the right hand side of the tail:


Pull the floss all the way through:

Step three is to bring the needle around and go back into the fabric next to the left side of the tail:


Pull the needle through: 

Step four is to come back up through the fabric just to the left of the tail.  This loop will close and secure the tail in place:


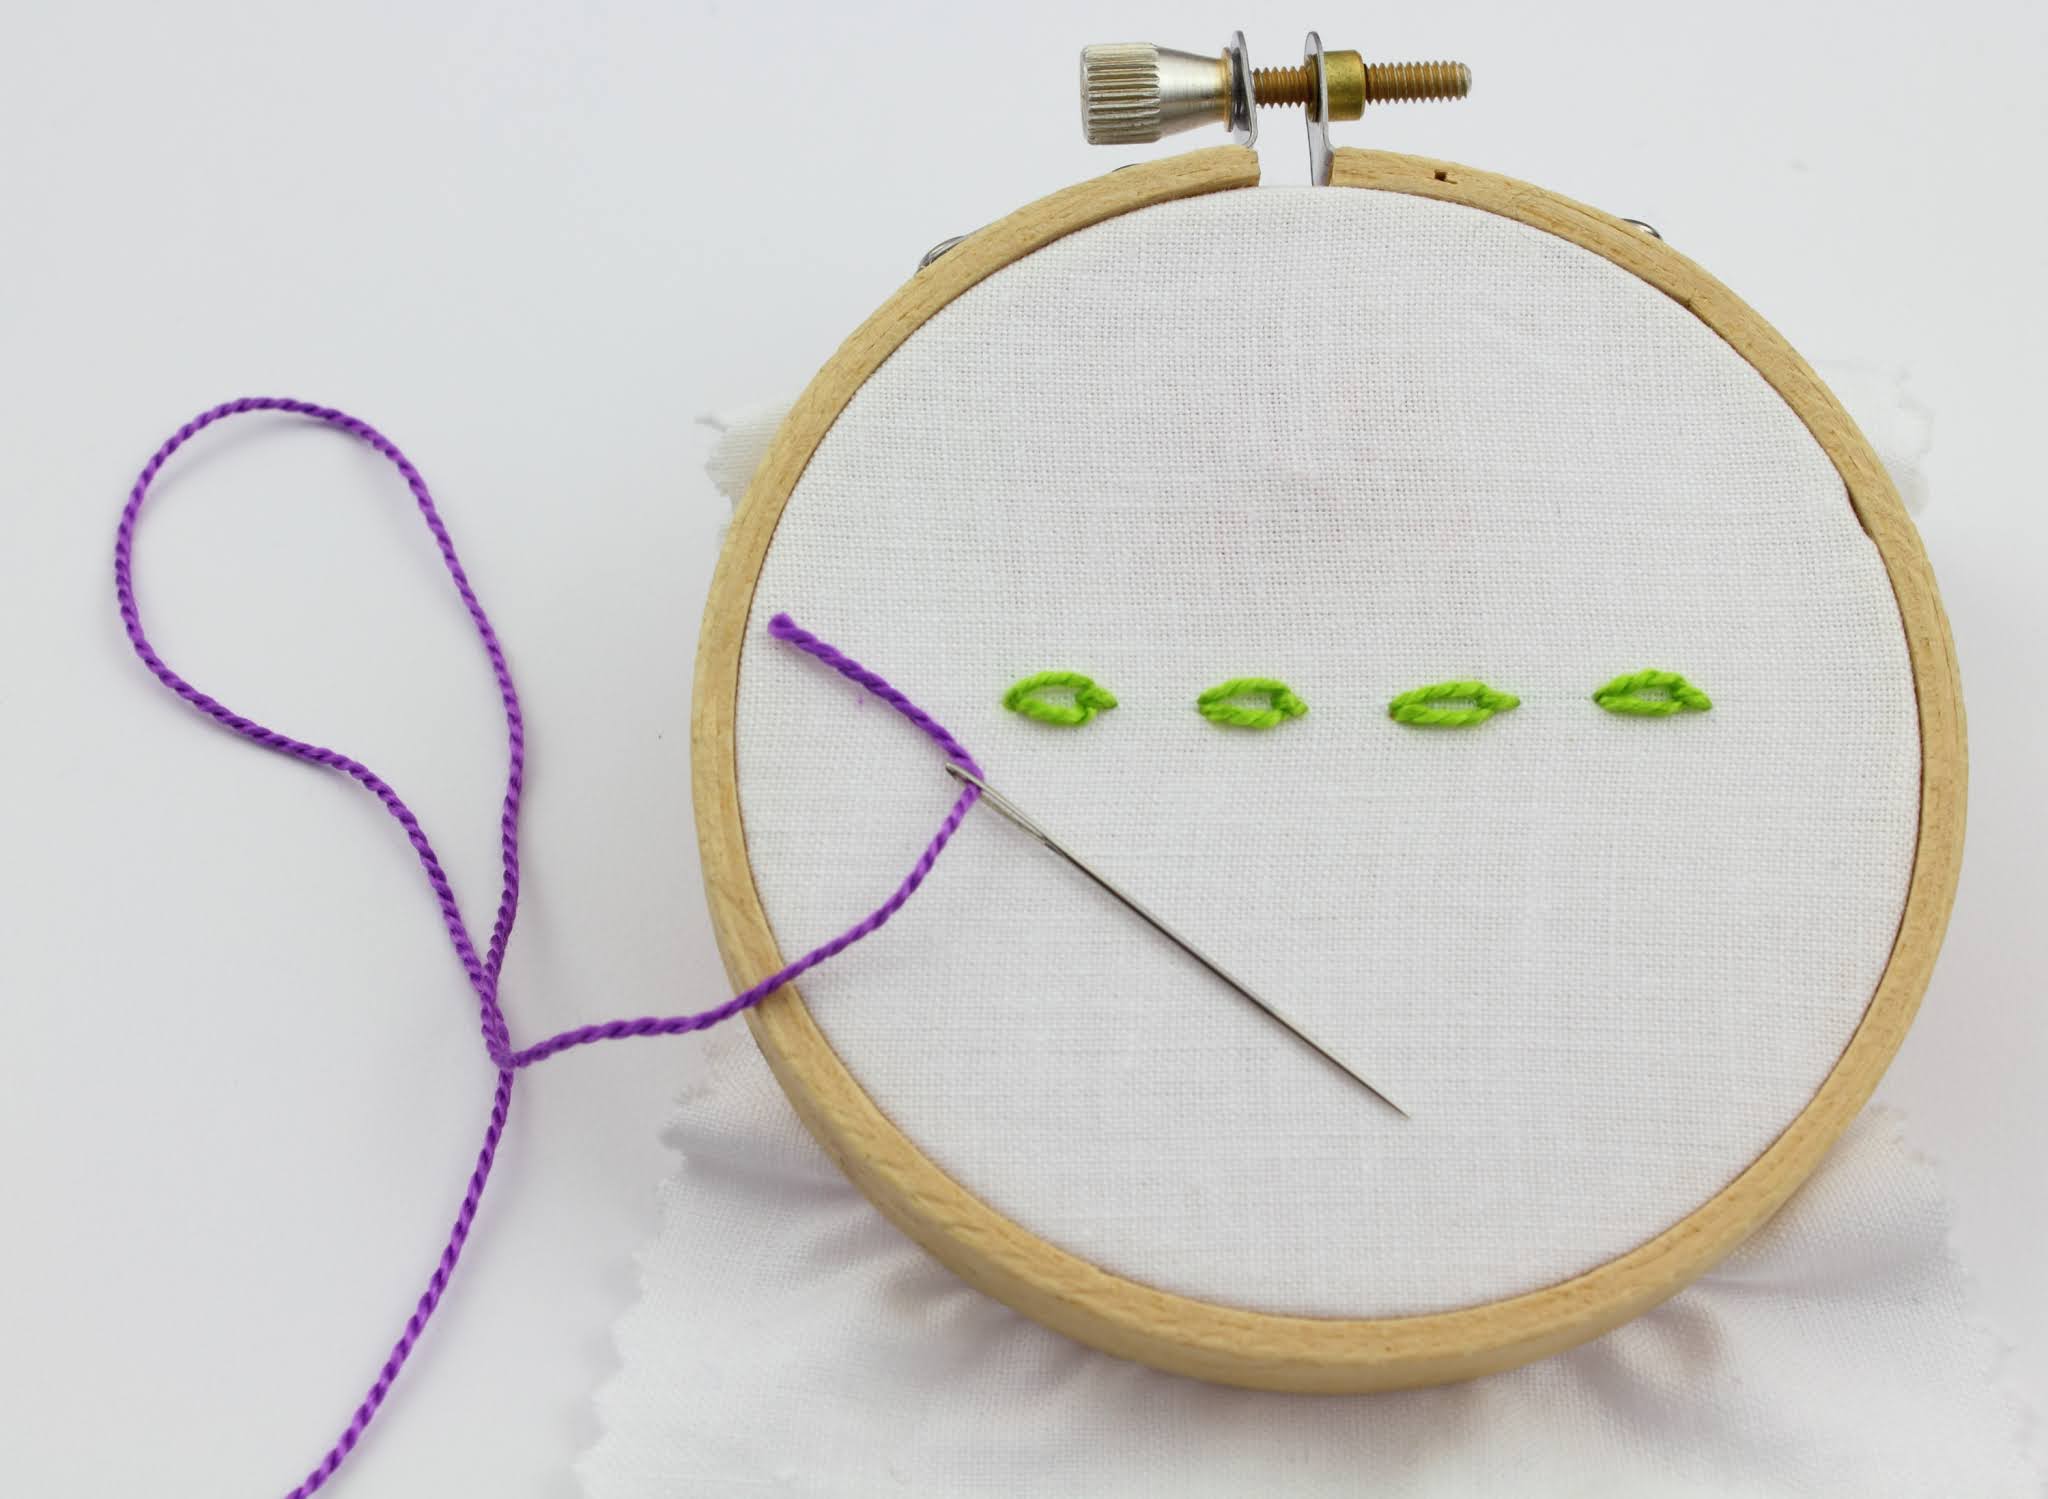
That is the stitch.  Repeat the first four steps to make a line of looped stitches. 


Finish by going into the fabric and securing the floss on the underside. 


You can leave this stitch looped or you can cut through all the loops to leave a fringe edge:


I really enjoyed making the fringe!

I have always wanted to learn Turkey Work - however, I could not find instructions in any of my embroidery stitch books - I learned this from various YouTube videos!  

I wanted to know how to do this stitch because I am developing a nutcracker embroidery pattern - I thought this would be the perfect stitch for his beard.  I am working two rows of the stitch. I am really happy with it so far!


Thursday, October 21, 2021

Monogram Stitches and Floss Color Numbers


If you read my last blog post, you may remember this table napkin that I monogrammed with the letter W.

That post was to introduce my new Christmas Monogram embroidery pattern set and I stitched the W as a sample. In this post, I want to share the stitches I used along with floss information and color numbers.

The W was stitched using Back Stitch in rows.  The holly leaves are Fishbone Stitch with a Straight Stitch vein.  The holly berries are Satin Stitch. The snow flakes are Straight Stitch and the gold dots are French Knots.


The floss I used for the W is a mixture of metallic floss and cotton floss. The mixture was made up of a gold metallic, a gold cotton and a cream cotton floss.

The snowflakes were done in silver metallic blending filament, and all the sparkly highlights were done with multicolor metallic blending filament.  They are both from Kreinik and are the two smaller spools you see below.  The large spool is Fil - metallic gold from DMC.

Here are the floss color numbers I used:


I recorded all of the details from this project in my Embroidery Journal.  I never get tired of using this and especially looking back over all my previous projects!


Saturday, October 2, 2021

Christmas Monogram Embroidery Pattern


I have a new embroidery pattern available in my Etsy shop.  This one is Christmas Monogram.  For my sample piece, I stitched the letter W on a cotton table napkin.  

Each of the letters of the alphabet have the holly leaves and berries embellishment.  These are really simple to stitch!

If you follow me on Instagram, you probably saw the design-in-progress post:

Here is a look at the pattern packet.

I am really pleased with these letters and how lovely they look on napkins.  I would love to stitch a matching set by Christmas!

I will post all the details of the stitches I used for this sample, as well as the floss color numbers soon.


Tuesday, August 31, 2021

Embroidery Floss Swatch Book

I have been making myself embroidery floss swatch books.

These will be very helpful for matching floss to color numbers.  

I have a fairly large inventory of  DMC cotton embroidery floss that I store in color order. 


Typically when I have new floss


I wind it onto floss bobbins.  I slip the number tag under the wound floss.

Every so often, I lose a tag and then have no way of knowing the floss color number.  Being able to match my floss to a numbered swatch will solve that problem! 

For my swatch books, I am using two archival scrapbooks.  

For the number system, I was going to use a DMC printed list of their floss numbers but they are adding new ones all the time so to keep my books current,  I thought it best to use consecutive numbers from 1 to 5000.  I printed strips of numbers:

 
I glued the strips onto the scrapbook pages and added the floss next to the numbers.


This system is working so well!


Saturday, July 10, 2021

Threaded Chain Stitch


This complex looking stitch is the Threaded Chain Stitch.   I have added this stitch to my ongoing 100 Stitches Plus list.

This looks complex but is actually very simple.  The stitch is composed of single Chain Stitches that are threaded by two different threads.  For contrast and interest, you might want to use different colors for the threading.

For my demonstration, I am using two colors of perle cotton floss.  The green is DMC no. 906 and the purple is DMC no. 208:


Working from left to right, the first step is to come up through the fabric and form a single Chain Stitch:


To form a single stitch instead of a connected line, end the stitch by taking the needle back into the fabric at the edge of the loop:


Next, make a row of the single stitches:

Next up is threading the single Chain Stitches, 

Bring the needle up through the first Chain Stitch.  I show the needle coming straight up so that it is easy to see.  In actuality, you want the needle to come up through the fabric and slide under the Chain Stitch. 


Here is a closer look at how the threading floss slides under the Chain Stitch:


and under the next Chain Stitch:


and the next:

until the end of the stitching line.  Notice that I left the threading floss fairly loose so that it can be adjusted to make a decorative effect.  To finish the first threading, the threading floss goes back into the fabric and is secured on the underside.


The second threading is done the same way except this time traveling from right to left:


Done!


I found the instructions for this stitch from the book Embroidery Stitches by Mary Webb.