This is a very easy stitch to learn but to for a good looking result, it does require a certain consistency with spacing!
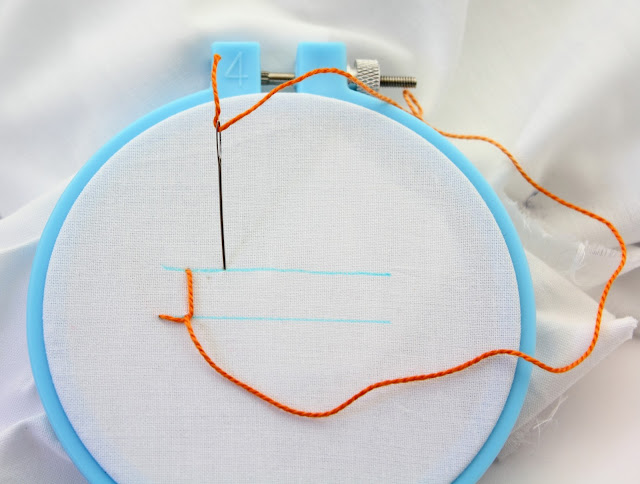
My first step was to draw two parallel lines with a ruler and a water soluble marking pen.
This stitch is worked from left to right so first come up through the fabric on the left edge of the bottom line:
Pull the thread all the way through and bring the needle around to the top line. A little to the right of where your thread first emerged:
Go into the fabric on the top line and come back up through the fabric on the bottom line:
Pull all the way through making sure your needle is passing over the top of the working thread:
Keep pulling:
all the way through:
Now, just as when you started, bring the needle around to the top line:
and go into the fabric on the top line and come out of the fabric on the bottom line with your needle sliding over the top of the working thread:
Pull all the way through:
Just continue stitching this same way all along the stitching lines:
To finish this stitch, I just went back into the fabric at the base of my last stitch:
and then secured my floss on the underside:
Then I washed out my marker lines:
This is a beautiful stitch, I think it makes a nice edging stitch.
The floss I used for this is DMC perle cotton color variations number 3840.
The next stitch is the feather stitch (stitch #28). This is such a beautiful stitch and really easy to do. I can't wait to incorporate this stitch into some of my projects.


No comments:
Post a Comment