Thursday, April 4, 2024

Two-Sided Plaited Spanish Stitch


This is the latest stitch I have learned on my 100 Stitches journey.  As you can see from the title, this is the Two-Sided Plaited Spanish Stitch.  This is a decorative border stitch.    

I learned this stitch from the book Embroidery Stitches by Mary Webb.  According to the instructions, this is a stitch worked from left to right in two rows.

To begin, I used a ruler to draw three guidelines - top, center and bottom.  I started on the left side of the bottom line: 

I brought the needle up through the fabric and pulled all the way through.  Next, I went back into the fabric at a slant - the book suggests using an even weave fabric so that you can count the "spaces" created by the woven fabric.  In the case of this stitch, they counted five spaces vertically and three spaces horizontally to make their slant. 

I pulled the thread all the way through and then started my next slanted stitch from the bottom row:

and continued to the end of the row:

For the top row, I made the same slanted stitches, 

making sure they met on the middle row:


Wednesday, March 27, 2024

Embroidered Easter Table Napkins and Linens


These three motifs are from my Easter embroidery pattern set.  The pieces are: a left hand corner decoration, a right hand corner decoration and a center decoration.  I am experimenting with using them together for some Easter table linens.  I think they can work on a table runner or napkins:


The flowers are so easy to embroider, I should be able to finish either option by Easter.  {Lazy Daisy Stitch / Blanket Stitch / French Knots}

I am using a simple, pastel color palette too.  Here are the numbers:


I took this picture from my Camellia a few days ago - I am hoping the blooms will last through Easter!  


Monday, March 18, 2024

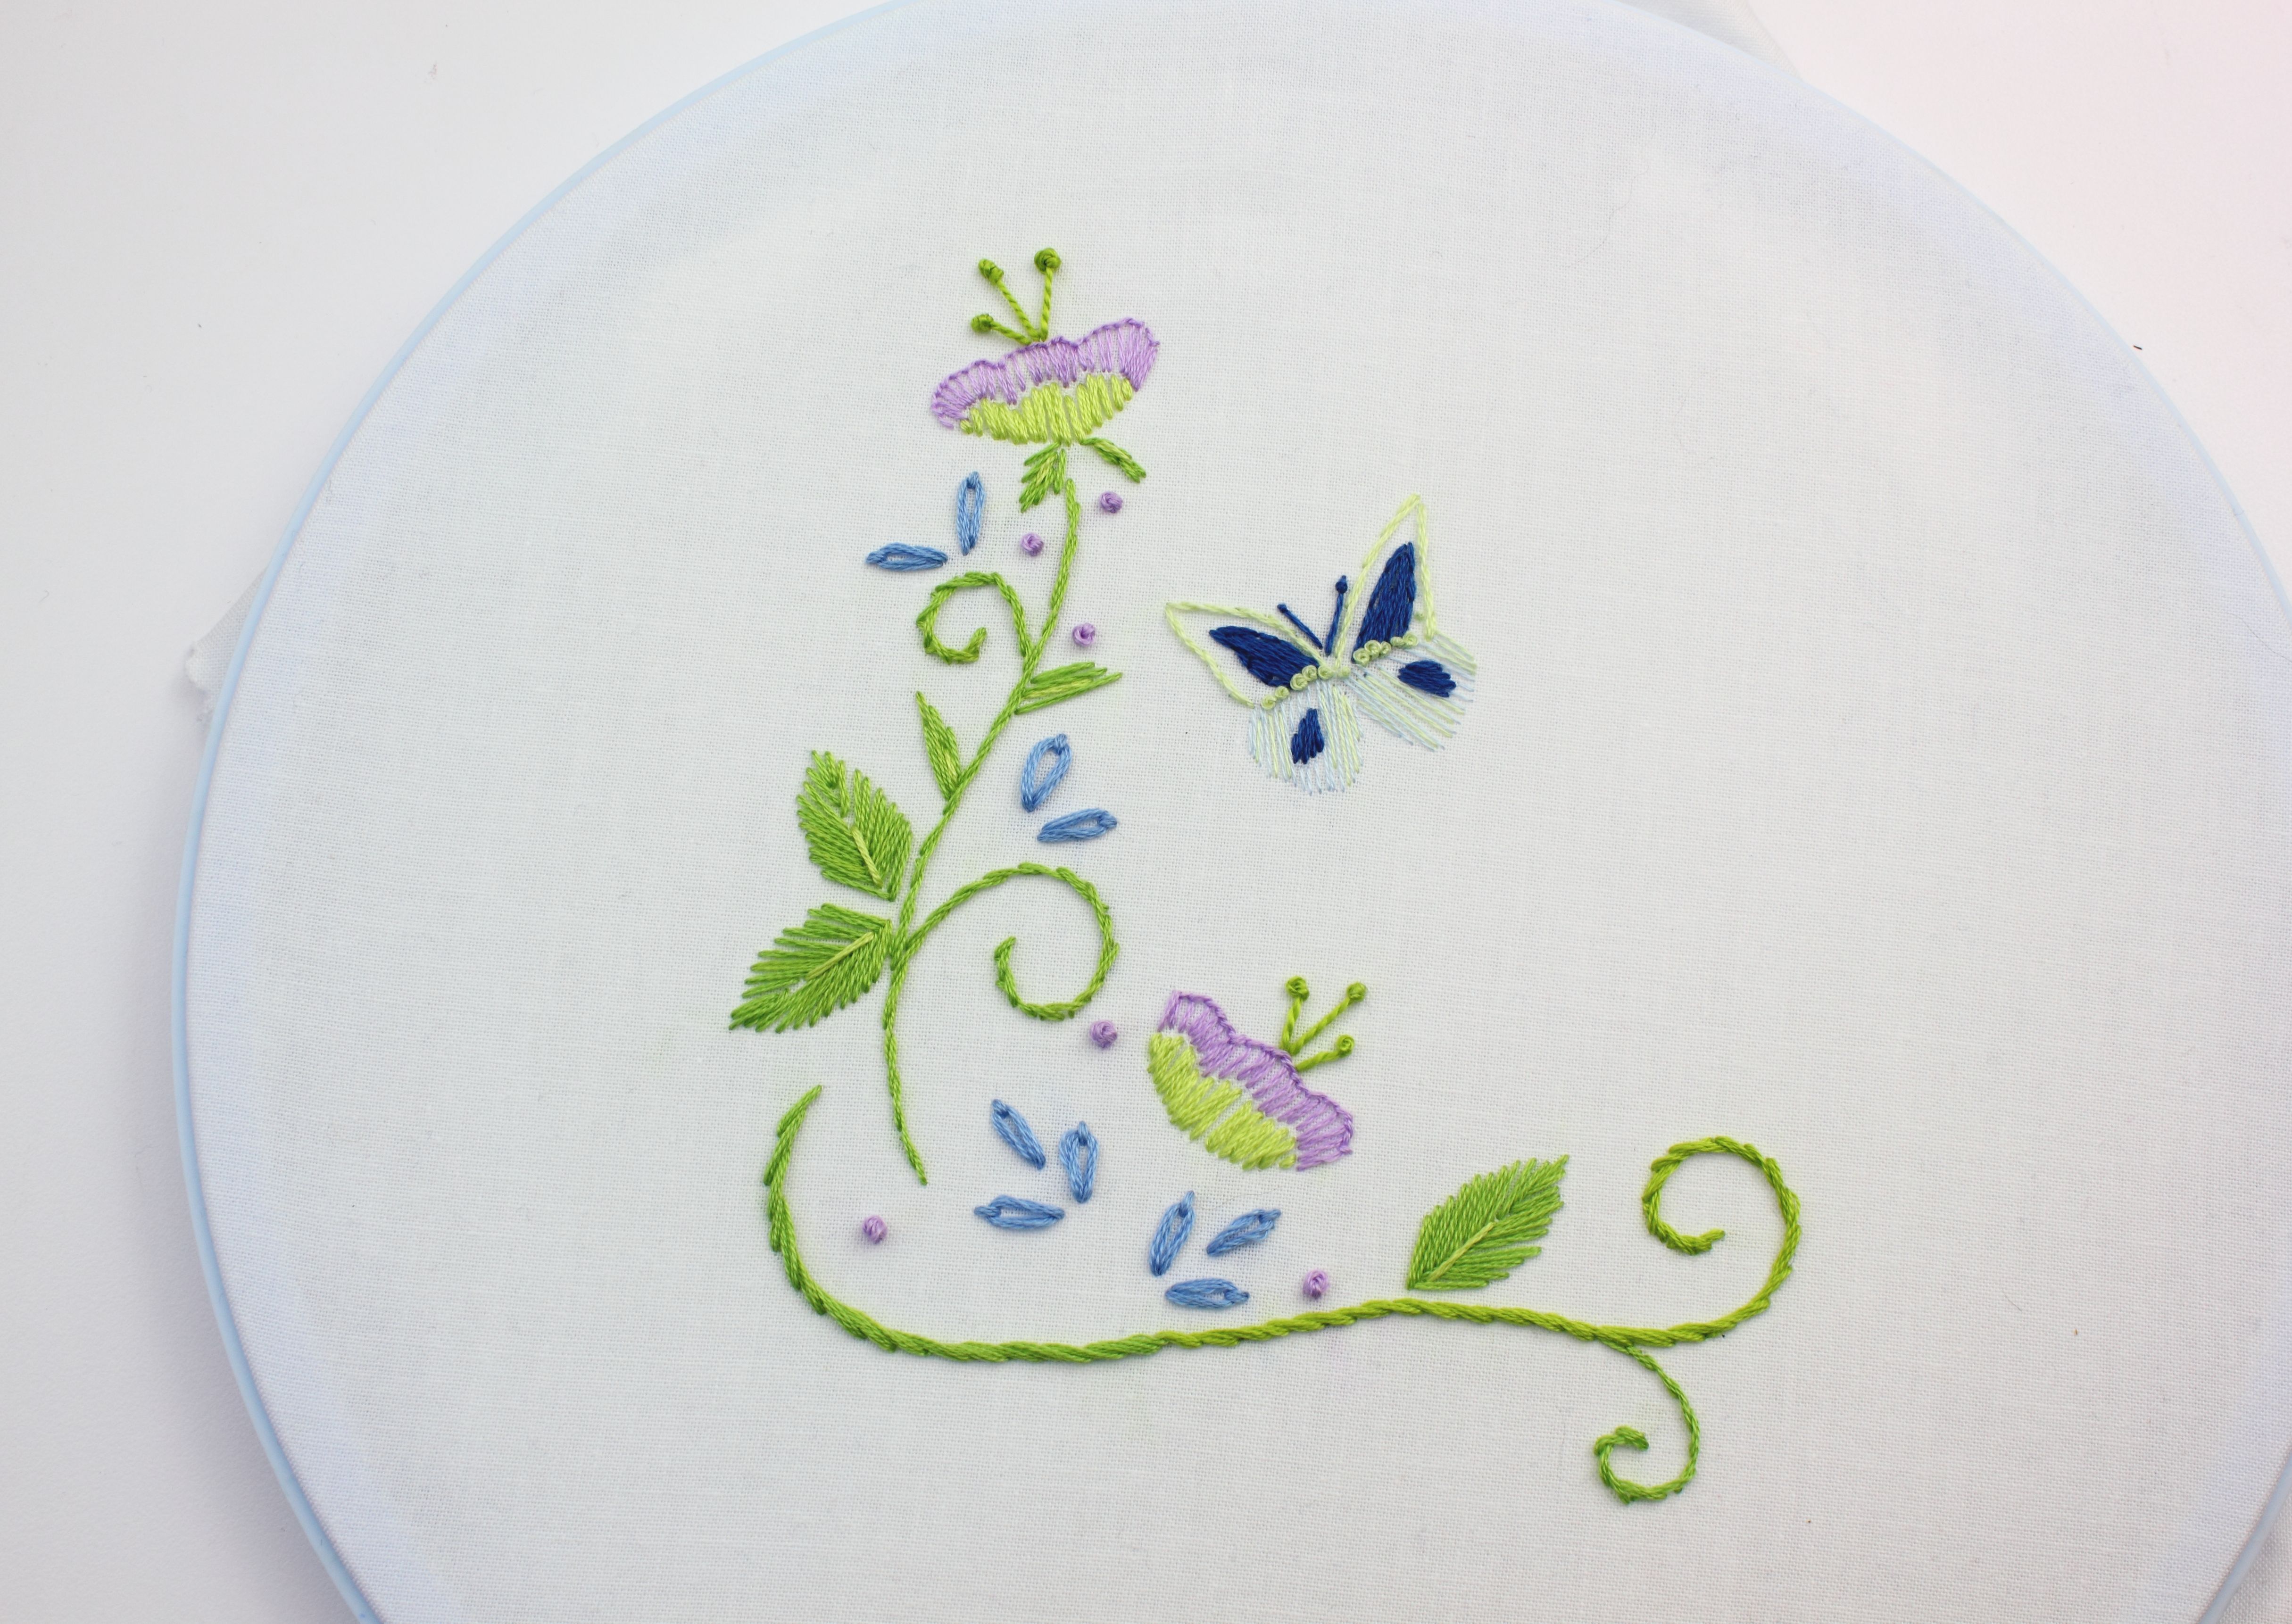
Butterfly Garden Embroidery Project

 This embroidery is from my Butterfly Garden pattern set.  


This is a fairly good sized motif, 5.5" vertically and 5" horizontally.  

All of the stems are done with Stem Stitch.  The green leaves are Fish Bone Stitch and the blue leaves are Lazy Daisy Stitch.


The lilac colored dots are French Knots.  The lilac and green flowers are Straight Stitch, with their tops edge outlined by Double Knot Stitch.  The flower pistils are done with Pistil Stitch. The tiny leaves under the flower are Straight Stitch. For the butterfly, his wing tops are outlined with Stem Stitch and his antennae are Pistil Stitch.  He has French knots across his wings. His wing spots are Straight Stitch.  The leaf vein lines in the green leaves are also Straight Stitch.


The color palette for this project is below:


Friday, January 26, 2024

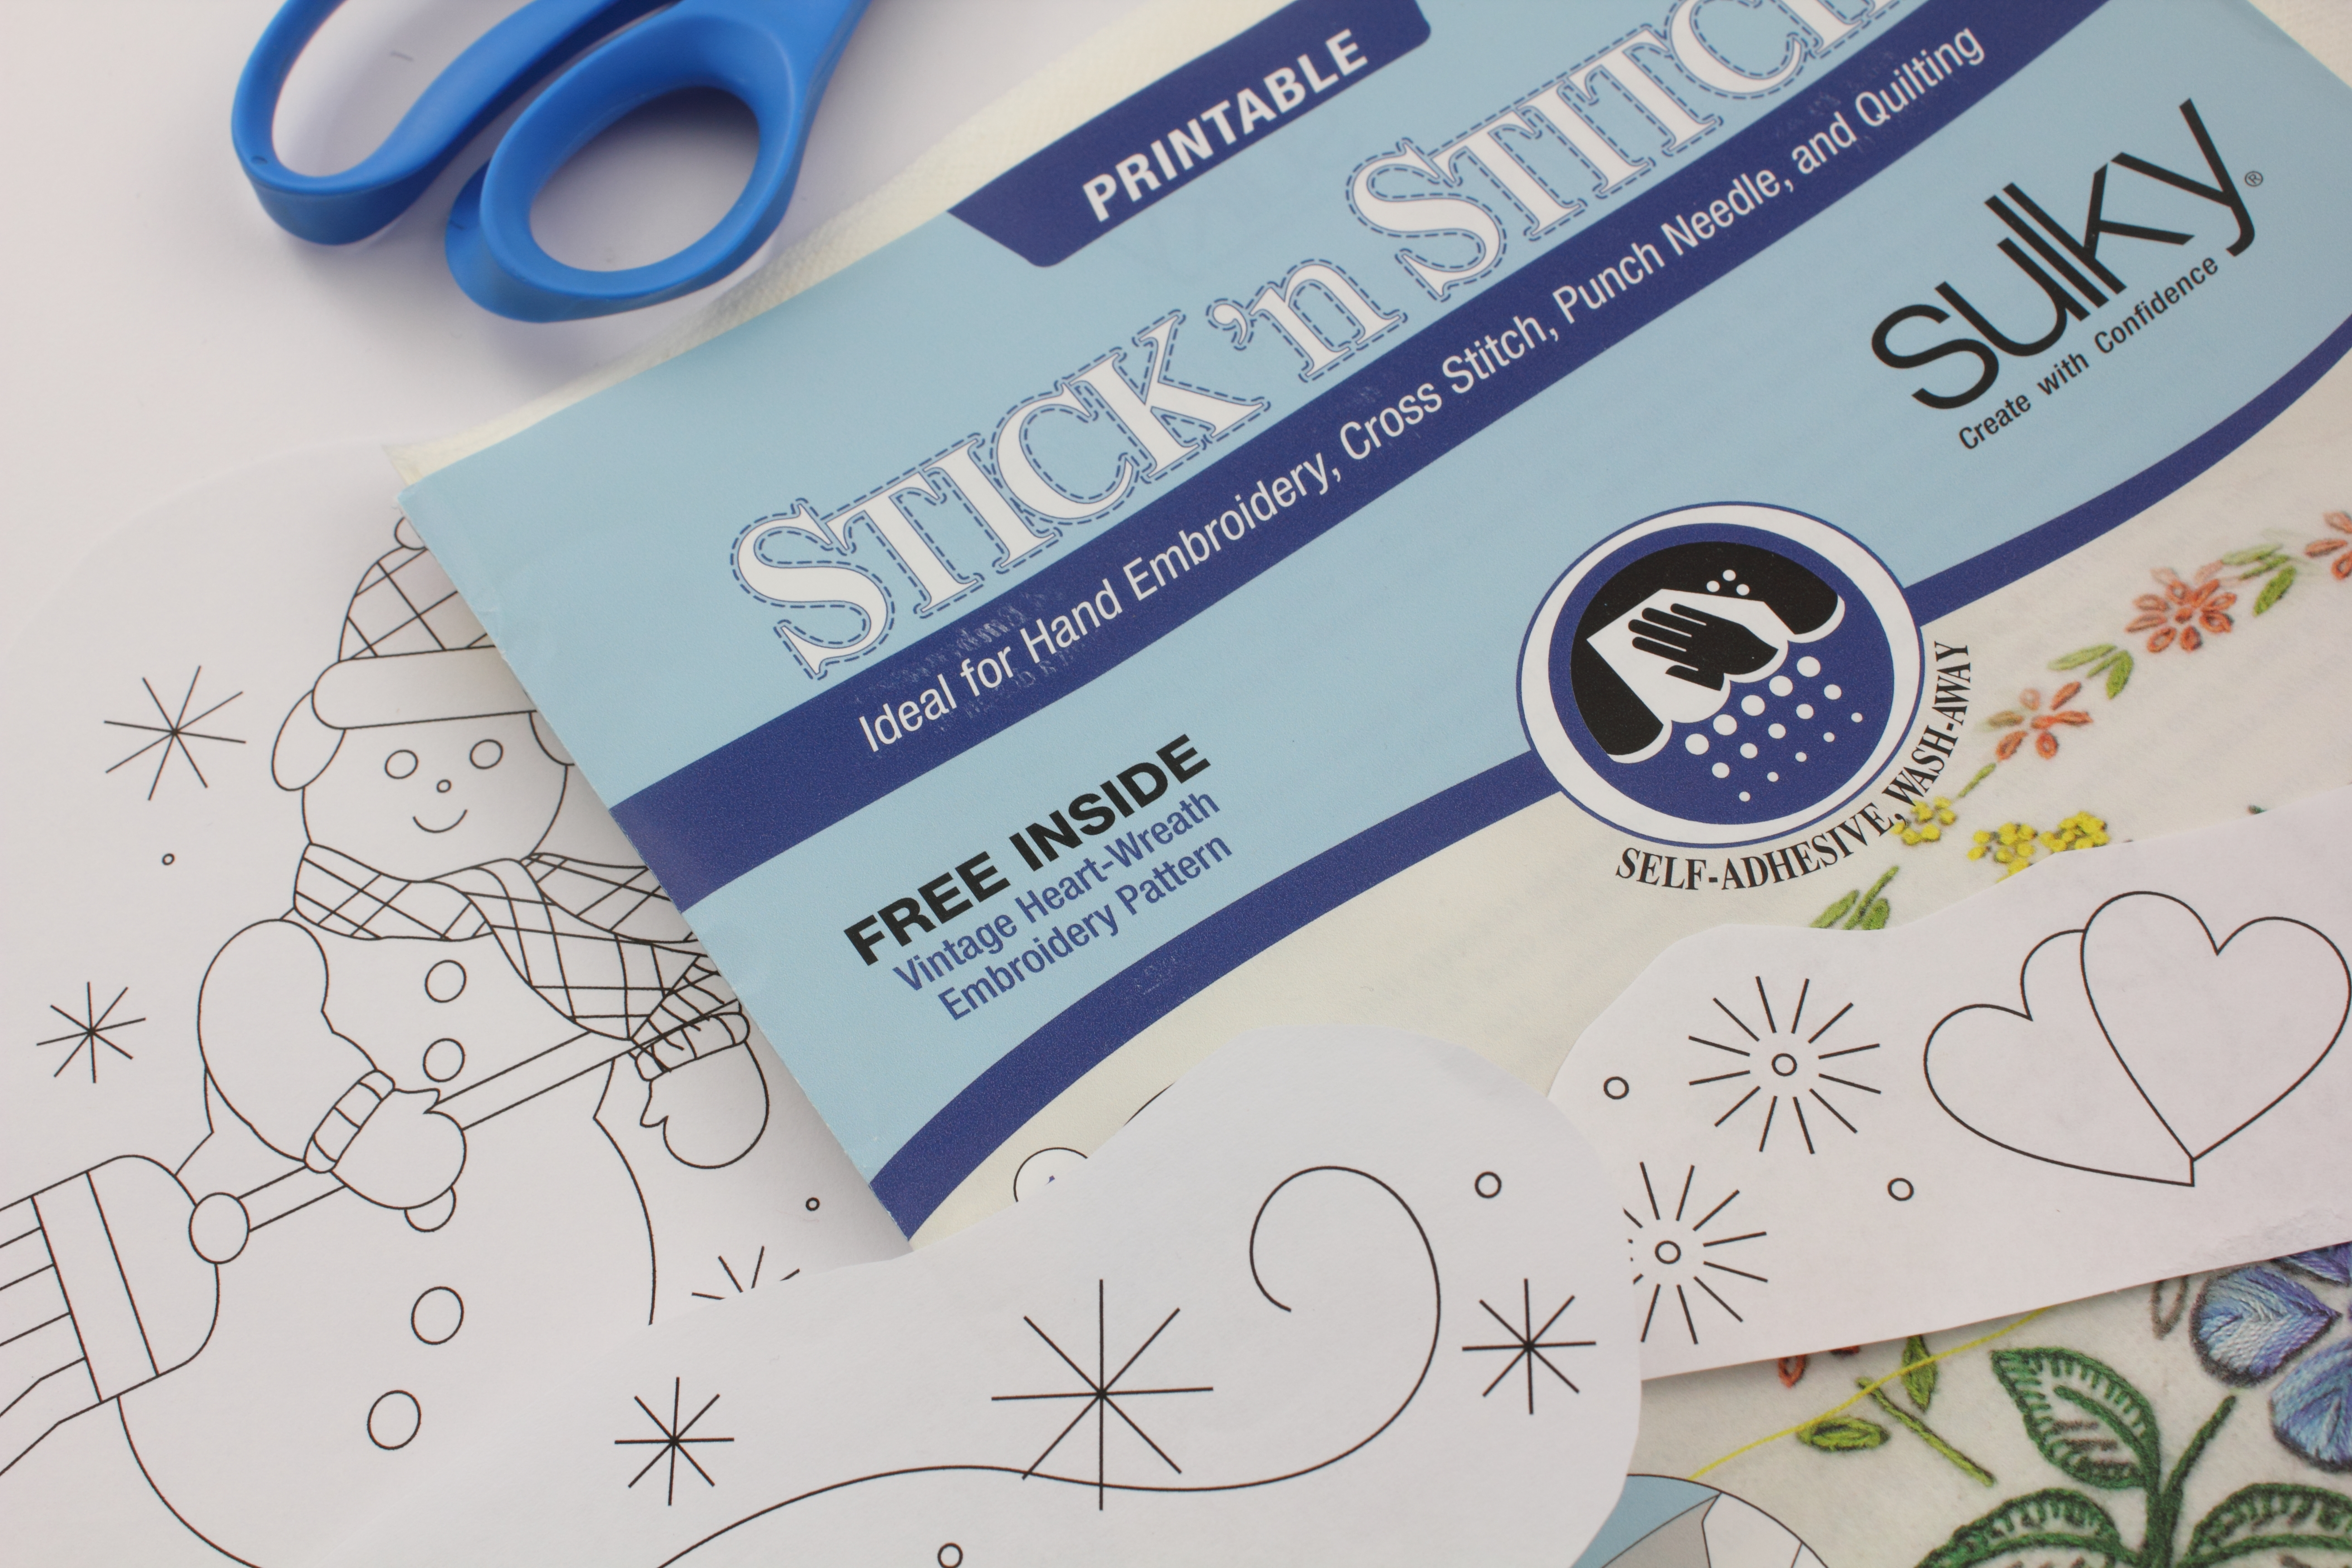
Transferring an Embroidery Pattern with Sulky Stick 'n Stitch


As the post title suggests, I am using Sulky brand Stick 'n Stitch to transfer this snowman embroidery pattern to fabric.  

I chose this snowman image from my Snow! embroidery pattern set.  I put a sheet of the Stick 'n Stitch paper into my ink-jet printer tray and printed the image.  Then I cut around the image: 


Peeled off the backing from the Stick 'n Stitch sheet:


And adhered it to the fabric:


I trimmed my fabric and then put it into an embroidery hoop:


So far, I am really impressed!  The whole process is simple and the stitching lines are clear and easy to see.

I have started stitching and am pleased that my needle has no problem passing through the Stick 'n Stitch.  I am using the medium weight sheets.


When all the stitching is complete - the Stick 'n Stitch sheet can be rinsed away, leaving just my embroidery with no stitching lines.  I will post again with that process!

Wednesday, December 20, 2023

Embroidery Ornament - Finishing The Back Of The Hoop / Project Details


Here are all the details of the monogram Christmas ornament project I first posted about{here}.

I used four different stitches on this project.  For the letter, the evergreen and gold flower stems I used the Back Stitch.  The evergreen needles, the snowflakes and star are all Straight Stitch.  The red berries are French Knots and the gold leaves are Lazy Daisy Stitch.

I used a simple color palette as well - here are the floss color numbers:


Each monogram in this pattern set is perfectly sized to fit a 3" embroidery hoop.  When I stitched this, I used a larger hoop with a generous amount of fabric.  This made for an easier time stitching and also ensured that I had enough fabric so I could gather the raw fabric edges and finish them on the backside of the hoop.

When I finished the stitching, I transferred it to the 3" hoop:

Next, using about 20" of embroidery floss, I ran a Basting Stitch all the way around the hoop.  I made  sure to leave 2" tails of floss both at the beginning of the Basting Stitch and at the end. 


I trimmed my fabric to about 1-1/2" from the Basting Stitch line:


Then I gently pulled both floss tails until the fabric gathered into a tight circle around the backside of the hoop.  I tied the tails together.


To make a clean finish on the backside of the hoop, I used a 3" circle of cardstock.


and glued it to the hoop.

I added a red cord to the tightening screw on the hoop and my ornament was ready to hang!


Friday, December 15, 2023

Monogram Christmas Ornament


I have a new hand embroidery pattern set available in my shop.  This one is titled Monogram Christmas Ornament. 
I will be posting all about my stitches and color palette numbers from this "M" monogram soon!

Wednesday, November 15, 2023

Autumn Embroidery - part two


I finished the stitching on this autumn embroidery project.  I am really pleased with the result!

I used the Back Stitch for all of the stems.  For the salmon pink colored leaves, I used Straight Stitch.  For the green leaves, I used Lazy Daisy Stitch with a Straight Stitch over the top.  The seed heads on the tarragon plants are all French Knots.

Here are the floss color numbers for the palette I used: