

This is such a beautiful stitch and really fun to do. This is just the basic chain stitch - I notice that the 100 Stitches book has nine variations on this simple stitch!
 The pictures for "checkered chain stitch" and "rosette chain stitch" in particular look pretty complicated!
Here are the steps I used when learning the chain stitch. For my floss, I used
this pretty perle cotton. This is DMC color variations number 4210.

First, I used a ruler and water soluble marking pen to mark a stitching line to follow:

I started this stitch on the left edge of the marked line, with my needle coming up through the fabric.

Pull the floss all the way through:

I brought the needle back around and went back into the fabric right in the same hole that the floss first emerged from:
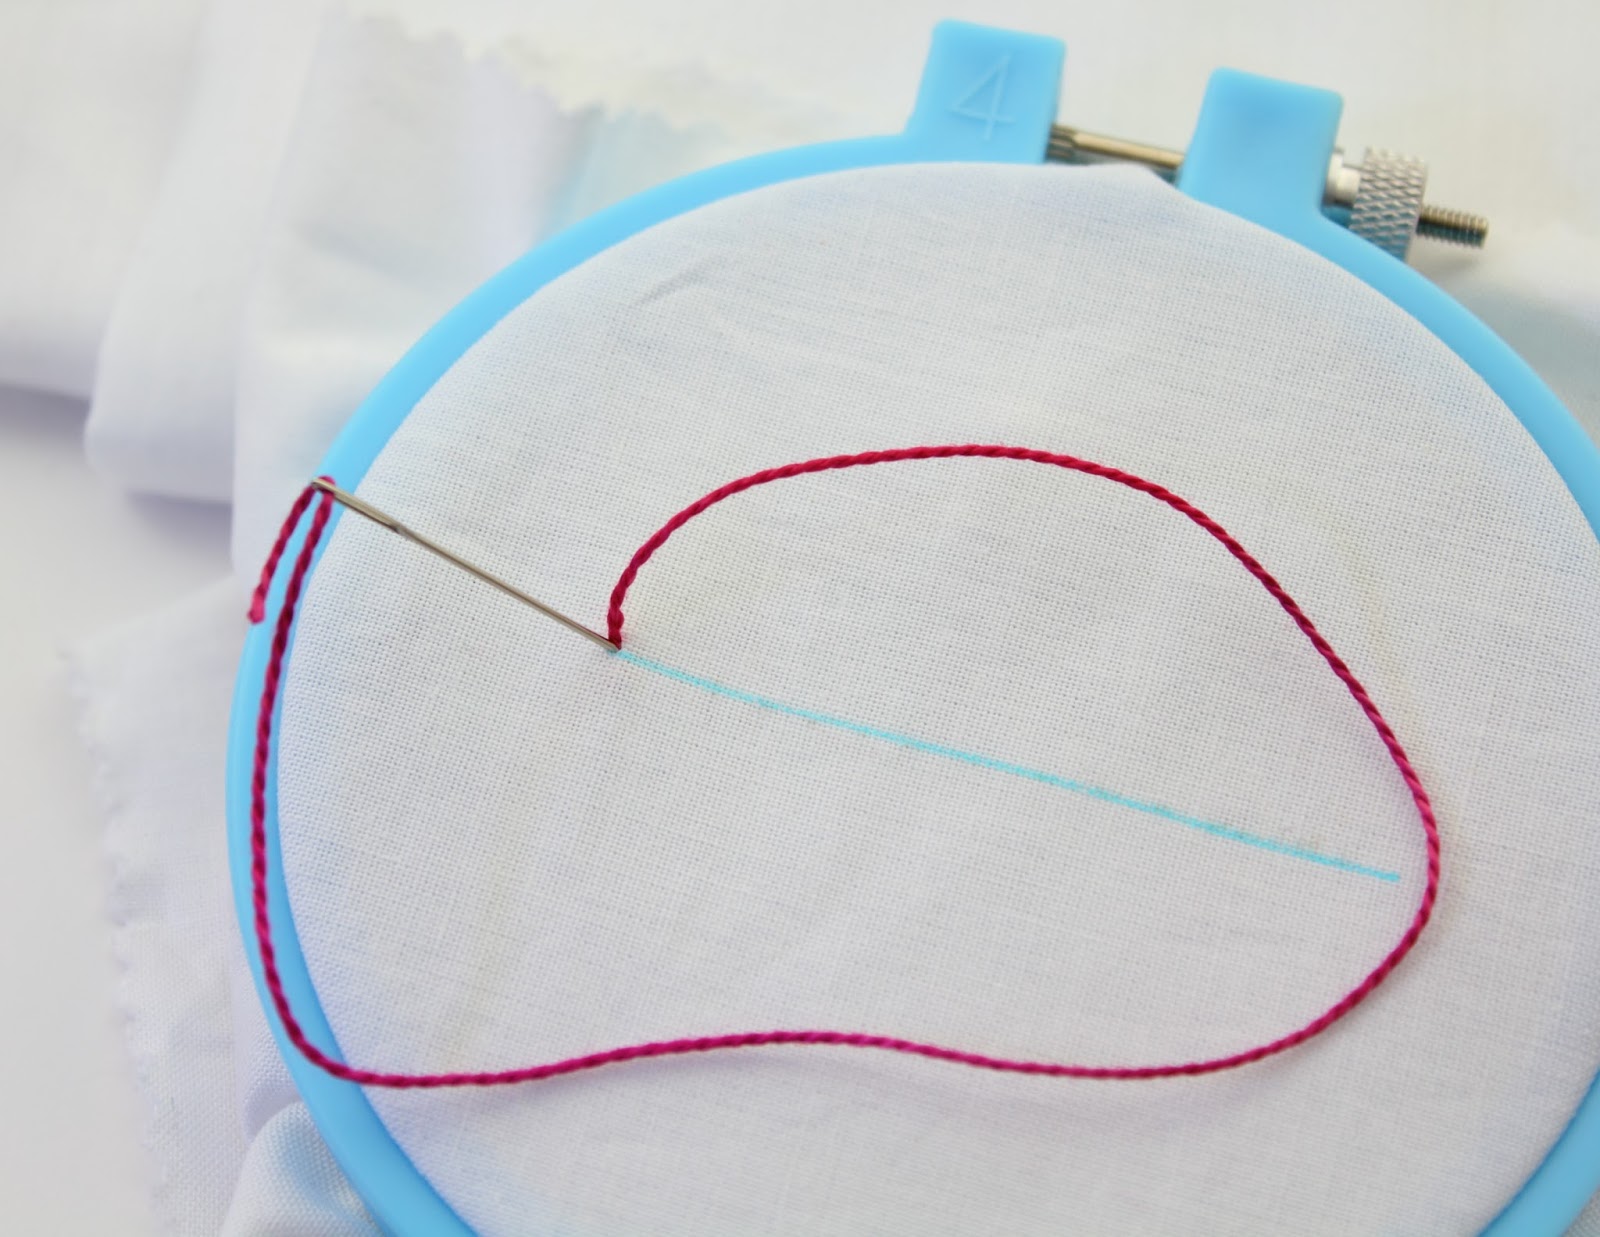
I brought my needle back out of the fabric along the stitching line, a small ways to the right of where the needle first went in. Start pulling the needle and notice the needle is passing over the top of the working floss:

As I pulled, it starts to form a loop:

Once pulled all the way through, a sort of tear-drop shape is formed:

I brought my needle back around and went back into the fabric right in the same hole or even just alongside but a little below the hole that the floss just emerged from:

I then brought the needle back out of the fabric, just like before a bit to the right along the stitching line, making sure the needle passes over the working floss:

Pull the floss all the way through and form the second chain stitch:

I continued stitching all along the marked line and at the end I finished by going back into the fabric on the right side of the last tear drop shape:

I pulled my floss through:

and secured it on the underside:


No comments:
Post a Comment
Hello and welcome to my blog! I appreciate your readership and comments. I have comment moderation enabled to catch spam, so your comment will appear after it is approved. I love to answer back to your comments right here in the comments section. Thank you!