skip to main |
skip to sidebar
Not so long ago I bought this little group of floss - these are such pretty colors. From left to right the colors are DMC 321, 307, 956, 813 and 208. These colors are perfect for summer stitching projects:
I have quite a few stitching and other projects in the works. Some with summer colors, some not!
Speaking of summer, we are having a stretch of hot {for us} weather here in the pacific northwest - It has been really nice for the garden.
Shasta Daisies:
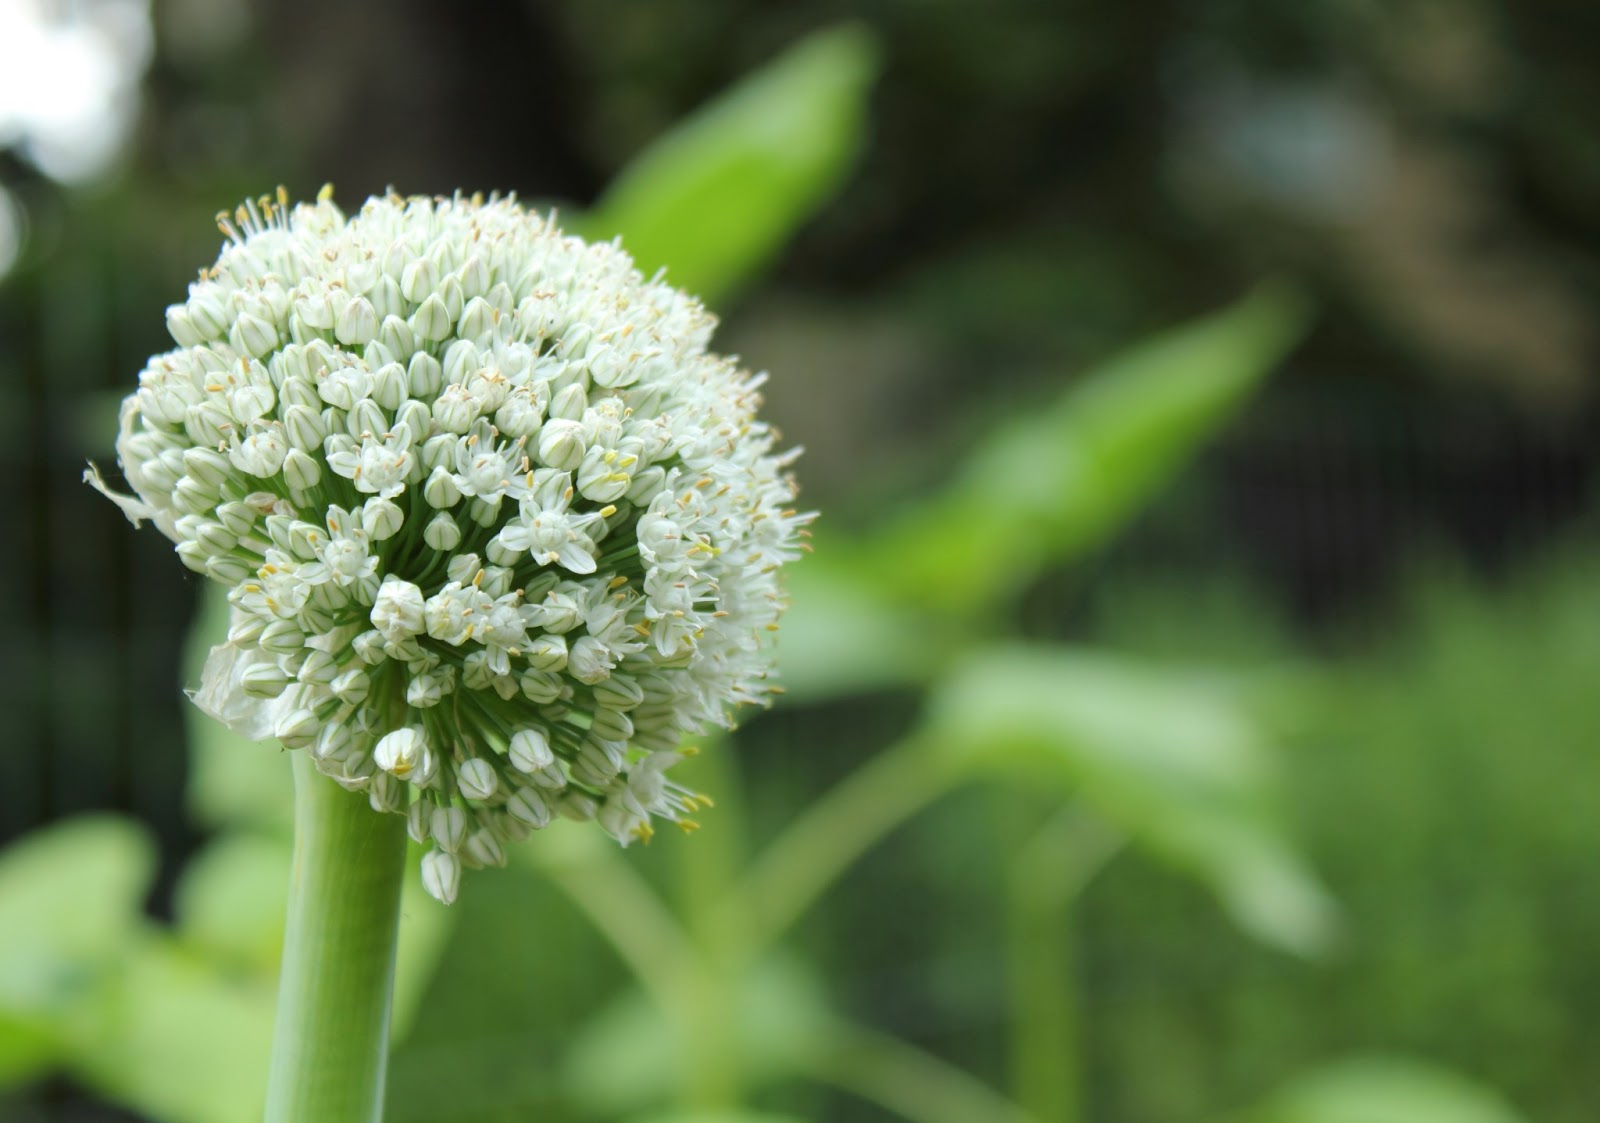
Onion:
Scarlet Runner Beans:
Tomatoes:
White Hydrangea:
So many beautiful colors!
I have learned another stitch on my list from 100 Stitches. This is the Diagonal Raised Band Stitch.
This stitch is from the Drawn Fabric Embroidery Stitches category. Stitches from that category require the ability to count the threads in the fabric so I used a medium weave linen fabric. As you can see, it is so easy to count the individual threads! For my floss, I used DMC Color Variations perle cotton. This is #4180:
The stitch is a series of straight stitches worked from right to left and back again. It results in a diagonal line of stitching. The first step is to come up through the fabric at the bottom right side of the stitching line:

Count up four threads above and two threads to the left of where the needle emerged and go back into the fabric:
Pull all the way through to make the first straight stitch. Next, come back up through the fabric two threads down and two threads to the left of where the needle went back into the fabric:
Pull all the way through. Now count up four threads above where the needle just emerged, go back into the fabric and pull all the way through to make the next straight stitch:
Now count down two threads and two threads to the left and bring the needle up through the fabric to start the next straight stitch.
Just continue to do those steps until you have a diagonal line of straight stitches. To start back down the line, come up through the fabric just like you were making the next straight stitch:
But now go back into the fabric four threads to the right - the needle goes right into the same hole made by the top of the straight stitch four threads to the right:
Pull all the way through to make a straight stitch. Now bring the needle up through the fabric two threads down and to the left of where your needle just went into the fabric. Notice the needle is emerging from the hole at the base of the straight stitch you just crossed:
Pull all the way through and count four threads to the right and go back into the fabric:
Just continue those steps all the way to the last straight stitch. 100 Stitches did not have any instructions for ending this line of stitching so I just went back into the fabric and secured the thread under the fabric.
Here is the finished stitch:
Here is a picture of the underside of the stitch. You can see how I secured the floss:
Remember to pull the floss tightly to create the drawn fabric look of this stitch. I think this is a really pretty stitch!
This stitch is #92 on the 100 Stitches list.
Continuing on with my organizing, the latest craft I have organized is my knitting. I would describe myself as a beginning knitter but I have more than a few knitters in my family. Because of them, I have inherited quite the needle and yarn stashes. I decided to make up a knitting journal along the lines of my embroidery and sewing journals.
This journal has pages for everything knitting related. I included pages to record all the yarn I have with an area to attach a sample of the yarn and of course all the yarn details:
Same with needles. I have mostly single pointed needles in my collection, but I included a page for double pointed needles and a page for circular needles. I am really happy to have all my sizes organized and to know which sizes I still want to add to my collection.
I also added an editable feature. I can type whatever category title I want on this page to customize the binder:
Same with these binder tabs. It is really easy to type in whatever titles or words I want and print them. If the categories change, I can type in new categories and print:
I am recording my various knitting projects. So many details to remember:
I have listed this knitting journal in my Etsy shop. I made these in pink, blue, lavender and black.
I have an update on my La Cucina stitching project. You may remember I was satin stitching the lettering with perle cotton floss?
Well, I wasn't really thrilled with the uneven, patchy look of the "C" so when I started on the "u" I used a back stitch for the outline and to fill in the letter. I am much happier with the even-edged chunky look. I think the small "c" looks great too so that is the stitch I am going to use for all the lettering:
The satin stitching does look really good on the decorative border, especially in this dark yellow floss. This is DMC #742:
I love yellow and especially yellow roses! I wanted to share a picture of these beautiful roses. These are some blooms from my garden, the yellow and pink/yellow are the Peace tea rose, the red bud is from the Chrysler Imperial tea rose. They are both really easy to grow. I see plenty of new buds so more pictures to follow!
This is the Star Eyelet Stitch, the latest stitch I have learned from 100 Stitches. Isn't it beautiful? Notice the open center?
I stitched this on medium weave linen fabric because the weave is loose enough that I can count the threads. According to the instructions, this stitch is worked in a square over eight threads horizontally and eight threads vertically. The floss I chose is this gorgeous color variations perle cotton. This is DMC #4190:
The first step I did was to count eight threads each way and put a mark on each end. The point of this stitch {from the drawn fabric embroidery section} is to do eight straight stitches, with each stitch going through the same hole in the center of the square. I made a mark in the center and since there are eight stitches, I put a mark half-way between each line. I made these marks with my water soluble transfer pen.
I first came up through the fabric on the upper left corner.
Then I went back into the fabric at the center hole mark:
That is the first stitch.
Then I came up through the fabric in the upper center mark
Then back into the fabric in the center hole mark. Pull through and that makes the second stitch.
I just continued making straight stitches from each mark and then through the center hole. I had to pull pretty firmly to start "drawing" the fabric to make the nice open center hole:
Here it is completed:
Then I washed out the pen marks:
The underside looks really neat and tidy:
This is an easy stitch to do and it is so beautiful!
This is stitch #89 and is in the Drawn Fabric Embroidery category of 100 Stitches.
This stitching project is from my new pattern packet, La Cucina Italiana. I am stitching this with some beautiful perle cotton floss:
I am so pleased with all the motifs in this pattern set! I can think of so many projects to use them on. I am definitely going to make kitchen towels and stitch all the days of the week in Italian:
Maybe I should do them in the colors of the Italian flag...
I also really like this color combination:
Here is a picture of the pattern packet. This is listed in my Etsy shop:




 Posts
Posts

