Time to show you the latest stitch I have learned from 100 Stitches. This is the twisted insertion stitch:
This is a stitch used to join two pieces of fabric together:
I used the recommended technique of first stitching the fabric pieces to heavy paper. Remember when I did this for the Buttonhole Insertion Stitch? This is the same set up but for the Twisted Insertion Stitch, I spaced the fabric edges about 3/8" apart. I folded under the fabric edge to act as a hem and then stitched the two pieces of fabric to the paper.
To demonstrate my stitch, I am using some perle cotton floss - DMC color variations #4210 - radiant ruby :)
The first step is come up through the fabric inside the hem. This will hide your knot.
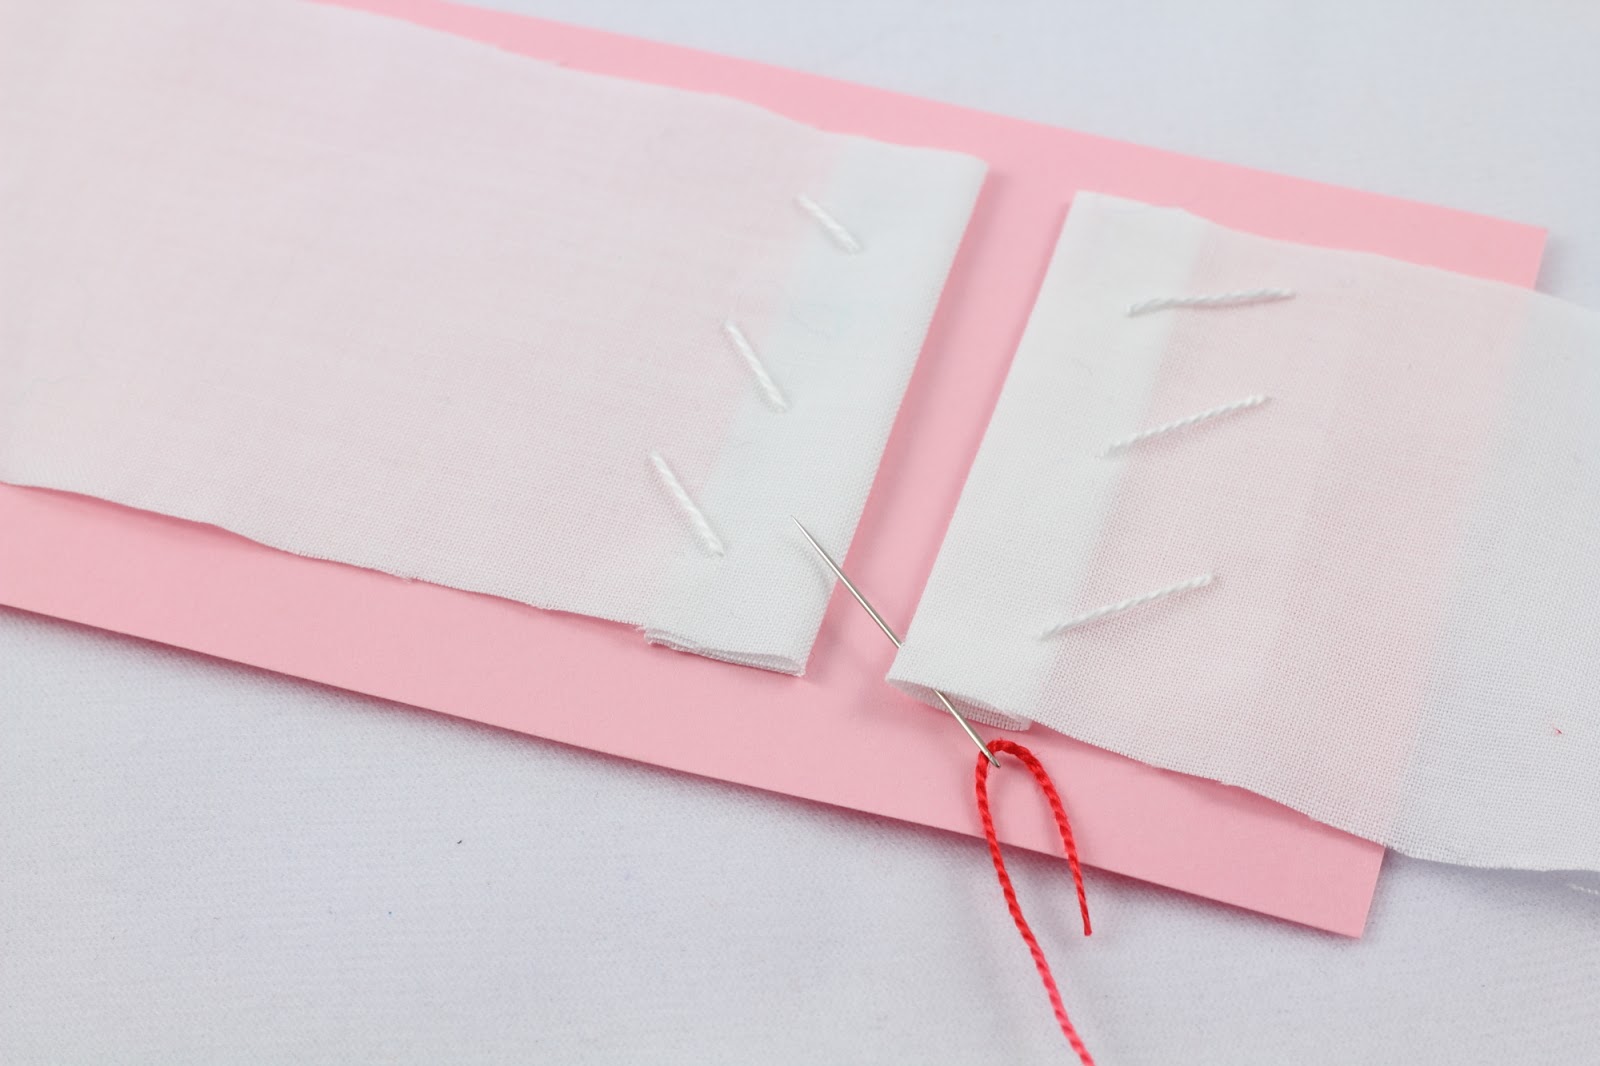
Pull the thread all the way through and go into the opposite piece of fabric. Go into the fabric from the underside and emerge on the top side of the fabric. Pull the thread all the way through. For this stitch, you will always be entering the fabric from beneath:
Now these next steps I found a bit confusing...according to the picture in 100 Stitches, I am doing this correctly, it just seems sort of awkward the way the needle wraps around the thread. I think it will be difficult to explain in words but hopefully my pictures will make sense! The needle passes under the thread that just went into and out of the fabric:
Then straighten the needle and bring the tip of the needle over that same thread...?! Better just look at the picture!
Once the needle is in this position, go into the opposite fabric from underneath:
and pull the thread all the way through. This creates a little twist on the opposite fabric:
Now bring the needle around and once again bring the needle tip under the thread and then over the thread:
Bring the needle into the opposite fabric from the underside and pull all the way through:
Just keep doing that side to side
until you have joined the two pieces of fabric together:
Cut the stitches holding the fabric to the paper and admire the result!
I think this is really a beautiful stitch:
This is #99 on the list and is found in the Insertion Stitches category of 100 Stitches.
Thursday, January 17, 2013
Tuesday, January 15, 2013
Fabric
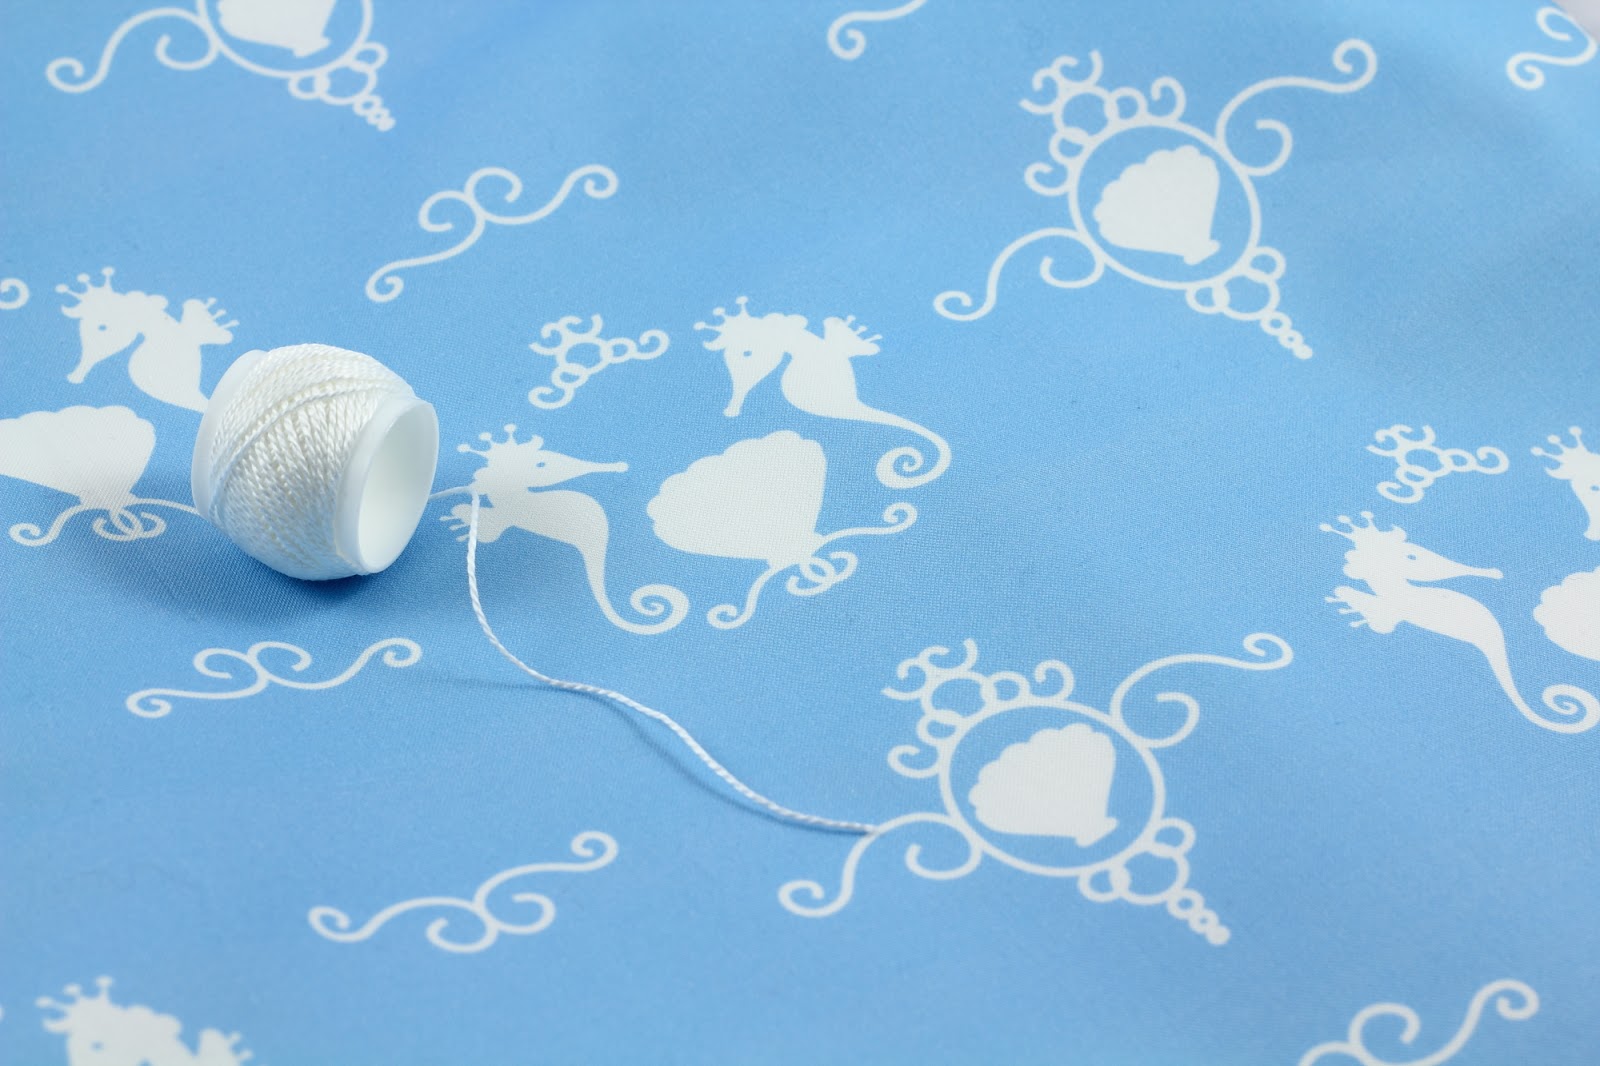
Do these seashell and seahorse images look familiar? Yes, they are from my pattern Seashells and Seahorses
I adapted them to print on fabric, designed this layout and then had it printed through Spoonflower. The concept of Spoonflower is such a wonderful one, to be able to design your own layout and then have it printed on the fabric and size of your choice.
I ordered mine in 100% Kona Cotton but Spoonflower has so many fabric choices, you can purchase this in cotton poplin or twill or even silk crepe de chine.
I am trying out some different trims, this white pom pom {pom pom trim is my favorite} looks really good:
It also might be fun to embroider over a few of the images. It will depend on what I am going to make with this fabric.
This was really a fun experience and I can't wait to try some more!
I adapted them to print on fabric, designed this layout and then had it printed through Spoonflower. The concept of Spoonflower is such a wonderful one, to be able to design your own layout and then have it printed on the fabric and size of your choice.
I ordered mine in 100% Kona Cotton but Spoonflower has so many fabric choices, you can purchase this in cotton poplin or twill or even silk crepe de chine.
I am trying out some different trims, this white pom pom {pom pom trim is my favorite} looks really good:
It also might be fun to embroider over a few of the images. It will depend on what I am going to make with this fabric.
This was really a fun experience and I can't wait to try some more!
Thursday, January 10, 2013
More La Patisserie cakes!
The stitching on my wip is done! I finished this cake from the La Patisserie pattern.
Now I think I will start on another cake. There are five different cakes that are sized the same in this pattern packet and I want to stitch the whole series.
You may remember when I finished this one. I love the way it turned out, but I may want to stitch it again without any text...
So which cake is up next?
I think this one with the frosting rose on top - or maybe it is a chocolate rose? I am going to enjoy doing the lazy daisy stitch around the cake! I have transferred it onto fabric and now my next decision will be colors
Should I stay with the pink and red..or just pink or perhaps another color combination???
For this particular cake, here are the colors I used:
Now I think I will start on another cake. There are five different cakes that are sized the same in this pattern packet and I want to stitch the whole series.
You may remember when I finished this one. I love the way it turned out, but I may want to stitch it again without any text...
So which cake is up next?
I think this one with the frosting rose on top - or maybe it is a chocolate rose? I am going to enjoy doing the lazy daisy stitch around the cake! I have transferred it onto fabric and now my next decision will be colors
Should I stay with the pink and red..or just pink or perhaps another color combination???
For this particular cake, here are the colors I used:
Tuesday, January 8, 2013
100 Stitches - Hemstitch
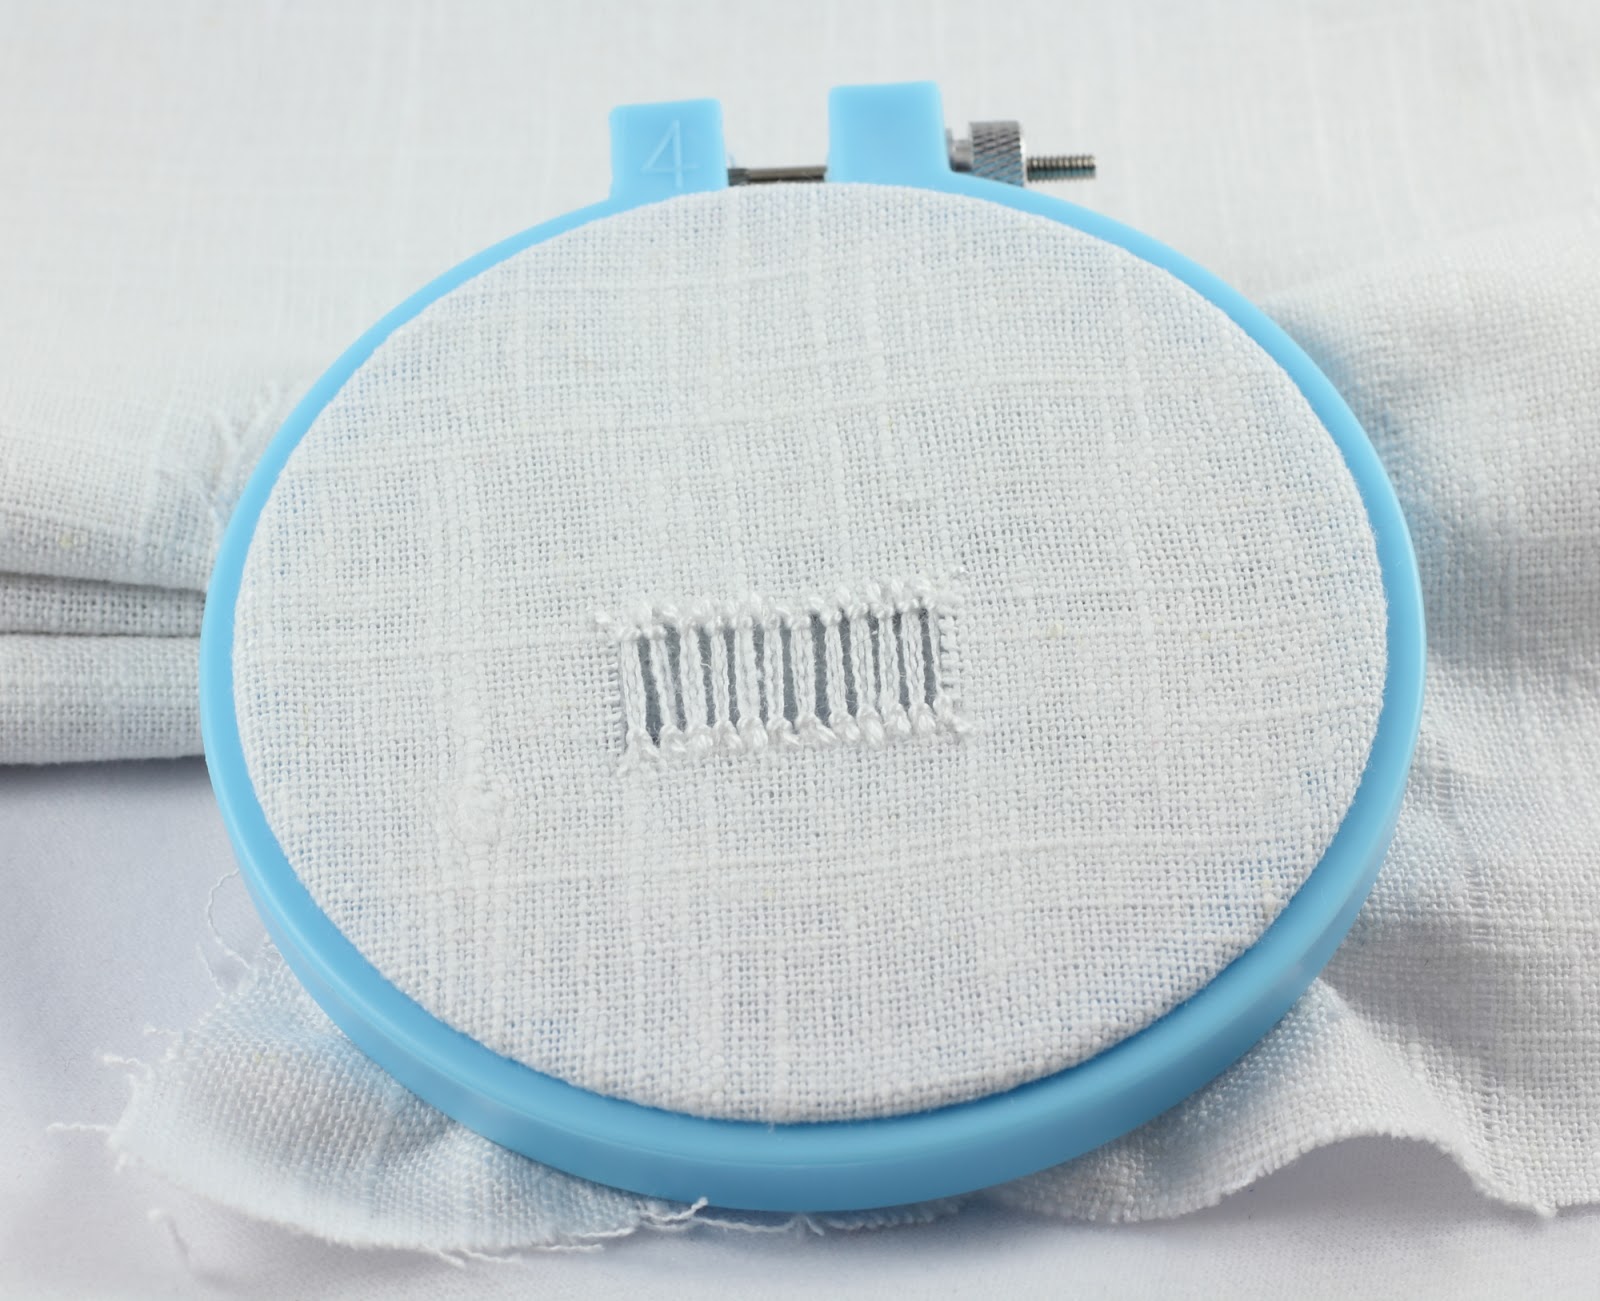
This stitch is the hemstitch. It is the latest stitch I have learned on my 100 Stitches journey. This is from a new category in 100 Stitches - the Drawn Thread Embroidery category! This type of embroidery is done by withdrawing threads from the fabric and then stitching decorative stitches over the remaining threads. You need a fairly loose woven fabric to be able to withdraw individual threads which is why I am stitching on this beautiful linen:
This fabric is very easy to stitch on, I love it even though it is very wrinkle prone! I love the white on white look of this floss on the linen, the floss is pearl cotton {dmc blanc}
To demonstrate this stitch, I am using pearl cotton floss in a pink {dmc color variations #4180} so it is easier to see my stitches. A pair of small sharp scissors is needed to snip the fabric so the threads can be withdrawn.
You can see the weave of this linen - the horizontal threads and the vertical threads are really easy to spot. For this stitch, the horizontal threads are going to be withdrawn:
Cut a slit between two vertical threads. You will be cutting through all the horizontal threads but between the two vertical threads:
Cut another slit the same way and the same size a distance away. I cut the second slit about 1-1/4" from the first slit. All the horizontal threads between these two slits will now be free and you can carefully pull them out. I found a needle helped to get them started:
You will be left with only vertical threads between the two slits.
To start the hemstitch, the needle comes up through the fabric on the bottom right hand side of the open area.
Pull the thread all the way through. Bring the needle around and slip it behind a few of the vertical threads:
Pull the thread all the way through:
Now bring the needle back around and again go behind the threads and this time go into the fabric and back out a few rows below the bottom of the open area. Notice when the needle emerges, it is going to pass under the working thread:
Pull all the way through. That is the first hemstitch. To continue, bring the needle around and slip it under the next few vertical threads:
Just continue with the same steps all the way across:
And then do the same thing for the top of the open area. I turned the hoop upside down and started back across just like I had done the bottom. This time it is a little easier because the vertical threads are already separated for you!
And complete!
One thing I did notice is that the edges of the slits are raw. There are no instructions in 100 Stitches for how to finish these edges for this particular stitch. In the general description for drawn thread embroidery, it explains that the threads are withdrawn from the fabric and the edges of the space of withdrawn threads are embroidered over. Maybe I should have done the hemstitch along the vertical sides of the open area as well? If anyone is familiar with this, I would love your advice!
*****Update! A wonderful way to finish the raw edges I was concerned about can be seen here : http://www.needlenthread.com/2009/02/hemstitch-in-drawn-thread-embroidery.html on Mary Corbet's excellent embroidery site Needlenthread.com. I can't wait to try this out!*****
Finally - here is a picture of the underside of the stitching:
This stitch was so fun to learn, it is really different from the other stitches I have learned so far. I am really looking forward to the rest of this drawn thread embroidery category! This stitch is #75.
This fabric is very easy to stitch on, I love it even though it is very wrinkle prone! I love the white on white look of this floss on the linen, the floss is pearl cotton {dmc blanc}
To demonstrate this stitch, I am using pearl cotton floss in a pink {dmc color variations #4180} so it is easier to see my stitches. A pair of small sharp scissors is needed to snip the fabric so the threads can be withdrawn.
You can see the weave of this linen - the horizontal threads and the vertical threads are really easy to spot. For this stitch, the horizontal threads are going to be withdrawn:
Cut a slit between two vertical threads. You will be cutting through all the horizontal threads but between the two vertical threads:
Cut another slit the same way and the same size a distance away. I cut the second slit about 1-1/4" from the first slit. All the horizontal threads between these two slits will now be free and you can carefully pull them out. I found a needle helped to get them started:
You will be left with only vertical threads between the two slits.
To start the hemstitch, the needle comes up through the fabric on the bottom right hand side of the open area.
Pull the thread all the way through. Bring the needle around and slip it behind a few of the vertical threads:
Pull the thread all the way through:
Now bring the needle back around and again go behind the threads and this time go into the fabric and back out a few rows below the bottom of the open area. Notice when the needle emerges, it is going to pass under the working thread:
Pull all the way through. That is the first hemstitch. To continue, bring the needle around and slip it under the next few vertical threads:
Just continue with the same steps all the way across:
And then do the same thing for the top of the open area. I turned the hoop upside down and started back across just like I had done the bottom. This time it is a little easier because the vertical threads are already separated for you!
And complete!
One thing I did notice is that the edges of the slits are raw. There are no instructions in 100 Stitches for how to finish these edges for this particular stitch. In the general description for drawn thread embroidery, it explains that the threads are withdrawn from the fabric and the edges of the space of withdrawn threads are embroidered over. Maybe I should have done the hemstitch along the vertical sides of the open area as well? If anyone is familiar with this, I would love your advice!
*****Update! A wonderful way to finish the raw edges I was concerned about can be seen here : http://www.needlenthread.com/2009/02/hemstitch-in-drawn-thread-embroidery.html on Mary Corbet's excellent embroidery site Needlenthread.com. I can't wait to try this out!*****
Finally - here is a picture of the underside of the stitching:
This stitch was so fun to learn, it is really different from the other stitches I have learned so far. I am really looking forward to the rest of this drawn thread embroidery category! This stitch is #75.
Saturday, January 5, 2013
A new wip
My first stitching project for 2013 is this fancy cake from the La Patisserie pattern. For the floss colors, I am going to use pink and red.
I have done the cake stand in red, using the back stitch and the double knot stitch for the top rim of the cake stand.
For the cake, I am doing the back stitch using three strands of pink cotton floss. For the frosting decorative border I am using three strands of satin floss. It is really beautiful! I am using the couching stitch with this, to hold the strands in place and give the border a draped look. In between each draped element, there is a round shape and I am using the satin stitch to fill those:
I was having a hard time doing the satin stitch with this satin thread :) the thread kept slipping out of the needle and it was becoming very frustrating. I remembered that I had some smaller needles that have a smaller eye so I switched to this size 28 chenille needle. It made all the difference! I had been stitching with my size 24 chenille needle - you can see the difference between the two - the top is the 24 and the bottom is the 28:
The 28 really holds the satin floss better. Since the 28 is shorter I find it easier to work the satin stitch. Here you can see the two needles threaded, I am using only one strand of the satin floss to do the satin stitch.
I will be sure post my pictures as I make more progress on this one!
I have done the cake stand in red, using the back stitch and the double knot stitch for the top rim of the cake stand.
For the cake, I am doing the back stitch using three strands of pink cotton floss. For the frosting decorative border I am using three strands of satin floss. It is really beautiful! I am using the couching stitch with this, to hold the strands in place and give the border a draped look. In between each draped element, there is a round shape and I am using the satin stitch to fill those:
I was having a hard time doing the satin stitch with this satin thread :) the thread kept slipping out of the needle and it was becoming very frustrating. I remembered that I had some smaller needles that have a smaller eye so I switched to this size 28 chenille needle. It made all the difference! I had been stitching with my size 24 chenille needle - you can see the difference between the two - the top is the 24 and the bottom is the 28:
The 28 really holds the satin floss better. Since the 28 is shorter I find it easier to work the satin stitch. Here you can see the two needles threaded, I am using only one strand of the satin floss to do the satin stitch.
I will be sure post my pictures as I make more progress on this one!
Posted by
Kim
at
1/05/2013
Labels:
back stitch,
couching stitch,
double knot stitch,
la patisserie embroidery pattern,
satin stitch
11
comments
Thursday, January 3, 2013
Cold weather and some new floss
Happy 2013 - I hope your year is off to a wonderful start! Mine is starting out with embroidery :)
I just bought some new embroidery floss. I picked up two each of a few of my favorite colors:
I also found these two colors, which are new to me. They are dmc #3032 {the sage green one} and dmc #3824 {the coral one}. I had never seen these two colors. I have a sage green already that I love using, it is dmc #611 but this #3032 is much lighter and has a silvery look to it. These are both really pretty and I am looking forward to using them.
Speaking of a silvery look, it is a bit chilly here today - I had to capture the beautiful sight of the frost on these little maple leaves:
Brrr...!
I just bought some new embroidery floss. I picked up two each of a few of my favorite colors:
I also found these two colors, which are new to me. They are dmc #3032 {the sage green one} and dmc #3824 {the coral one}. I had never seen these two colors. I have a sage green already that I love using, it is dmc #611 but this #3032 is much lighter and has a silvery look to it. These are both really pretty and I am looking forward to using them.
Speaking of a silvery look, it is a bit chilly here today - I had to capture the beautiful sight of the frost on these little maple leaves:
Brrr...!
Subscribe to:
Posts (Atom)