Tuesday, August 24, 2010

which colors work on this wip?

Apparently not these that I am already taking back out! I think this fire-y orange floss is just too intense a color for this image of a sweet sleeping lion. I have stitched this before all in a pale, dreamy blue (dmc #3761) and I loved the way it turned out! Now I am trying to stitch it in a more lion like color but still have it look suitable for a baby.
I have two new sets of floss, these beautiful colors:
And these gorgeous perle cotton variegated colors! It seems like the variegated colors will make a softer look. I think I will use one of these for the mane!
or maybe one for the mane and tail and another one for the body? Any suggestions for color combinations would be appreciated!
According to my color wheel, my new floss is in analogous colors - or those that lie adjacent to one another on the wheel. That would cover all the red, brown, orange, tan and yellow. Perfect!
Speaking of yellow, I also wanted to post some pictures of these beautiful crackerjack marigolds. I started these from seeds - this variety can sometimes grow over 3' high. They are one of my favorites!
I also wanted to post this picture of Rego and Berit. I love their expressions - they are both hoping I will stop taking pictures and throw their current toy - on this day their toy was this piece of a tree root!

Thursday, August 19, 2010

100 Stitches - Couching

Couching is the latest stitch on my journey through 100 Stitches. Can you see it on this pretty flower? I love this stitch now that I think I know how to do it! Here is my version:
First, you need two different threads. One is the "laid thread" and one is the "stitching thread". The stitching thread holds the laid thread in place.
This is an excellent stitch for outlining curvy lines so I am transferring this flower that is full of curvy lines to use as my stitching example:
I am using two different colors, a light pink- dmc #957 for the laid thread and a darker pink- dmc#602 for the stitching thread. For the laid thread, I am using all six strands of floss and for the stitching thread I am only using three strands of floss. Notice, only the stitching thread has a needle: This first step is where I realized I didn't really understand how to start or end this stitch, but I am going to proceed with how I thought you did this and then explain what I have figured out at the end of my post. So the first step according to 100 Stitches is to lay the laid thread down on the line of your design: Taking the stitching thread, come up through the fabric on one side of your laid thread:
Now go back into the fabric on the other side of the laid thread: Pull all the way through to make a small stitch:
Now come up through the fabric at your preferred distance from the first stitch and go back into the fabric making another stitch:
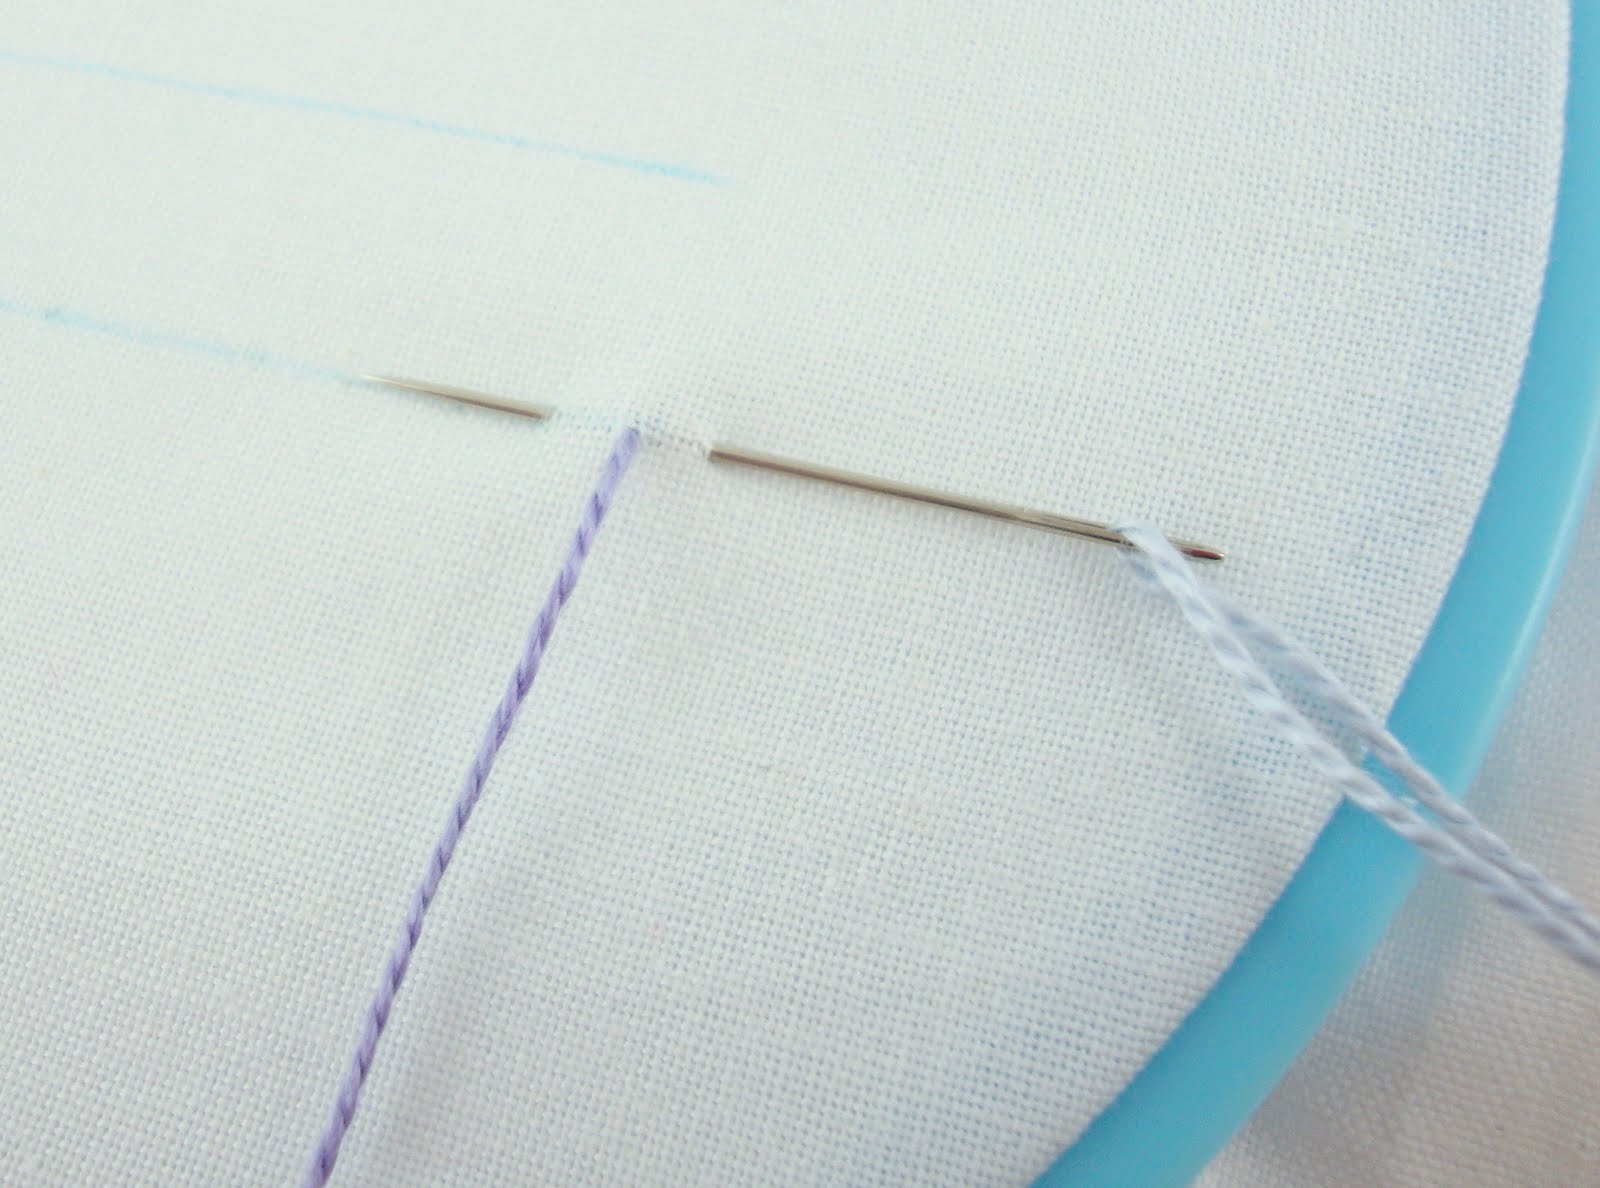
Just continue stitching the laid thread in place along your curvy line by making these small stitches at evenly spaced intervals:
Keep outlining until you have oulined the whole shape.
Now to what I don't understand. I finished my flower outline and just snipped the laid thread ends - they were just raw ends held down by the stitches but I don't think that is correct - you don't want floss that isn't secure poking out, I know it would eventually work itself loose. I did a lot of internet research and no one really explains how to end the stitch. I think in the future, I will take the laid thread and knot one end and come up through the fabric and then lay it on my design line and stitch it in place. Then to finish, I will take the laid thread back down through the fabric and weave it through the floss on the underside of the fabric to secure it in place.
The instructions for this stitch must be one of the shortest in the whole 100 Stitches book! If anyone has any tips or suggestions about this stitch, I would welcome your input!

Sunday, August 15, 2010

Gingerbread!

I have just added a new hand embroidery pattern packet to my Etsy shop! This packet features a sweet gingerbread man: and lots of embellishement patterns! There are six different gingerbread houses - this is one I stitched all in pastel colors:
I am going to make this into a tea towel as soon as I find the right trim for the bottom edge. I am thinking pom-poms.
Here is a picture of what the pattern packet looks like:

Thursday, August 5, 2010

100 Stitches - Interlaced Band Stitch

This gorgeous stitch is the Interlaced Band Stitch. It is the first "composite" stitch I have learned from 100 Stitches.
Doing this stitch is all about the preparations. You will need two different colors of floss. One for the parallel lines of stitching and another color for the interlacing.
You will want to draw two parallel lines to keep your stitches in line. 100 Stitches suggests the lines be between 1/2" and 3/4" apart. I did mine 1/2" apart:
After you have drawn your lines, stitch the first line with the back stitch . Here is a little refresher on the back stitch. Working from right to left, come up through your fabric, then back into the fabric to the right of where your floss came up and come back out of the fabric to the left of where your floss came out:
Pull the floss all the way through and go back into your fabric at the end of your first stitch and back out of the fabric to the left of the new spot your floss came through :Once you have the first line of back stitch done, you start on the second line. This line will also be back stitches but make these stitches start and end even with the center of the stitches directly opposite them in the first line of back stitches: Here is a closer view with a helpful ruler showing how the end of the stitch on the top line is lined up with the center of the stitch on the bottom line: And a closer view without the helpful ruler: Now finish the top line of back stitches so that you have two parallel lines. Make the last stitch on the top line extend a little further to the left than the last stitch of the bottom line. Whew!

Now the fun part! Using a contrasting color of floss, bring your needle up through the fabric, in the center of the parallel lines: Pull it all the way through: Now to interlace - this is easier than it sounds! Keep the floss to the right and bring your needle under the last stitch on the top line - not picking up any fabric, just sliding the needle under the stitch: Pull the floss all the way through - and to the right. Notice, the needle goes under the stitch but over the interlacing floss: Keeping your floss to the right, bring your needle under the last stitch of the bottom row. Don't pick up any fabric, just slide the needle under the stitch and then over the interlacing floss: Pull all the way through and keeping the floss to the right, slide your needle under the next stitch on the top row:Then the bottom and then the top...interlacing the contrasting floss through every stitch in the two parallel lines! Until you have this beautiful interlaced band of stitches: Here is a closer look. I was not really sure about how tight to pull everything but my finished product looks just like the picture in 100 Stitches so I must have done it correctly! I love this stitch! It is so beautiful and I really like the way the two different variegated flosses look! This stitch is very easy and fun to do and give a dramatic result. It is stitch #60 and is in the Composite Stitches section of 100 Stitches.

Wednesday, August 4, 2010

Some garden pictures:

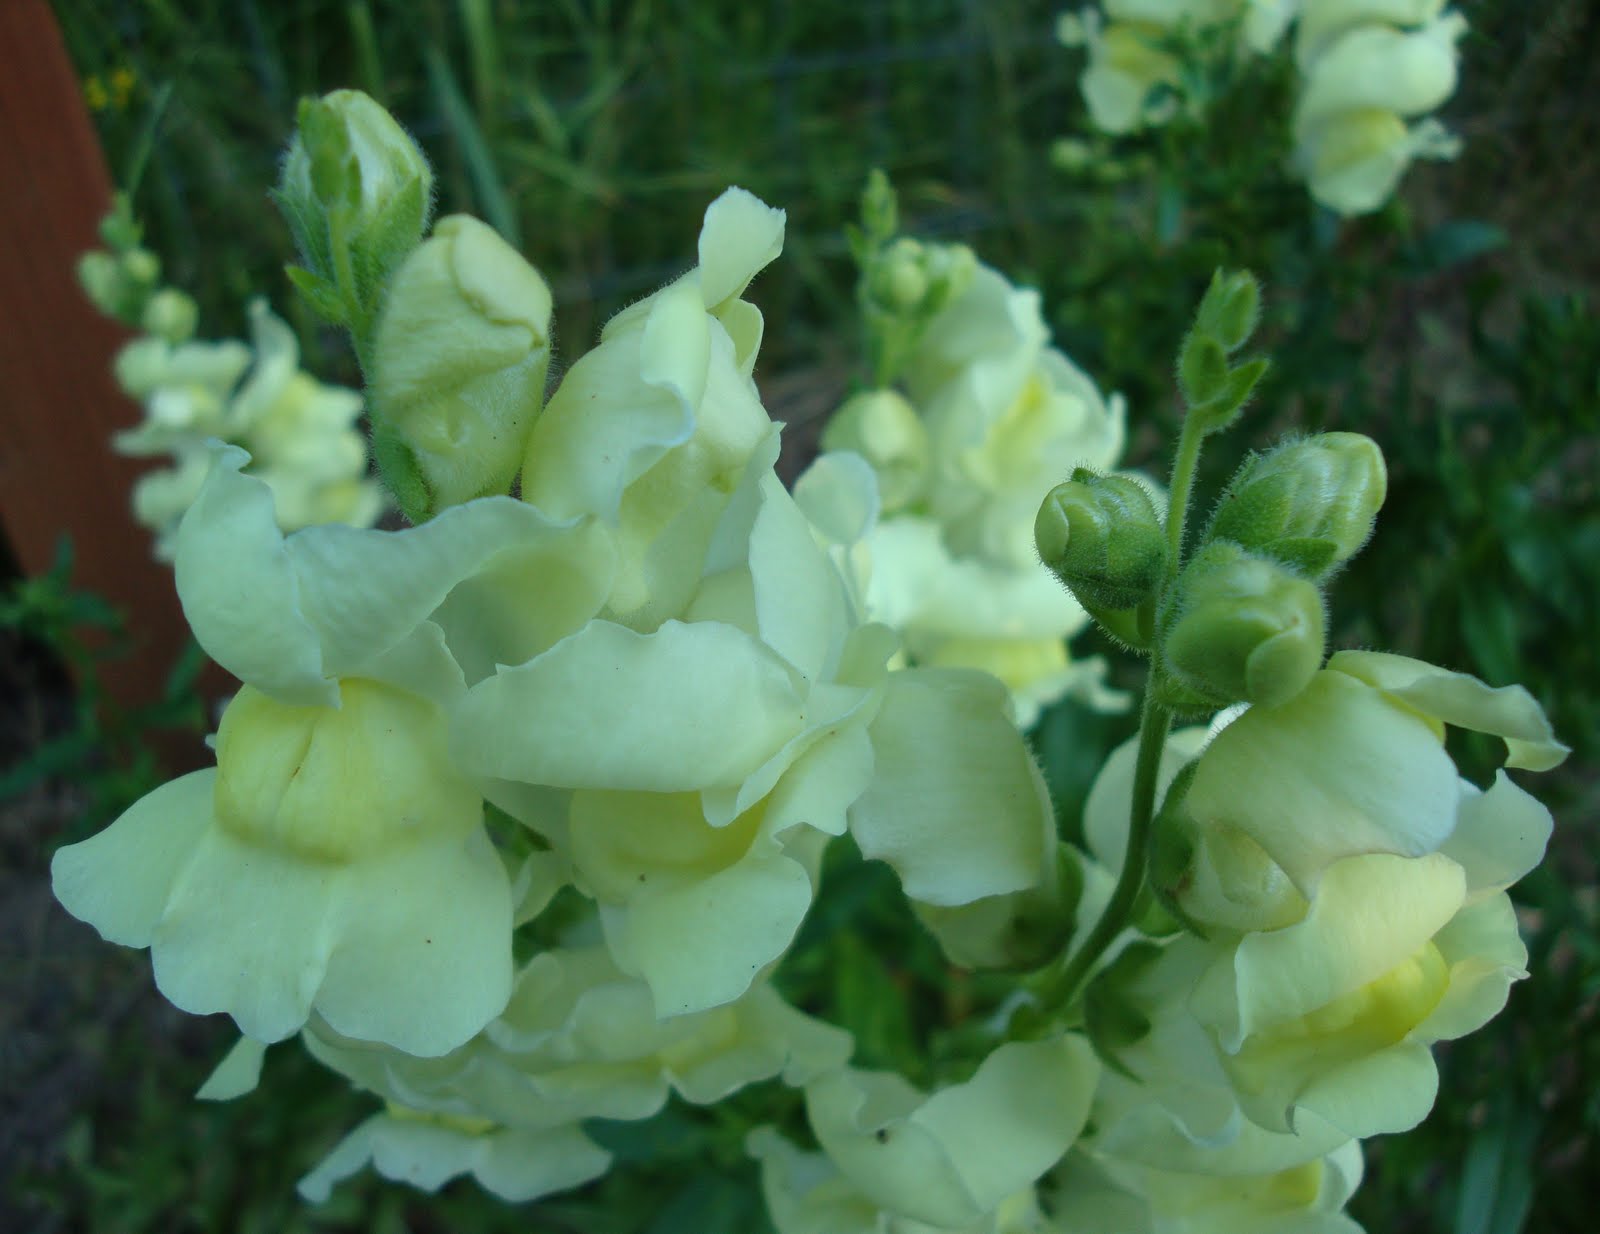
I wanted to share a few pictures from my garden. This is a pale yellow snapdragon - I started these from seed. It is really easy - the seeds are so tiny you don't even put dirt over the top of them, just lightly press them onto the soil My roses didn't really like the cool wet spring we had but you wouldn't know it from these next two blooms. This rose is "Queen Elizabeth".
This is "Ingrid Bergman". This is one of my all-time favorite roses. The deep red color is so beautiful - the buds almost look like velvet and then they bloom into this:
I also planted tomatoes from seed: I have a lot of tomato flowers and some tomatoes! I hope these will ripen - the pacific northwest isn't known for it's summer heat!
I also planted zucchini and hubbard squash and sweet corn. If my corn ever develops any ears I will post a picture :)

Tuesday, August 3, 2010

New hoops, floss and...

Last week I bought some new embroidery hoops. This brings my "collection" up to 10. I mostly have wooden hoops, the largest of which is 12-1/2" diameter and the smallest, 3-1/4". I even have an oval wooden hoop. I love the wooden hoops but now I am really loving using these new plastic hoops. These are the 7", 8" and 10":
Here is what the 10" looks like as two hoops. You might notice that one of these two hoops looks a little different. The hoop with the screw is just like a regular embroidery hoop. But the rim of the hoop that you place the fabric on has an edge that extends out a little larger than the hoop.
This acts like a little platform for your fabric to rest on.
The hoop with the screw then opens up wide enough to go over the bottom hoop and fabric. When you tighten the screw, top hoop sits just up under the extended edge of the bottom hoop. This set-up makes the snuggest, smoothest surface for stitching.
I also bought some new floss. These are such pretty colors - do they remind you of anything? Maybe colors you would use to stitch a gingerbread cottage or gingerbread man? I have a new pattern in the works!