skip to main |
skip to sidebar
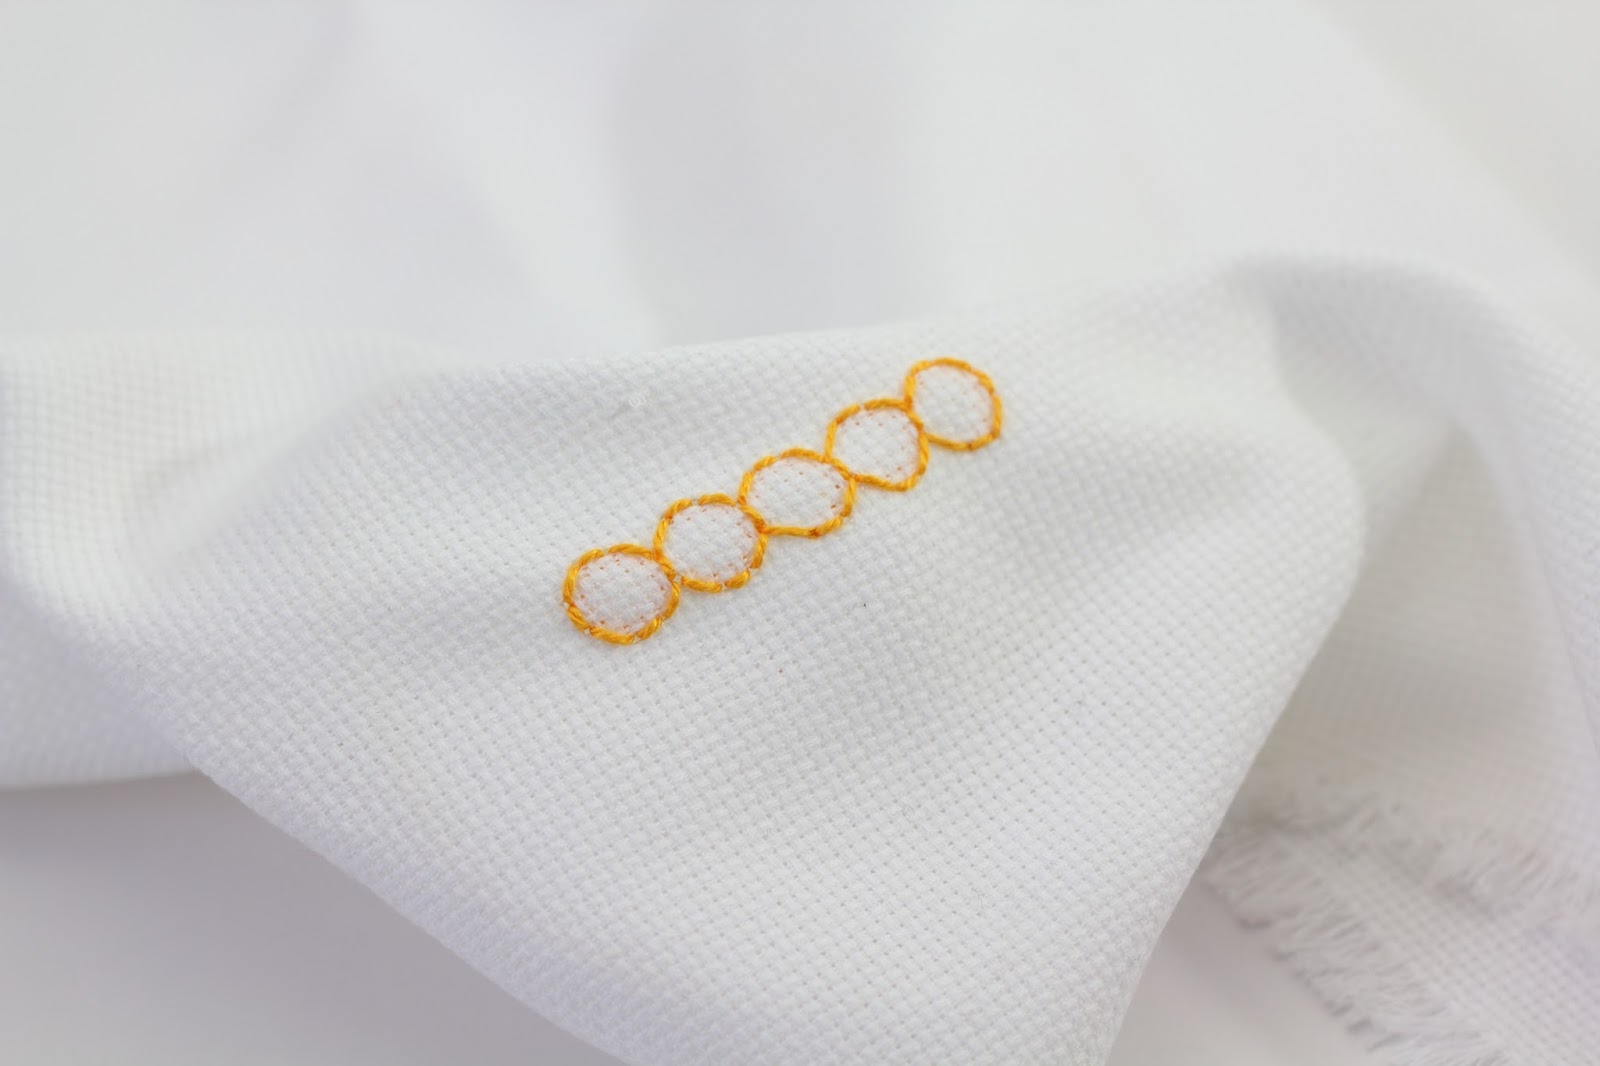
This is either a beautiful gold chain or the latest stitch from 100 Stitches, the Ringed Back Stitch Filling Stitch.
This stitch is from the drawn fabric embroidery category. The stitch requires the ability to count the warp and weft threads of the fabric so I am using this medium weave linen. It is very easy to see the individual threads on this weave. For my floss, I am using a pearl cotton thread. This is DMC #742.
The stitch is worked from right to left making a series of half circles. When the end of the stitching line is reached, the hoop is turned top to bottom and the stitch is worked back along the line completing the half circles into whole circles. The description is confusing and so are the instructions but I hope these pictures will help! The first step is to come up through the fabric on the right hand end of the stitching line:
Pull all the way through and then go back into the fabric two threads below where the needle emerged:
Count four threads up and two threads to the left and come back up through the fabric:
Pull all the way through and then go back into the fabric in the same hole that the needle first emerged from:
Count two threads up and four threads to the left and come back up through the fabric:
Pull all the way and then go back into the fabric in the same hole as the previous stitch:
Pull all the way through. Count two threads down and four threads to the left and come up through the fabric:
Pull all the way through and then go back into the fabric in the same hole as the previous stitch:
Pull through. Count four threads down and two threads to the left and come up through the fabric.
Pull all the way through and then go back into the fabric in the same hole as the previous stitch:
This makes a nice upper half of a circle. Now count down four threads and two threads to the left and come up through the fabric. Do the same steps to complete the next half circle only
this time the half circle will be a lower half:
Then another upper half, lower half and upper half. Do as many as needed to complete the length of your stitching line:
Once the end of the stitching line is reached, turn the hoop top to bottom and start stitching half circles exactly as you started this stitch at the very beginning:
Each new half circle will make a full circle with the line you have already stitched resulting in a beautiful finish:
This stitch is neat and tidy on the underside too:
Beautiful!
A nice close up:
This is #93 on the list of 100 Stitches.
Do you remember my space stitching project? {If not, you can review my progress here: 1, 2, 3 and 4}. I have made a tiny bit of progress that I can share. I have stitched part of the astronaut in white back stitch:
I have added some french knots in silver for the far away stars and now I am experimenting with stitches and colors for the close up stars. So far, I have tried yellow floss mixed with silver blending filament to add some sparkle. The yellow is six strands of DMC #973 and the blending filament is Kreinik #095
The far away stars are silver metallic thread - Kreinik fine braid #001. I love this and I need to buy some more as this piece is all I have left!
I used gray for the astronaut's faceplate - this is DMC # 415 but now that I am looking at it, I am very tempted to take it out and replace it with this black floss:
I think it will look really good all filled in with the black floss- it will be a nice contrast as I plan to fill in the astronaut's suit and helmet with white floss.
Gray or black, I would love to hear which color you would choose!
Here is my progress so far on my olive branch border. I have been experimenting with the olives. I have tried various thicknesses of floss and I think that the olive in the top left of the picture is the winner. Three strands of floss in rows of backstitch as a fill. I think that will work! The leaves are done in the fishbone stitch. I also have progress to show on a new project:
This says "Benvenuti Amici" which is Italian for "Welcome Friends" . I am using the chain stitch for the lettering and for the motif on the bottom the double knot stitch. You may recognize the double knot stitch, remember this disaster? Let's just hope I don't have to remove any of these stitches and risk it happening again!
I really love the color combination of purple and green, as you can see by both of the above projects. I was looking at my color wheel and noticing that purple and green are part of a triad with the third color being orange. I think I will have to use some orange somewhere on the benvenuti stitching.
There are so many beautiful shades of green, I am growing several of these pale green zinnias this year, I really love the light green color. I should have grown some purple flowers to go with them!
These are certainly not purple but I can't resist their beautiful color!
Time for me to share another stitch I have learned from 100 Stitches. This intricate looking stitch is the Zig-Zag Hemstitch.
I did this stitch with this beautiful green perle cotton floss. This is DMC #988.
This stitch is from the Drawn Thread Embroidery category, so it requires a little set-up with the fabric. The drawn thread stitches require you to pull either the horizontal threads or vertical the threads {depending on the stitch} from the designated stitching area and then work the stitch over the remaining threads. It will result in a beautiful open look. First, I basted around the area I was going to work the stitch on. From reading the instructions, I knew I would be removing the horizontal threads. I also knew this stitch was going to require an even number of vertical threads so I counted twenty-four vertical threads across for the length. The number of horizontal threads did not matter so I counted eight horizontal threads for the width top to bottom:
I carefully snipped each horizontal thread at either edge of the basting lines:
I used a needle to carefully pull the horizontal threads out:
Once they were all out and only the vertical threads remained, I took out my green basting stitches:
This stitch is worked from right to left in the same method as the Hemstitch. Start by coming up through the fabric on the right top edge:
Then slide the needle under an even number of the vertical threads. I used four. Pull all the way through:
Bring your needle around and slip the needle behind the same group of threads but this time come up under and through the fabric above the stitching line:
Pull all the way through, you will see that first group of four threads has been pulled together:
That is all there is to this part, just continue across the open space doing the same two steps as above:
When you get all the way across to the left edge, your threads will be neatly sectioned off into groups. There were no instructions for ending this part so I just went back into the fabric at the left edge and secured my floss underneath.
The next part is also worked from right to left, this time coming up on the right edge just below the open area:
On this part of the stitch, slide the needle behind two of the threads from the first group and two of the threads from the second group:
Pull all the way through:
Bring the needle back around and slide it behind the same threads but time come under and out through the fabric below the stitching line:
Pull all the way through and you can see the two sets of threads drawn together.
Just continue in this same way across the bottom all the way to the left edge:
Here is what the stitch looks like on the underside:
This beautiful stitch is really quite easy to do. This is stitch #77 and is found in the Drawn Thread Embroidery Section of 100 Stitches.
I finished all the embroidery on my La Cucina stitching. I am really pleased with it! Especially the colors:
I used a variety of stitches, the lettering is done in the Back Stitch:
The flower petals are Fishbone Stitch and the flower centers are the Jacobean Couching Stitch. The yellow swirls are Satin Stitches and French Knots . I will post again about how I am going to finish this little project now that the embroidery is done.
Now on to my newest wip - this olive branch border is also from La Cucina Italiana. Isn't this fabric beautiful? I can't wait to start stitching on it.
For my floss colors, I am thinking of this combination: I may add some different greens to give a shading effect. I love how much this fabric and these floss colors match these recipe cards too:
I think I will start stitching these olives first.
I will be sure to post pictures of my progress!




 Posts
Posts

