
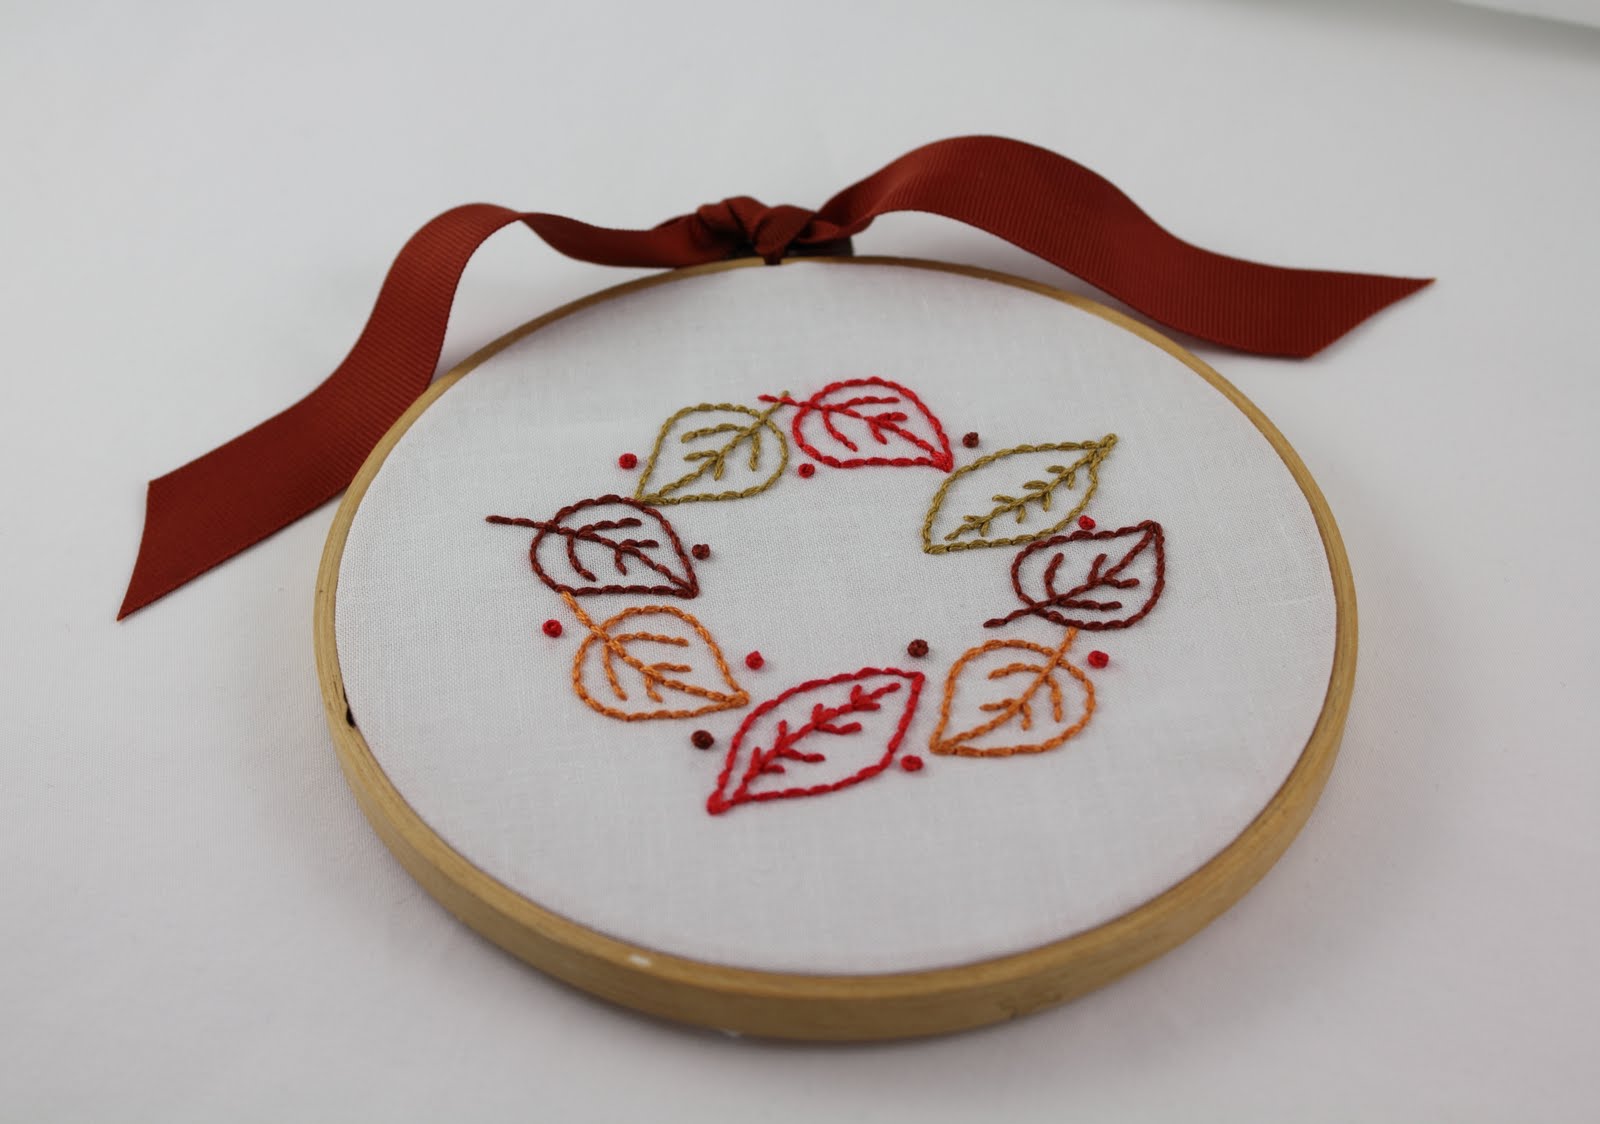


 Dmc 4128 and 4130. They are the cotton pearl color variations which would give a really nice effect on autumn leaves. I wonder if mixing and matching both types would look good? Any suggestions are welcome! This pattern is sized to fit perfectly into a 6" hoop. I have transferred my pattern and have it all ready to go but I am stitching it in my 8" hoop. I personally find it easier to stitch in a medium to large size hoop. When I am finished, I am going to display this in my 6" hoop - I am so glad I have a 6" autumn-y looking wood hoop! For now I am off to experiment with color combinations.
 I didn't have too much left to do. I had already transferred my patterns onto the back panel:


 and pinned everything in place - notice my matching pins!
 Next, I sewed them together, leaving a small space unsewn so that I could stuff the pillow:
 I decided to use a loose fiberfill to stuff the pillow - rather than a pillow form. My pillow measures 11-1/2" x 13" and I thought that I probably wouldn't find a pre-made pillow form with those dimensions! Plus, I wanted to customize the amount of puffiness for this pillow!
 I stuffed the fiberfill into the pillow:
 and then hand sewed the opening closed. Here is the finished pillow - front view:
 and back:
 I think the piping turned out to be the perfect trim!

 I found this to be a very easy stitch to learn. To demonstrate this stitch, I am using dmc color variations pearl cotton floss #4210. I drew two parallel lines with my water soluble marker:
 This stitch starts out sort of like the striped woven band stitch in that you make foundation bars, evenly spaced, perpendicular to your parallel lines. To do that, first come up through the fabric on the left parallel line:
 and then go back into the fabric directly across on right parallel line:
 this makes a small straight stitch or foundation bar:
 come back up again on the left parallel line to start the next foundation bar. Just continue like this until you have all the foundation bars you want.
 When you have all the foundation bars stitched, secure the floss on the underside. If you want to use a contrasting floss for the raised chain part of this stitch, you would now switch to that color. I opted to use the same floss. Bring the needle up through the fabric above the first foundation bar:
 Pull it all the way through. Now bring the needle under the first foundation bar, not grabbing any fabric, just sliding under the foundation bar. Notice the needle position...it is pointing upwards and heading to the left of where the working floss emerged from the fabric:
 pull the working floss all the way through:
 now notice the needle/floss position - bring the needle around to point down and slide under the first foundation bar and the floss is in a big loop:
 the needle is going to pass under the first foundation bar and head to the left:
 to pass over the working floss:
 keep pulling:
 all the way:
 to form the stitch:
 Now you just start over on the second foundation bar. Slide the needle pointing upwards under the second foundation bar and heading towards the left:
 pull all the way though:
 now bring the needle around and pointing down to slide under the second foundation bar and over the working floss:
 and pulling all the way to make the second stitch:
 100 Stitches didn't specify how to finish this stitch so I just went back into the fabric:
 below the last foundation bar:
 Here is the neat underside of the stitching:
 I think the raised chain band makes a beautiful line of stitching:
 This stitch is #64 on the 100 Stitches list. It is in the composite stitches section of 100 Stitches.
 In my last post about this project, I was trying to decide which trim to use for the pillow edges. My favorite trim is pom-pom trim and that is what I had planned to use. Unfortunately, I wasn't able to find the perfect size. So I decided to use the pom-pom trim pictured below but as it turns out, I don't have enough of it to go around the pillow. I thought maybe yellow pom-pom trim would work but I couldn't find a good enough color match.
 Thank you to everyone for so many helpful comments on that previous post - Julia suggested using piping as a trim. I was really happy to find this white bias tape piping. In case you have never seen it, piping is a woven cord encased in fabric. It comes already stitched right next to the cord and then has about a 1/4" seam allowance with a raw edge for you to sew into your seam. I think it is going to look great!
 I have cut out the front and back pillow panels. They are approximately 14" in width by 12-1/2" in height. I took Wendy's suggestion and did a zig-zag stitch all around the edges of both the front and back pieces to stop all that fraying:
 I pinned the piping all around the front panel. I pinned it in place on the right side of the front panel with the raw edges together:
 I was a little nervous about sewing around the square edge of this panel and being able to make a smooth corner with the piping. I did a little research and came up with this great tip: right where you want it to turn a corner, snip the raw edge of the piping (carefully!) almost to the stitching. You can even cut out a triangle shaped piece of the seam allowance. Once it is cut, it can easily curve around the corner:
 Then I stitched it in place. I actually changed the presser foot on my new sewing machine - I used the zipper foot! I moved my needle all the way to the left so that it could sew really close to the cord on the piping. Here is what the zipper foot looks like with the needle in the left position:
 I also wondered how to finish the piping when I had gone all around the panel. After searching around on the net, I saw several recommendations for this method. Before you have stitched the piping all the way around the panel and are almost back to the starting point, cut the piping a little longer than you need so that you have a bit of a piping overlap. With a seam ripper, take out little bit of the seam that you stitched where you started sewing the piping in place. Now you have two free ends of piping. Use the seam ripper to take out a little of the seam holding the cord in place on one end of the piping. Cut out a piece of the cord where it will overlap with the other end of the piping:
 Fold under the raw edges of the piping end where you just cut the cord and slip it over the piping end where you first started stitching. Now you can sew it in place and have nice, smooth and finished piping! After I sewed all of the piping in place, I noticed that I hadn't stitched close enough to the cord in the piping...you can see in this picture where my yellow stitches are not close enough.
 I have since stitched around the whole panel again, this time really close to the piping stitching. Now to the back panel of the pillow. I have transferred my patterns and am starting to stitch! I will keep you updated on my progress.


 Posts
All Comments


