This complex looking stitch is the Net Passing Stitch.
To demonstrate, I selected three different shades of perle cotton floss:
There were no instructions on beginning this stitch but after looking at the pictures, I started in the lower left corner. This will be a diagonal Straight Stitch:Then I repeated this across the whole marked grid:
Next, I started in the upper left corner - again with diagonal Straight Stitches but now in a different colored floss:
The final set of Straight Stitches is horizontal and the needle weaves through the the other Straight Stitches at each intersection. I used the third color of floss for this one:
Although complex looking, Net Passing Stitch is just made up of long Straight Stitches. The complex part is ensuring even spacing! I used a ruler and a water-soluble marker.
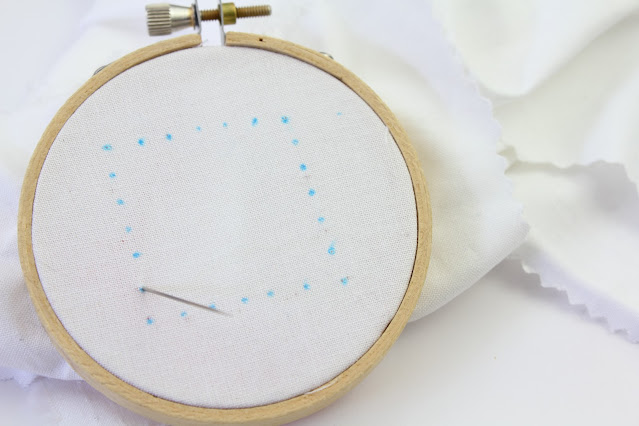
I spaced my start/stop stitch marks 1/4" apart:
across the whole grid:
According to Embroidery Stitches, this stitch is also known as the Honeycomb Filling Stitch. If you are a regular reader of this blog, you may remember that I previously demonstrated "Honeycomb Filling Stitch". It is a totally different stitch. I had learned that version from the book that started this whole project : 100 Stitches. That blog post can be read here . As you can see, a different stitch!


2 comments:
Hey Kim, this looks wonderful. It looks complex and as always when you show the step-by-step working of the stitch it looks so doable :)
Mallika
Hi Mallika - thank you! This is a doable one for sure and I am looking forward to using it in a project. I love that you can combine different colors too :)
Post a Comment