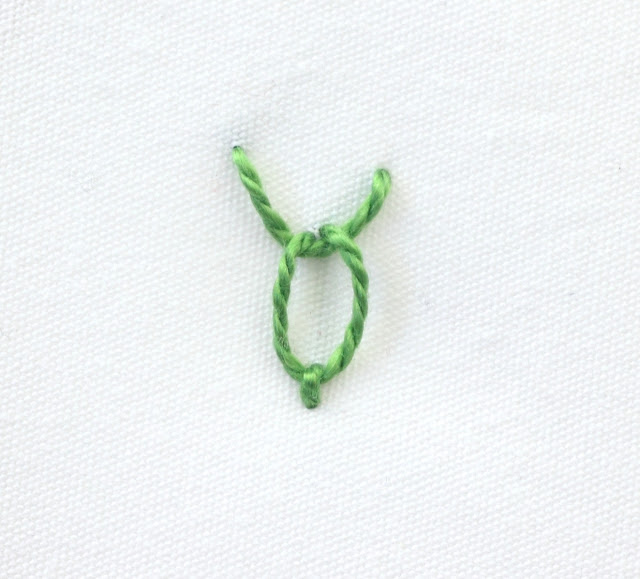
I am adding this stitch to my 100 Stitches Plus list and I want to share the steps I learned:
The first step is to create the horns using the Fly Stitch.
I came up through the fabric:
pulled the thread all the way through and towards the right:
I brought the needle around and went back into the fabric to the right of where the thread first emerged. Keep in mind that how far to the right determines how wide the horns will be:
I came back out of the fabric halfway between and a little below the first two holes. Notice my needle is going to pass over the working thread to create a loop:
I gently pulled the thread all the way through. Normally you would now go back into the fabric right under the loop to form the Fly Stitch but now it is time to make the bull's head with a Lazy Daisy Stitch.
I brought the needle back around and went into the fabric just to the right of where my thread just emerged:
Then I brought my needle back out of the fabric a distance below the horns - how far below will determine the size of the bull's head. Notice, my needle is going to pass over the working thread to form a loop:
Gently pulled all the way through:
Next I secured the stitch by going back into the fabric just below the loop:
I buried my thread on the underside:
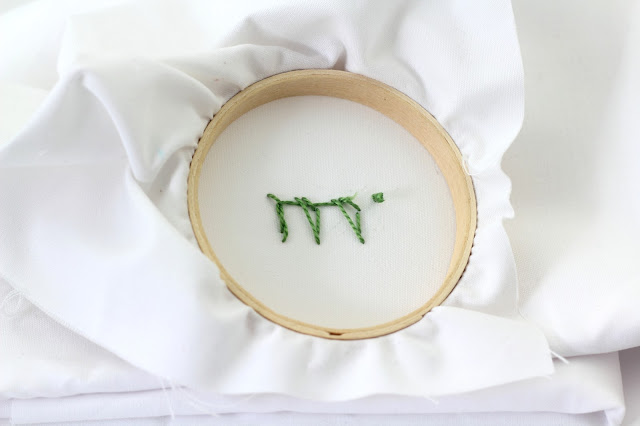
I am not sure where I would use this stitch. I have been experimenting with it and it does looks nice done in a row:
I learned this stitch from the book Elegant Stitches by Judith Baker Montano.


4 comments:
oooh, I LIKE it! I think it would make a great CQ seam to build on.
I like this one too Carol! The Elegant Stitches book has so many beautiful crazy quilt seam ideas!
I love this stitch Kim. I too was wondering how you would use it. Keep us posted.
Hey Angela :) This is a great one isn't it? I will make sure to post when I use this one!
Post a Comment