skip to main |
skip to sidebar
Time for another 100 Stitches post. You may have noticed that I haven't done one of these for quite a while.
The reason for that is that I haven't been able to find the right fabric for the last six stitches on my list.
All six stitches are in the Canvas Embroidery section of 100 Stitches. The description for that section says that there are single thread canvases, double thread, fine and coarse. The type of canvas to use depends upon the design and the thickness of the embroidery thread. The important point is that the thread must completely cover the spaces and thread of the canvas.
The stitch diagrams show three different styles: a single thread canvas - vertical and horizontal thread with a large space between them{it looks like graph paper} a double thread canvas with the vertical and horizontal threads woven together; and a single tightly woven canvas with no space between the vertical and horizontal threads.
I didn't find any canvas that fit the above descriptions so I decided to try this cross stitch fabric. It is an 11 count aida. It has quite a few vertical and horizontal threads meshed together creating a small grid. It is really stiff and inflexible - I thought maybe it could work for the double canvas?
For the single, I bought this grid {I don't know what I was thinking - look at the size of the holes!!}
It is made of a flexible plastic but it is really thick and cannot be put into a hoop. Plus the floss just slips and slides around and you cannot get any tension so...
I shopped around some more and recently found this needlepoint canvas. I thought it would be perfect for the single. It is stiff but fairly flexible
It was a bit difficult, but I did manage to get it into my hoop:
But you can see that the holes are still too big. The perle cotton floss I used didn't even begin to cover them. I think this could work if I used a wool needlepoint yarn {I tried regular yarn but my yarn needle was too big to fit through the holes}.
So, even though it isn't perfect, I used the cross stitch fabric to learn my first stitch in this category.
I didn't even use a hoop for this! The first step is to come up through the fabric:
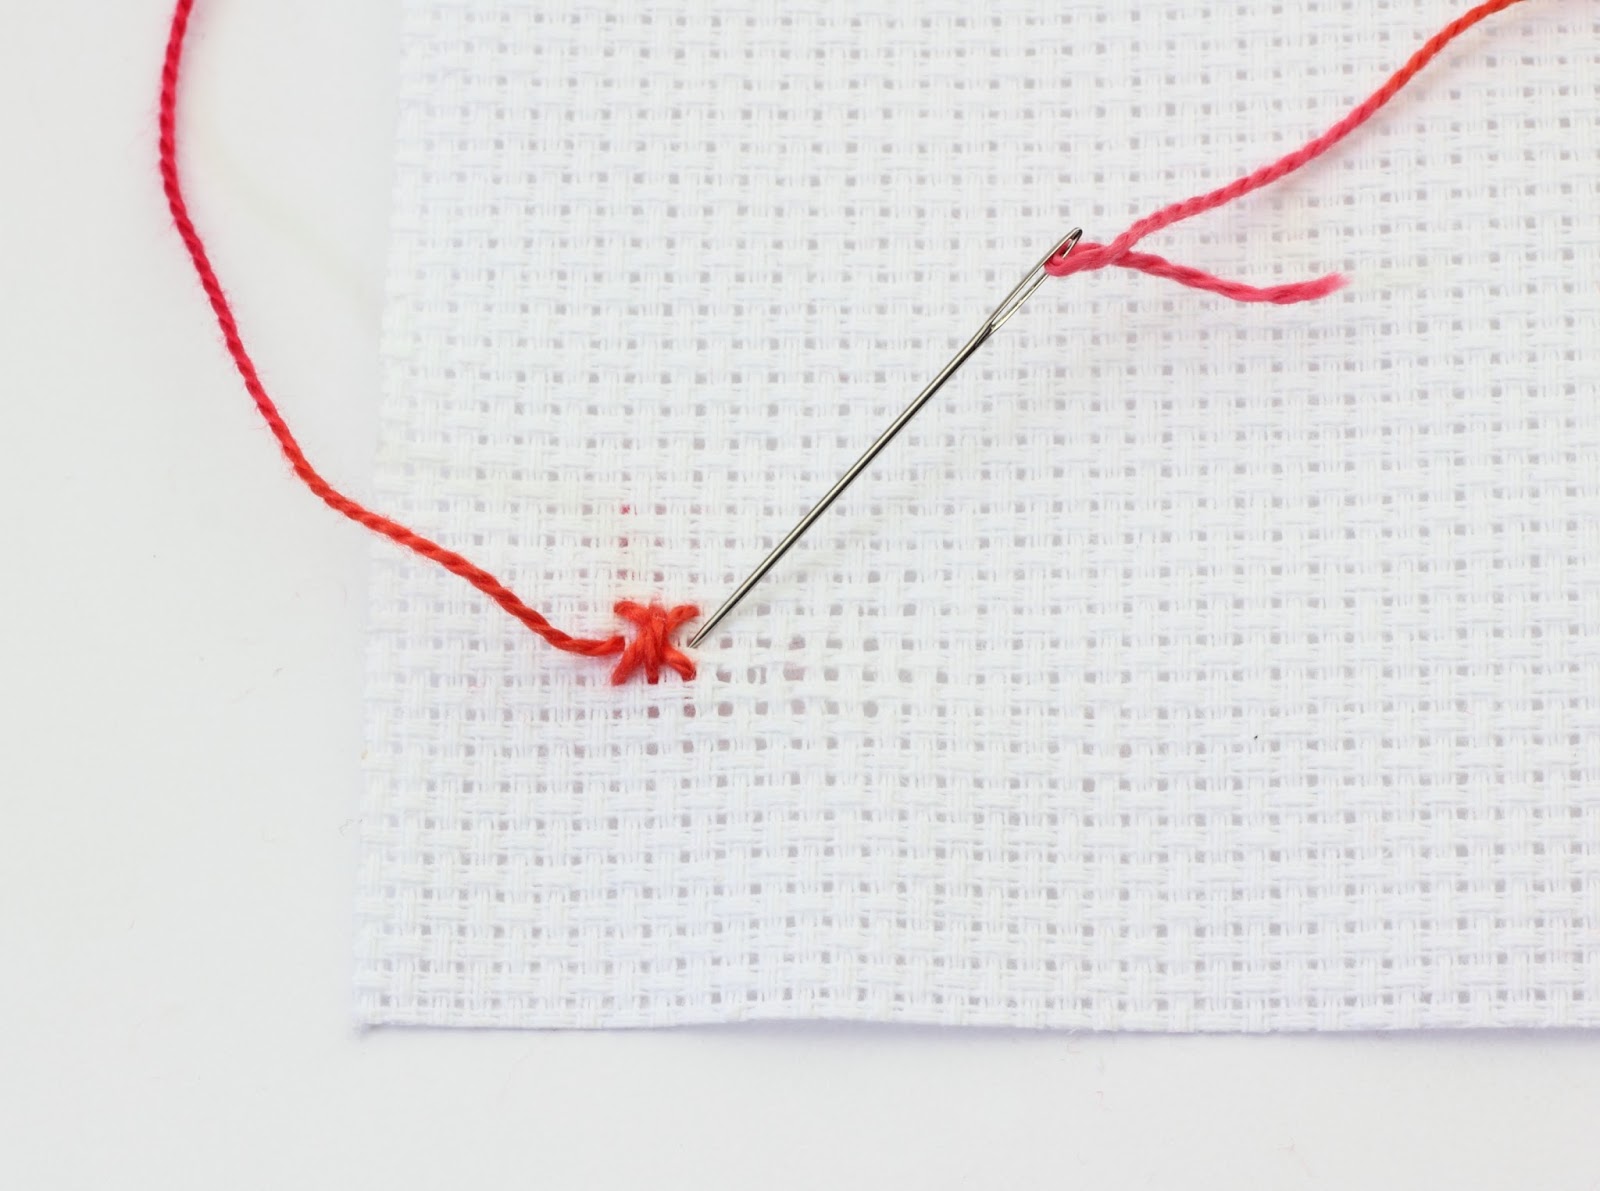
Pull all the way through and then go back into the fabric two rows to the left and two rows above where the floss first emerged.
Pull all the way through:
Come back up through the fabric two rows down from where you first went into the fabric:
Pull all the way through, bring the needle to the right and go back into the fabric two rows above where the floss very first emerged:
and come out one row to the left and two rows below:
Pull all the way through:
Now go into the fabric two rows above where the floss just emerged and come out one row to the left and one row below:
Pull all the way through:
Go back into the fabric two rows to the right:
and come out of the fabric one row down and two to the left:
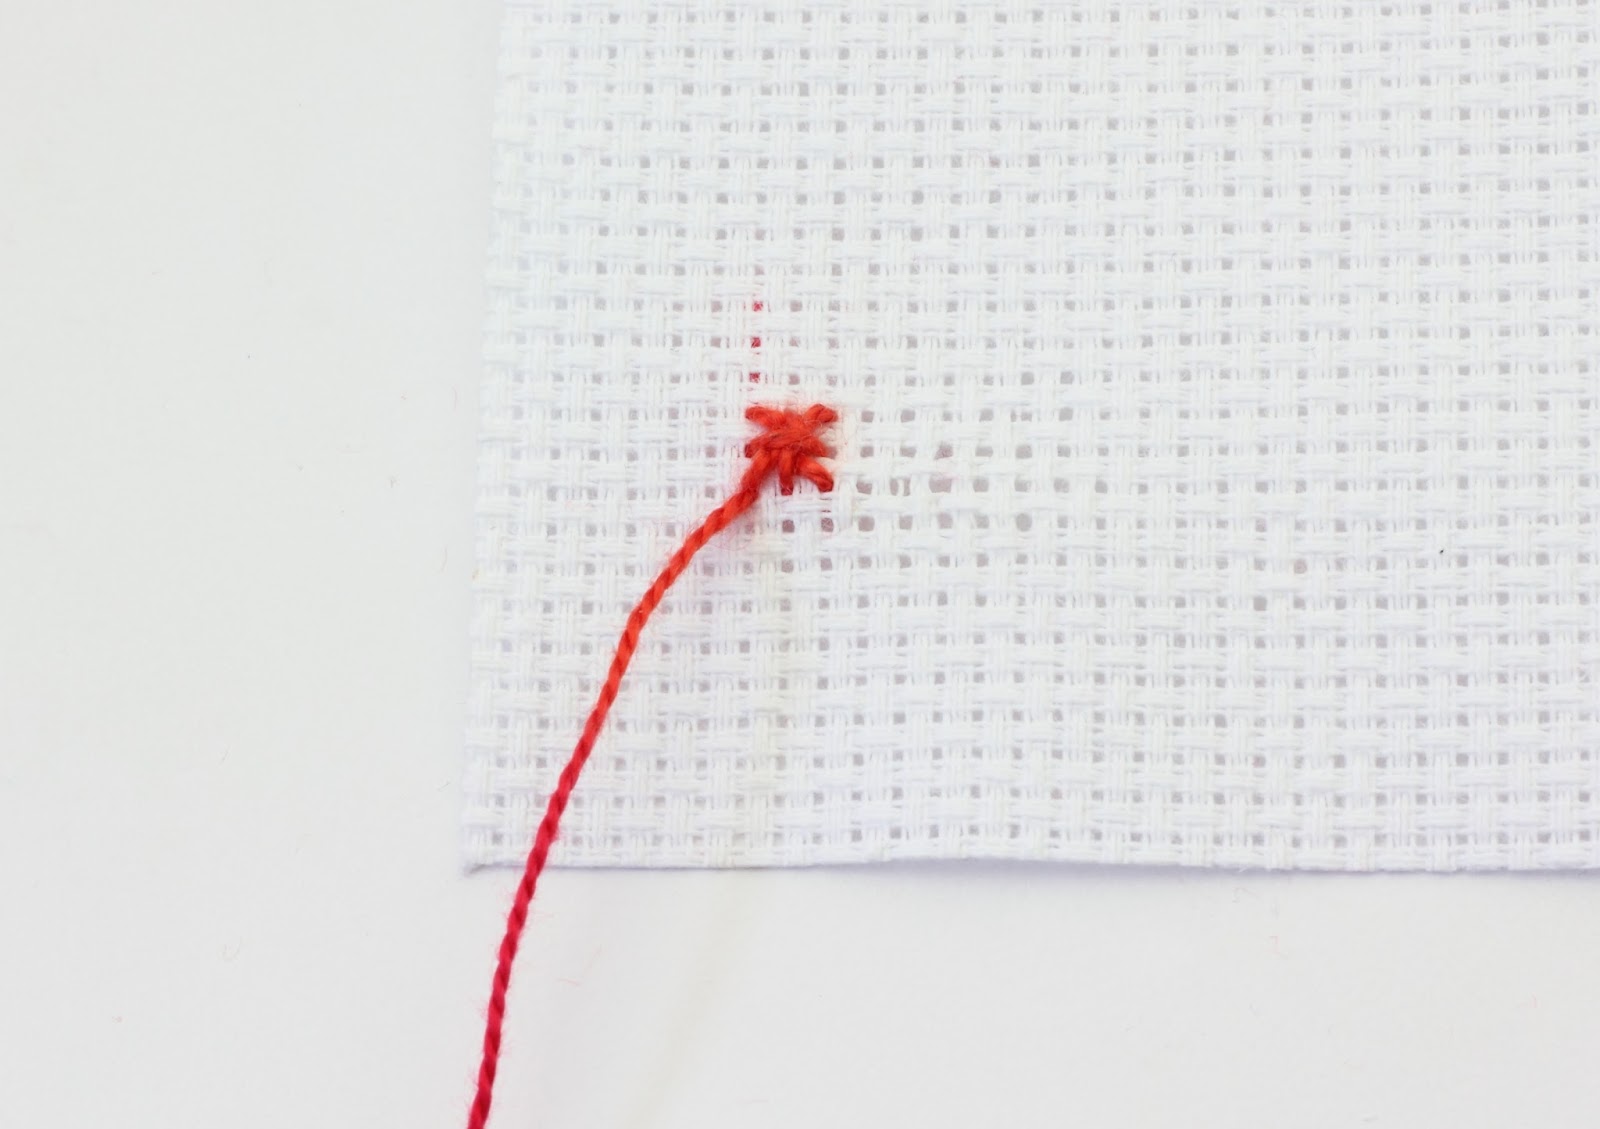
Pull all the way through and you are ready to start the next stitch:
I think this fabric worked out fairly well for this stitch. I would love to hear any thoughts, suggestions or any experience you have had with canvas stitching!
This was stitch number 85 on the 100 Stitches list.
You may remember my earlier post about my white on white pillowcase stitching project.
Based on some helpful advice I received in the comments of that post, I decided to run a test before I started. I needed to make sure that I would be able to see the white stitching against the white fabric and that I would like the white on white look.
So, I did a bit of testing on the fabric. I wanted to try both six strand cotton floss and cotton perle floss:
First is the six strand cotton floss - stem stitching:
Next will be the perle cotton:
Here they are side by side for comparison:
And a little closer look.
I like them both and think either would be fine to use, but for this particular application, I prefer the flatter, smoother and silkier look of the six strand cotton floss.
I also tested the six strand floss using the satin stitch. I am very pleased with the result:
Now for the border motif. I have narrowed my choices down from these :
To these two. I am about 99% sure I will choose the flowers!
I have a new embroidery pattern set to introduce. It is called Candy & Sweets.
I have already started stitching this delicious looking cupcake and candy motif.
I am doing the banner in a dark pink and using parallel lines of split stitch to fill it in.
I am using three strands of floss for this.
For the cupcake frosting, I have started with this lighter pink floss and I am doing the stem stitch.
For a fluffier frosting look I am using all six strands of floss. The cupcake will be in this nice chocolate looking brown:
Those three are the colors I have used so far...I am thinking some nice purples and minty greens will be added. Oh and of course red for the cherry on the cupcake:
Here is a look at the pattern set. It is available here.
Here is a progress report on the Santa Claus and little reindeer stitching.
I am satin stitching the holly leaves and berries that are around the reindeer's neck:
I back stitched around the edges of the leaves and the berries with three strands of floss. Then, using one strand of floss I satin stitched over the top.
It really gives a nice effect.
The white border and pom-pom on Santa's hat are outlined with back stitch and filled with French knots. I think I will do the same for the center and bottom trim of his jacket, his cuffs and boot tops.
I still have A LOT of stitching left before I finish this one!
I do have a completed project to share. Remember the Christmas tree?
All done!
I used a lot of metallic thread and some blending filament. I used the couching stitch for the garland around the tree. It is green metallic thread held in place with gold blending filament.
I kept a good record of all my thread colors:
Here is the palette I used:
Since my last post on this owl embroidery, I have taken out the back stitching I used on the leaves and switched to a blanket stitch. I like it so much better. Filling in the entire leaf with lines of back stitch were making the leaf too dense and lumpy looking. To me, this blanket stitch looks just right!
I have quite a few projects going at the moment, it is fun to have a variety of subjects to stitch!
I am still working on my triceratops project. Since I last posted about this, I have filled in the rest of the tree leaves. I have used a straight stitch with a single strand of floss to fill them in.
I am using the same method for the plants on either side of the text:
And also for the text:
I haven't made any progress on the volcano since my last post. I think I will use the same filling method for the actual mountain.
Here is the triceratops...I have a bit more progress to show:
This project has really been fun. I like these patterns and the way they are working together.
A very young relative of mine likes these patterns too; but not for embroidery!
He loves dinosaurs and he helped me color these...he chose the colors and did some of the coloring :)





 Posts
Posts

