skip to main |
skip to sidebar
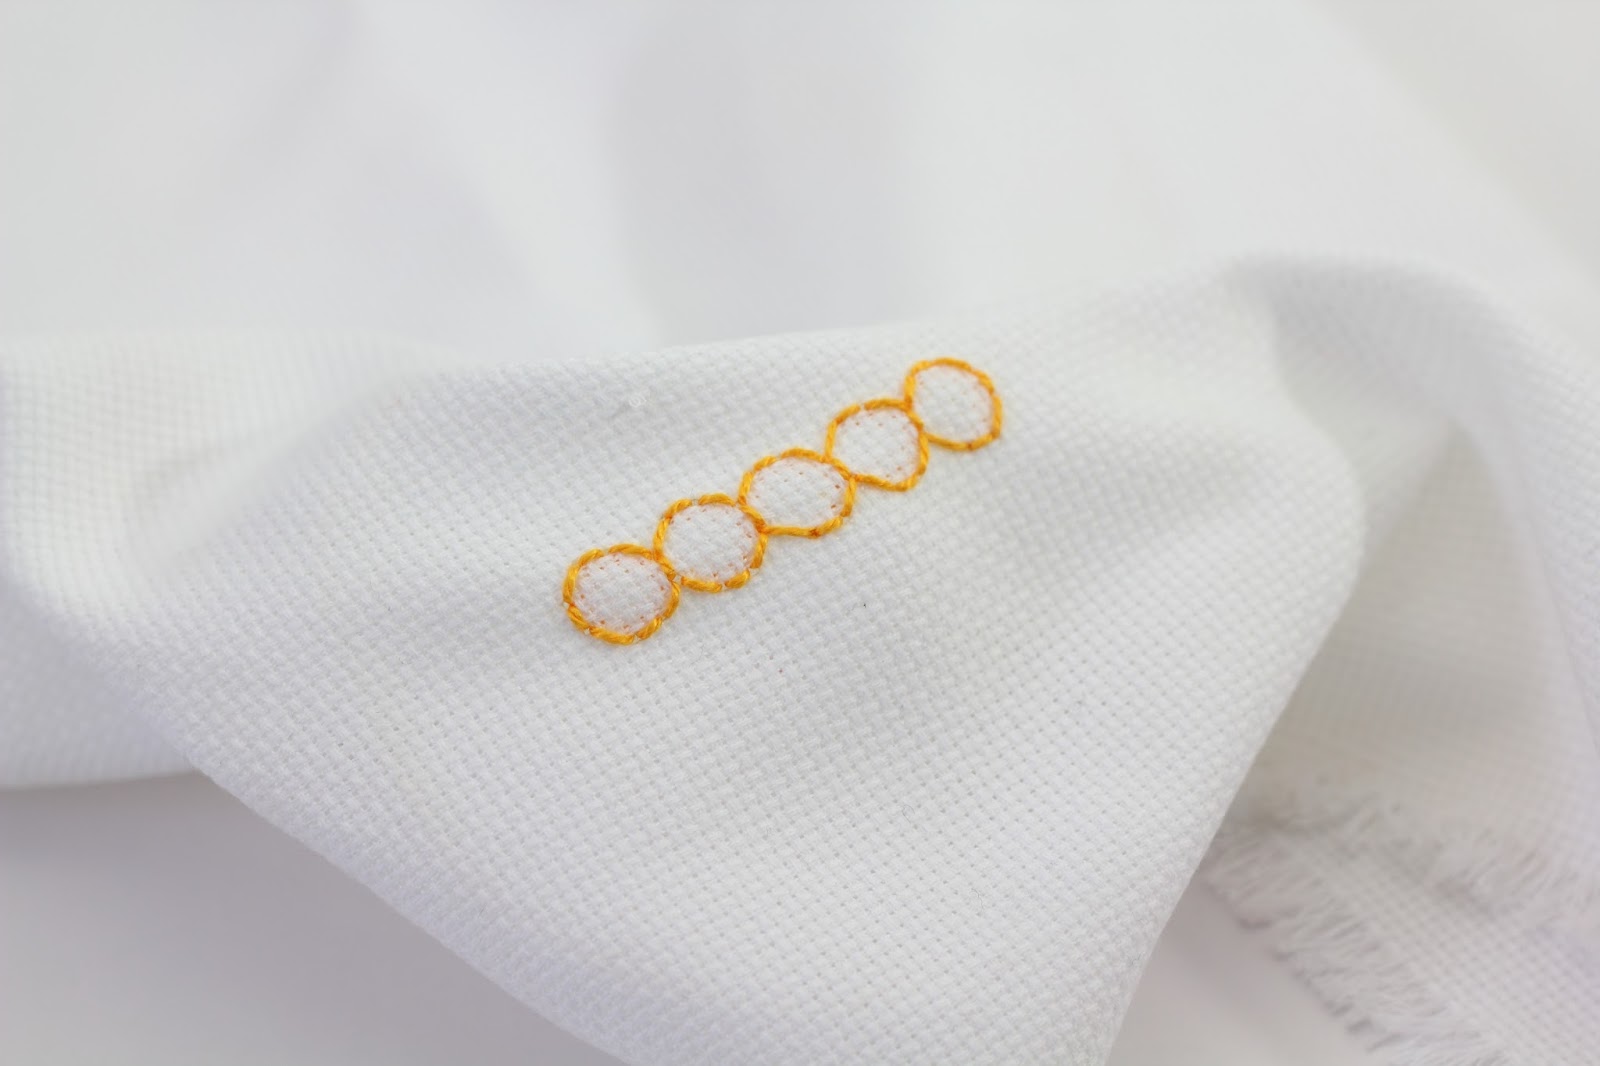
Time for another 100 Stitches post! This beautiful stitch is the Hemstitch with Coral Stitch Clusters.
This stitch is in the Drawn Thread Embroidery category. That means the area to be stitched has to be prepared by drawing out the horizontal threads. You can read about the process I learned on my first Drawn Thread post. I started by preparing my fabric and doing the hemstitch on the top and bottom of the stitching area. Doing the hemstitch makes distinct groups out of the vertical threads. They are much easier to work with! I am using perle cotton floss - this is size 5 DMC#351.
The first step is to come up through the fabric at the right side of the area to be stitched. Pull the floss all the way through:
Pull the floss all the way to the left so that it is laying across the area to be stitched:
Bring the needle around to the right side, leaving part of it laying across the area to be stitched...this will be the start of a loop:
Slip the needle behind three of the groups of vertical threads - notice the needle also went under the working thread but is now coming out over the working thread - see how this is beginning to form a loop?
Pull all the way through :
Pulling all the way through draws the three groups together. Just continue the same way with all the vertical groups. I just went back into the fabric at the left edge of the stitching area and secured my thread underneath.
This is what the underside of the stitching looks like:
Beautiful! This is a really easy stitch once the preparation work is done.
This is stitch number 78 and is in the Drawn Thread Embroidery section of 100 Stitches.
Remember this wip? I am still working on it - I updated it here and now I have some new progress to report. All the olive leaves are stitched, I used the fishbone stitch. I finally selected a green to use for the branch. I had this spool in my floss box but without a number! I think it is close to DMC 966, it is a sage green with a bit of a yellow undertone. Do you like the stitching for the branch? It is parallel lines of split stitch.
I think it goes beautifully with the purple, this is DMC #208. I am filling in the olives with concentric circles of back stitching.
It also sets off the leaves nicely. I still need to fill in all the olives, stitch the other branch and wash out my marker lines. Then of course, iron this wrinkly fabric!
I will be sure to post a picture when this is finished.
The beautiful weather we have had this summer has been nice! I have enjoyed it so much, especially with this sweet friend:
 |
| Rego |
I do love to see what blooms this time of year, my sunflowers:
white dahlia:
I have also enjoyed home grown tomatoes!
All these beautiful colors are making me think of some sunflower projects I would like to stitch:
I have listed a new pattern set in my shop. It is called Cowboy. I love all the fun cowboy and old west inspired motifs. I am already stitching the border on a pillowcase with one of the motifs. This little rope, horseshoes and stars grouping:
I am using the split stitch for the rope. I plan to do two or three rows of it, side by side to make a nice rope-y texture:
I love the color palette I am using and of course, remembering to keep track of my floss colors!
This is a picture of the pattern packet :
This is either a beautiful gold chain or the latest stitch from 100 Stitches, the Ringed Back Stitch Filling Stitch.
This stitch is from the drawn fabric embroidery category. The stitch requires the ability to count the warp and weft threads of the fabric so I am using this medium weave linen. It is very easy to see the individual threads on this weave. For my floss, I am using a pearl cotton thread. This is DMC #742.
The stitch is worked from right to left making a series of half circles. When the end of the stitching line is reached, the hoop is turned top to bottom and the stitch is worked back along the line completing the half circles into whole circles. The description is confusing and so are the instructions but I hope these pictures will help! The first step is to come up through the fabric on the right hand end of the stitching line:
Pull all the way through and then go back into the fabric two threads below where the needle emerged:
Count four threads up and two threads to the left and come back up through the fabric:
Pull all the way through and then go back into the fabric in the same hole that the needle first emerged from:
Count two threads up and four threads to the left and come back up through the fabric:
Pull all the way and then go back into the fabric in the same hole as the previous stitch:
Pull all the way through. Count two threads down and four threads to the left and come up through the fabric:
Pull all the way through and then go back into the fabric in the same hole as the previous stitch:
Pull through. Count four threads down and two threads to the left and come up through the fabric.
Pull all the way through and then go back into the fabric in the same hole as the previous stitch:
This makes a nice upper half of a circle. Now count down four threads and two threads to the left and come up through the fabric. Do the same steps to complete the next half circle only
this time the half circle will be a lower half:
Then another upper half, lower half and upper half. Do as many as needed to complete the length of your stitching line:
Once the end of the stitching line is reached, turn the hoop top to bottom and start stitching half circles exactly as you started this stitch at the very beginning:
Each new half circle will make a full circle with the line you have already stitched resulting in a beautiful finish:
This stitch is neat and tidy on the underside too:
Beautiful!
A nice close up:
This is #93 on the list of 100 Stitches.
Do you remember my space stitching project? {If not, you can review my progress here: 1, 2, 3 and 4}. I have made a tiny bit of progress that I can share. I have stitched part of the astronaut in white back stitch:
I have added some french knots in silver for the far away stars and now I am experimenting with stitches and colors for the close up stars. So far, I have tried yellow floss mixed with silver blending filament to add some sparkle. The yellow is six strands of DMC #973 and the blending filament is Kreinik #095
The far away stars are silver metallic thread - Kreinik fine braid #001. I love this and I need to buy some more as this piece is all I have left!
I used gray for the astronaut's faceplate - this is DMC # 415 but now that I am looking at it, I am very tempted to take it out and replace it with this black floss:
I think it will look really good all filled in with the black floss- it will be a nice contrast as I plan to fill in the astronaut's suit and helmet with white floss.
Gray or black, I would love to hear which color you would choose!
Here is my progress so far on my olive branch border. I have been experimenting with the olives. I have tried various thicknesses of floss and I think that the olive in the top left of the picture is the winner. Three strands of floss in rows of backstitch as a fill. I think that will work! The leaves are done in the fishbone stitch. I also have progress to show on a new project:
This says "Benvenuti Amici" which is Italian for "Welcome Friends" . I am using the chain stitch for the lettering and for the motif on the bottom the double knot stitch. You may recognize the double knot stitch, remember this disaster? Let's just hope I don't have to remove any of these stitches and risk it happening again!
I really love the color combination of purple and green, as you can see by both of the above projects. I was looking at my color wheel and noticing that purple and green are part of a triad with the third color being orange. I think I will have to use some orange somewhere on the benvenuti stitching.
There are so many beautiful shades of green, I am growing several of these pale green zinnias this year, I really love the light green color. I should have grown some purple flowers to go with them!
These are certainly not purple but I can't resist their beautiful color!




 Posts

