Thursday, June 5, 2025

Double Darning Stitch

Time for another 100 Stitches post.  This beautiful one is the Double Darning Stitch.  


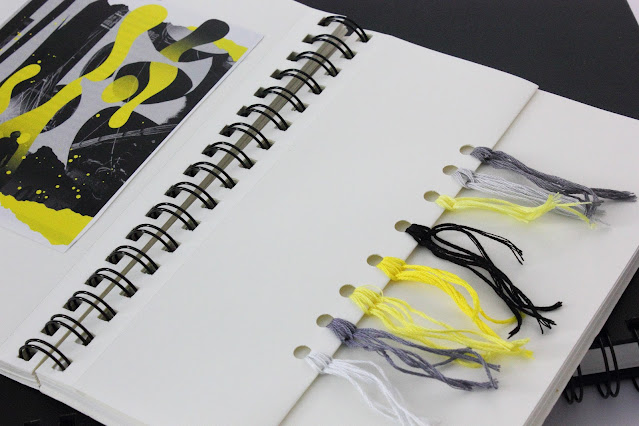
This is an easy filling stitch and it looks especially nice when stitched with variegated thread.  I am using perle cotton DMC color variations #52:


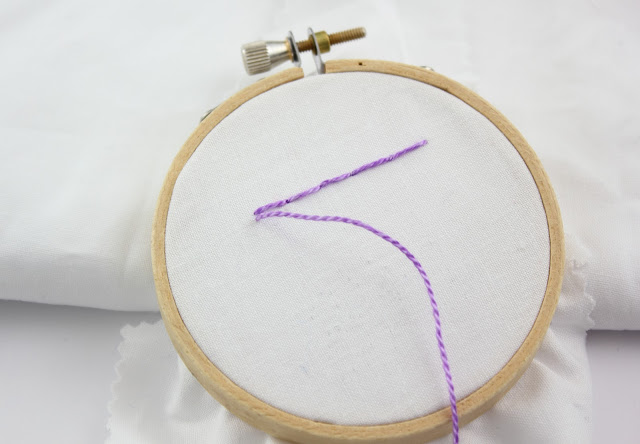
The Double Darning Stitch, also known as pessante can be described as a double Running Stitch.  In a Running Stitch, each stitch and the space before the next stitch are the same length. All stitches and spaces are the same length.  In the Double Darning Stitch, the first stitching line is done as a line of Running Stitch worked from left to right: 


When the end of the stitching line is reached:

 Then the spaces are filled in by stitching back right to left, making sure to use the same needle holes made by the original stitches: 


The next line is started working again from left to right and directly under the first stitching line:


and back right to left:


Then the next line:


and so on...


When I was finished, I brought my thread through to the underside of the fabric and secured it by weaving through some of the stitches formed on the underside:


I learned this stitch from the book Embroidery Stitches by Mary Webb.


Saturday, May 17, 2025

Strawberry Embroidery

I just finished the stitching for this strawberry design. This motif is part of my Strawberries embroidery pattern set.

The swirly vine is stitched with Back Stitch.  The strawberry blossoms petals are done in Straight Stitch and the blossom centers are Satin Stitch.  The red accent dots are French Knots:


The Strawberry is formed with Long and Short Stitch, the pink seeds are formed with Fly Stitch and the stem is Straight Stitch:


I really like the color palette used on this project.  Here are the floss color numbers: 

DMC 3801 Very Dark Melon Pink
DMC 3823 Ultra Pale Yellow
DMC 15     Very Light Parrot Green {discontinued} 
DMC 893   Carnation Light Pink 
DMC 3894 Apple Green, 
DMC 666   Bright Red 


Wednesday, April 30, 2025

Beach House Welcome Sign Project - Part One


I have a work in progress to share!  Actually, several: 

This Welcome motif is from my Beach House embroidery pattern set.  I just finished stitching this in a sea-green and camel color palette.  I still need to rinse out my transfer marks:


Next, I am going to stitch this in a red/white/blue/gray palette 

and finally an ocean blue/pink/coral palette:


I am looking forward to seeing which color palette I like the best!  Do you think I should use the same stitches on all three?...still deciding.  

I will post my progress and when completed I will share the floss color numbers and stitch information.

Thursday, April 17, 2025

Chili Pepper Embroidery Project Details


I have some project details to share.  These two embroideries are from the Chili Peppers embroidery pattern set that I shared about on a previous post.

For the Chili Peppers, I used Back Stitch for most of the peppers, stems and lettering. To dot each "i" in chili, I used French Knots .  For the big yellow/green chili in the center, I used Lazy Daisy Stitch and Straight Stitch to make the stem:

For the chili pepper plant, I used Fish Bone Stitch for all the leaves, Straight Stitch for the peppers and Stem Stitch for the stems:


Here is the color palette for both of these projects:


Monday, April 7, 2025

Chili Peppers Embroidery Pattern


Chili Peppers is the new hand embroidery pattern available in my Etsy shop.
  

I received a lot of drawing inspiration from this cookbook:


This is what the embroidery pattern set looks like:

I am enjoying stitching up the sample pictures!

Thursday, March 13, 2025

Barb Stitch

There is a new stitch to add to my 100 Stitches journey.  This is the Barb Stitch.  

This stitch requires two threads.  One for the foundation stitches and one to whip around the foundations stitches.  The threads can be the same color or contrast in color or texture.  I chose to contrast in both color and texture.  I am using perle cotton floss and metallic floss:


The Barb Stitch is made by forming two rows with Blanket Stitch that are then whipped.  The Blanket Stitches should be arranged so that their spines are together in the middle. 

The first Blanket Stitch row is started working left to right:


The first row of Blanket Stitch is finished and then the next row is started: 


To whip these stitches, first come up through the fabric on the left side of the Blanket Stitches:


Then whip around the two spines of the Blanket Stitches.  Notice that the needle is not going back into the fabric but just sliding over it and under the stitching:

and finish the whipping by going back into the fabric and the right side end of the Blanket Stitches:


Here is a look at the underside of this stitch.  


I learned this stitch from Embroidery Stitches by Mary Webb.