
 When I saw the illustration in 100 Stitches for this stitch I thought uh-oh! But it turns out that this is a really simple set of steps, it just looks complex.
 This sample was stitched with two colors of the six strand embroidery floss and you see what a nice puffy effect it gives:
 For my demonstration I am using pearl cotton floss just because it is so much easier to see the steps with the smooth, indivisible pearl cotton floss. I am using two needles and contrasting colors of floss:
 I drew two parallel guidelines just to keep everything straight and even. The first step is to make what 100 Stitches calls foundation bars, which are just
 evenly spaced
 straight stitches:
 Evenly space these along the guide lines. After all the straight stitches are in place, come up through the fabric on the left side guideline. 100 Stitches suggested that you use the lighter color of the two colors first so that is what I did. I started with the yellow floss:
 Come up through the fabric and go under the first straight stitch - don't pierce the fabric, just slide under the first straight stitch
 and pull all the way through:
 Now you switch to the other needle. Come up through the fabric:
 and this time go over the first straight stitch and then under the second straight stitch. Don't pierce the fabric just slide the needle under the second straight stitch:
 and pull all the way through - and pull your floss under the light colored floss:
 next, switch back to the needle with the light colored floss and go over the second straight stitch and under the third straight stitch - again not piercing the fabric - just sliding under the stitch:
 Pull all the way through and pull the yellow floss under the blue floss:
Now back to the blue floss, over the third straight stitch and under the fourth. I am sure you are seeing the theme here, sort of like over-under weaving:
 Just continue with these steps. When you reach the last straight stitch, bring your needle down to the underside of the fabric right below the final straight stitch. You can see the blue is already through:
 and now it is yellow's turn:
 Bring both needles back up to the first straight stitch and start the whole process again for the next row:
 yellow first - under and over:
 now blue - over and under:
 Just continue these steps until all the space between the lines is filled:
 I stitched this band with more spacing between the vertical rows, and you can really see how the floss is woven under and over. Especially with the pearl cotton floss:
 I like the blue and yellow color combination. The blue is dmc #798 and the yellow is dmc #727.
 Here is a picture of the underside of the stitching. There is definitely a lot going on here!
 I really like this stitch and I am excited to try it on some actual embroidery patterns! This is stitch #66 and it is listed in the Composite Stitches section of 100 Stitches.


 I did a lot of research on what type of sewing machine I wanted and I narrowed it down to the Husqvarna
 Viking line:
  I selected the Emerald 118 and here it is!
 This machine has so many exciting features. It has 18 different stitches, a one step buttonhole process, adjustable presser foot pressure, a see through drop-in bobbin case with an automatic bobbin thread pickup:
 and a built in automatic needle threader:
 It came with so many nice accessories - a few of which I have no idea how to use yet:
 and this model has 8 different presser feet:
 This is a couching stitch
 and it is the latest stitch on my
  This is actually two couching stitches, the Trellis Couching Stitch and the Jacobean Couching Stitch. Since 100 Stitches counts them together, I am too. The Trellis Couching Stitch can be seen in the center of the pink flower and the yellow flower. The Jacobean Couching Stitch is in the center of the blue flower:
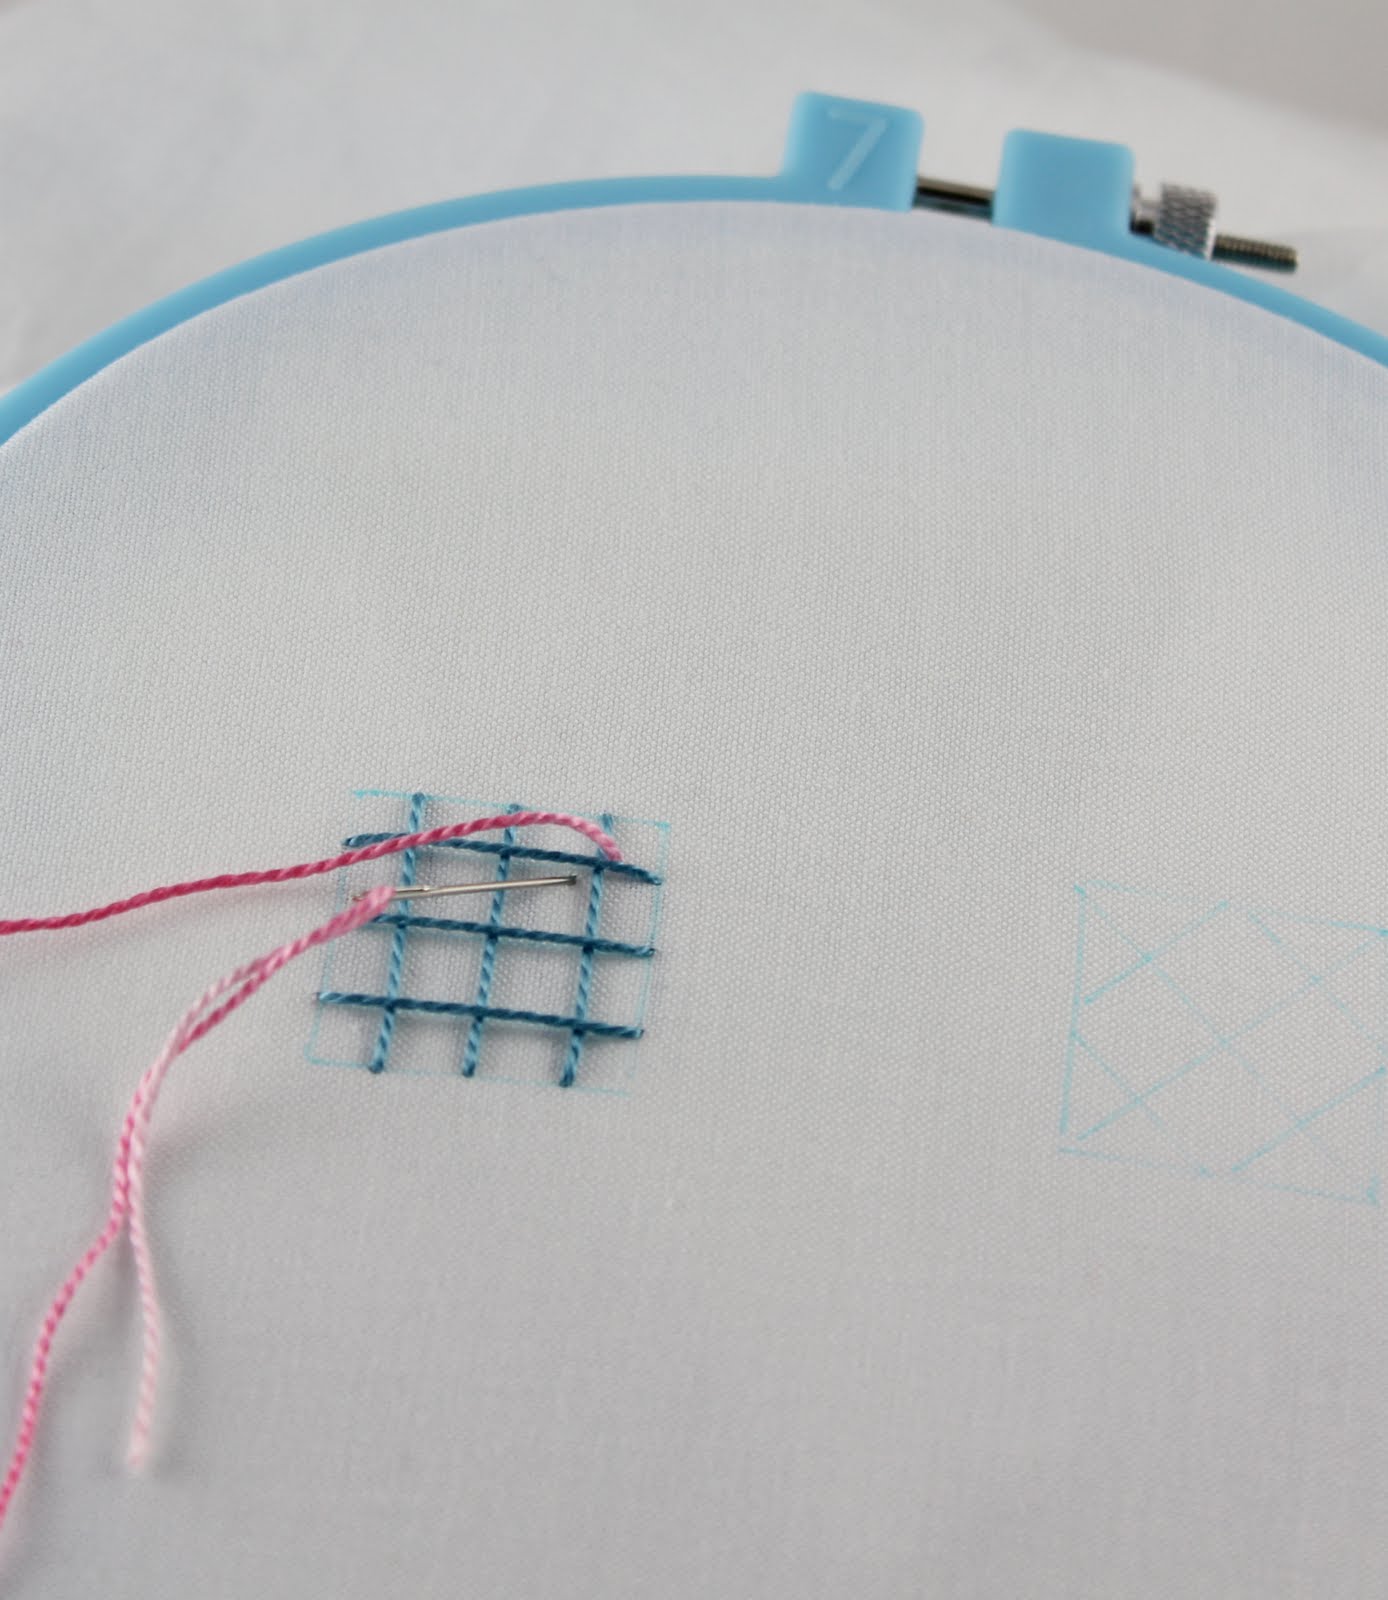
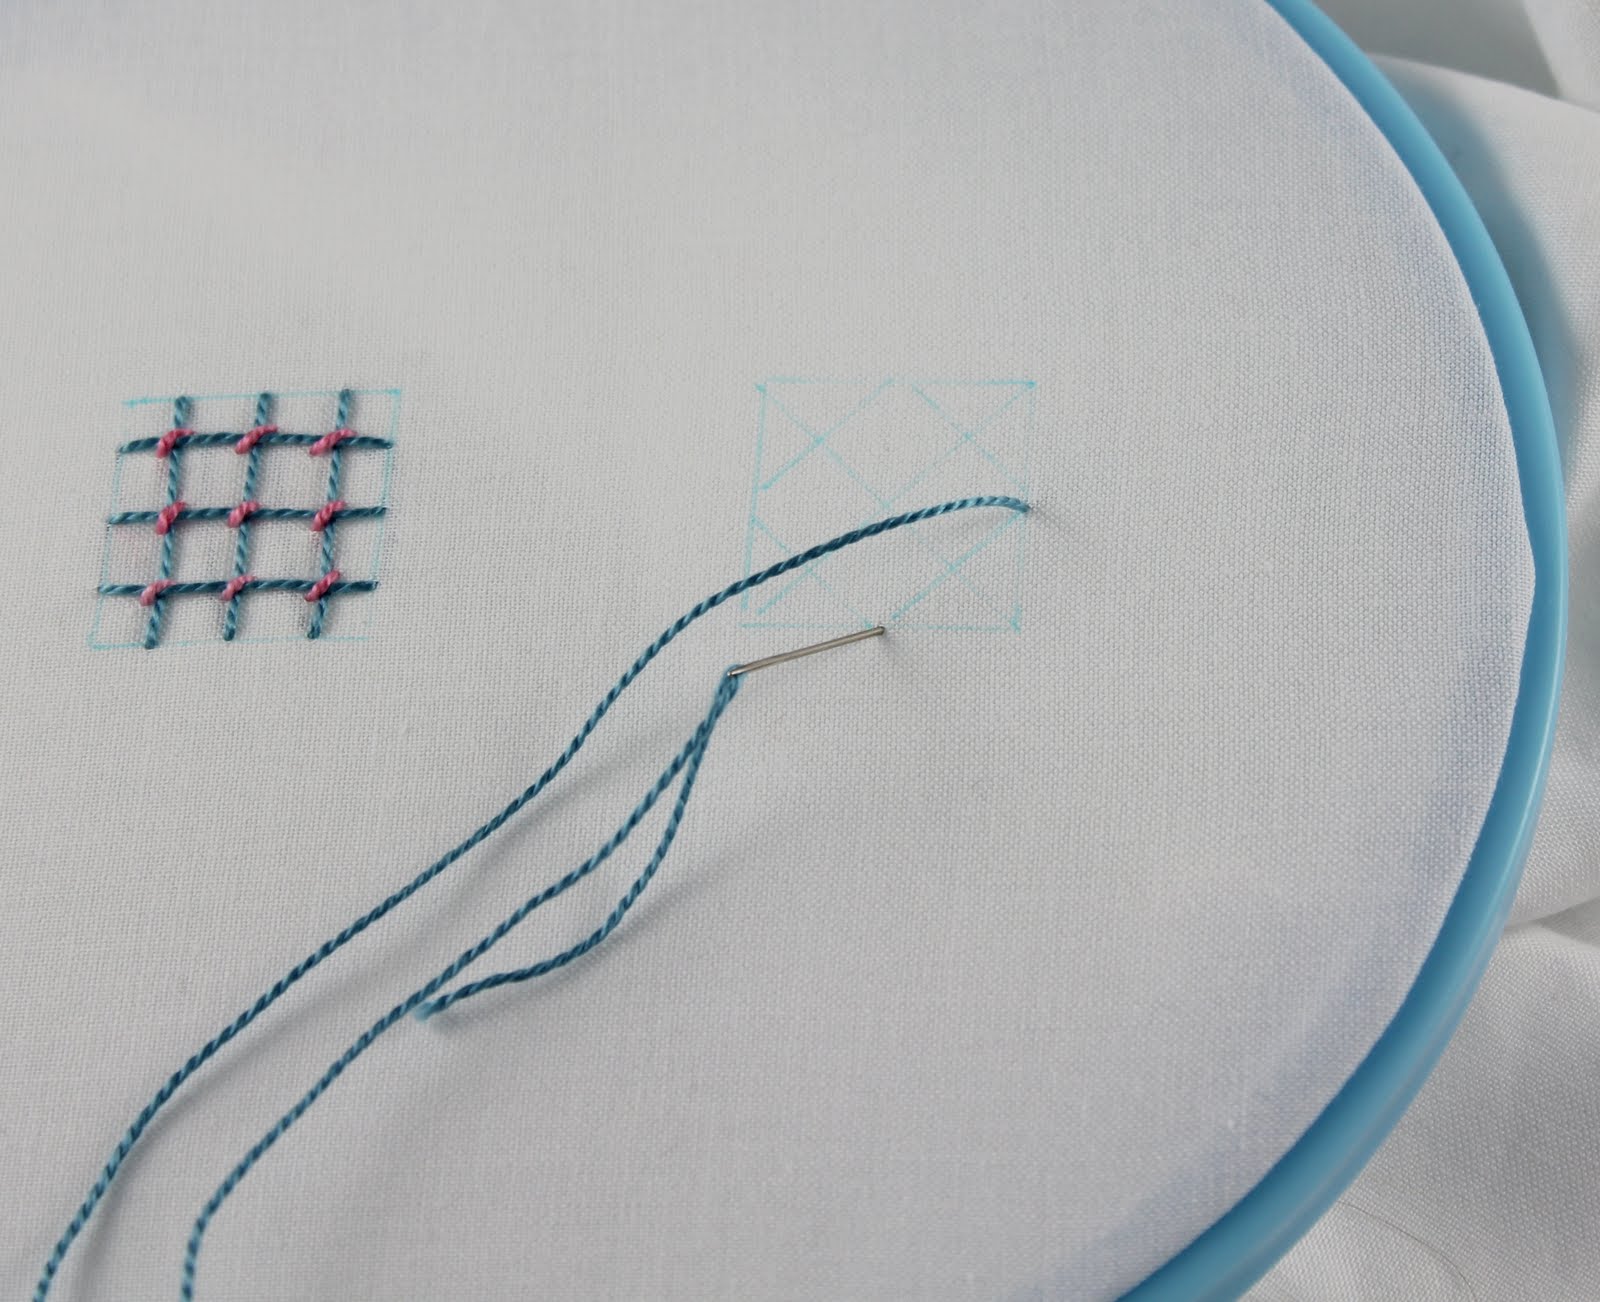
 To show you how I learned the stitch, I drew two squares and put straight lines in one and diagonal lines in the other. I am using two different colors of pearl cotton floss so that it is really easy to see how these stitches work:
 First I will do the square with the straight lines, this will show how to do the trellis couching stitch. Bring the floss through at one end of one of the straight lines. I don't think it matters where you start.
 Pull the floss through and go back into the fabric at the other end of the line you started on. You are making long stitches that are essentially laid threads :






 These pretty flowers are part of a border from the
  These stitches are in the Couching Stitches section of 100 Stitches and are #70 on the 100 Stitches list.


 Posts
Posts

