Wednesday, March 30, 2022

Net Passing Stitch


 This complex looking stitch is the Net Passing Stitch. 
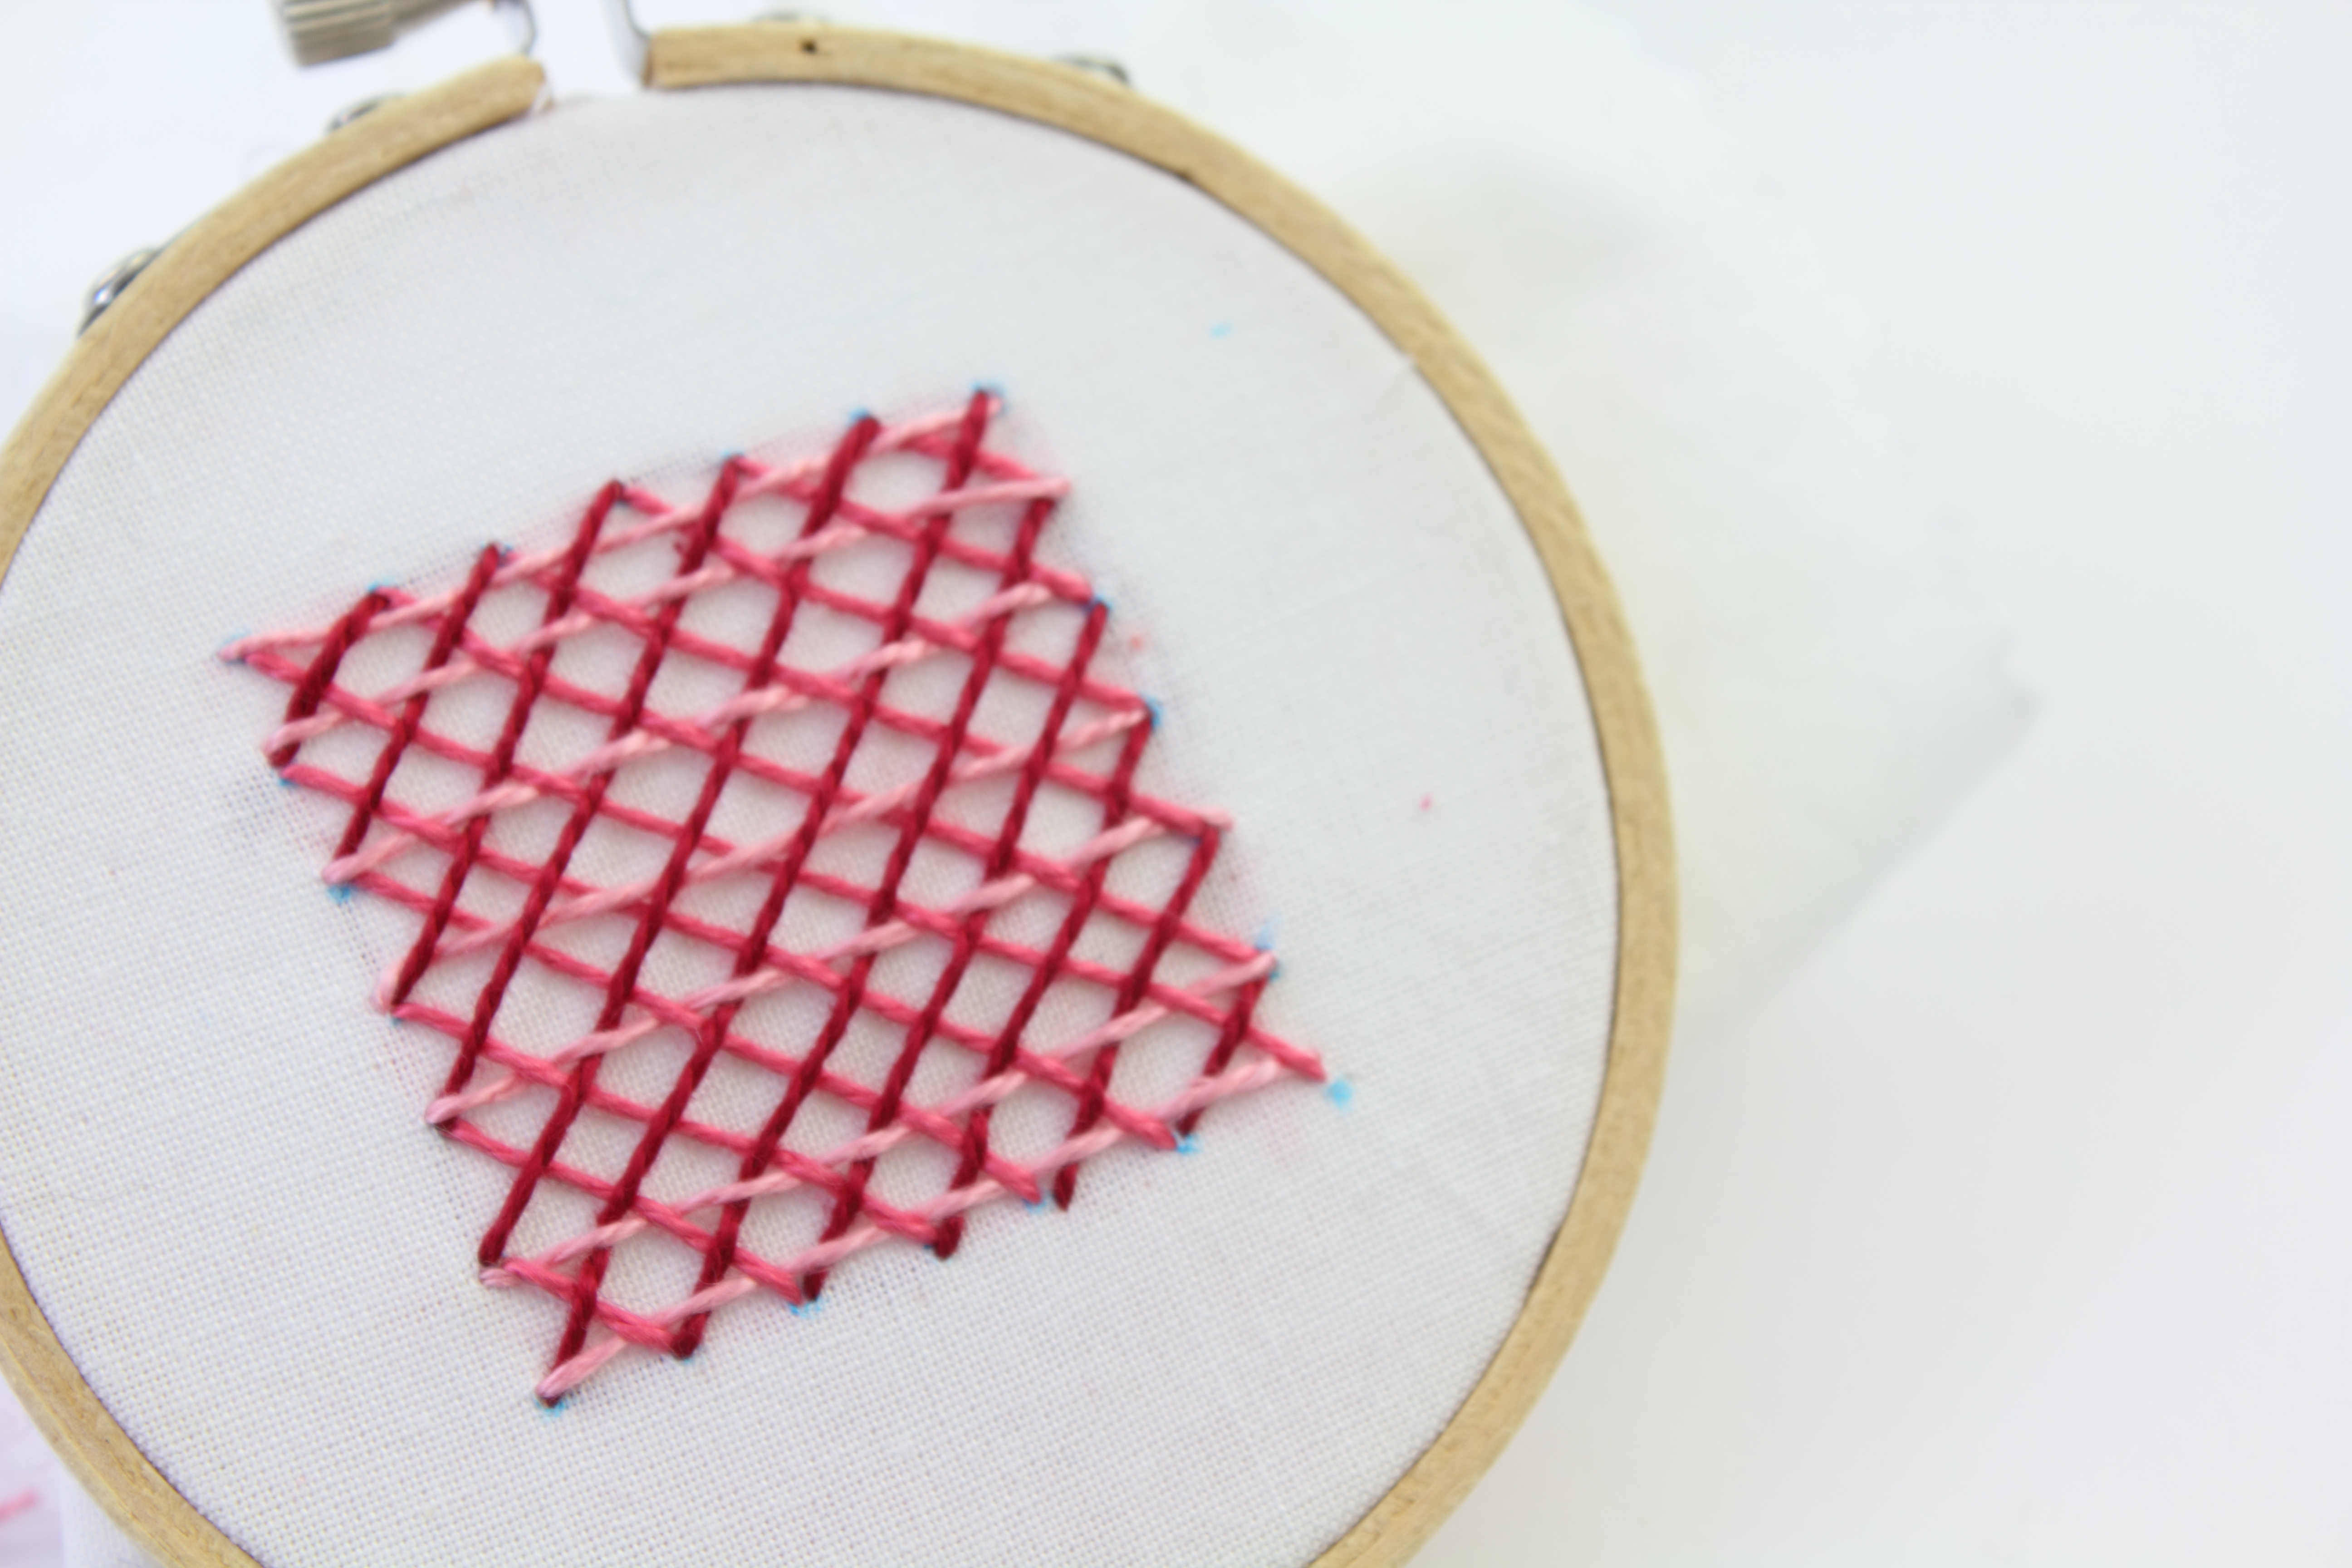
 

This is the latest stitch I have learned on my 100 Stitches journey.   
I learned this from the book Embroidery Stitches by Mary Webb.

To demonstrate, I selected three different shades of perle cotton floss:

Although complex looking, Net Passing Stitch is just made up of long Straight Stitches.  The complex part is ensuring even spacing!  I used a ruler and a water-soluble marker.

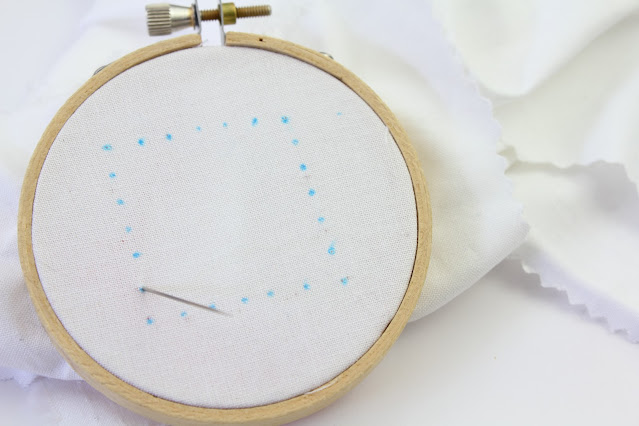
I spaced my start/stop stitch marks 1/4" apart:


There were no instructions on beginning this stitch but after looking at the pictures, I started in the lower left corner.  This will be a diagonal Straight Stitch:
Then I repeated this across the whole marked grid:


Next, I started in the upper left corner - again with diagonal Straight Stitches but now in a different colored floss:


across the whole grid:


The final set of Straight Stitches is horizontal and the needle weaves through the the other Straight Stitches at each intersection.  I used the third color of floss for this one:


According to Embroidery Stitches, this stitch is also known as the Honeycomb Filling Stitch.  If you are a regular reader of this blog, you may remember that I previously demonstrated "Honeycomb Filling Stitch".  It is a totally different stitch.  I had learned that version from the book that started this whole project : 100 Stitches.  That blog post can be read here .  As you can see, a different stitch!  


Friday, March 18, 2022

Color Palette Inspiration

I have a lot of hand embroidery patterns with flowers so I am always looking for floss color inspiration!

This floral picture has been painted in such a beautiful color palette. I am planning to borrow it.


I will add floss samples from this palette to my color inspiration journal - like I did here:


and here:

You can read about my color palette inspiration journal here

I can see a few more colors to add but this is shaping up to be an excellent floral color palette!


Thursday, March 10, 2022

Cherry Blossoms and Lanterns Embroidery Project - Part 2


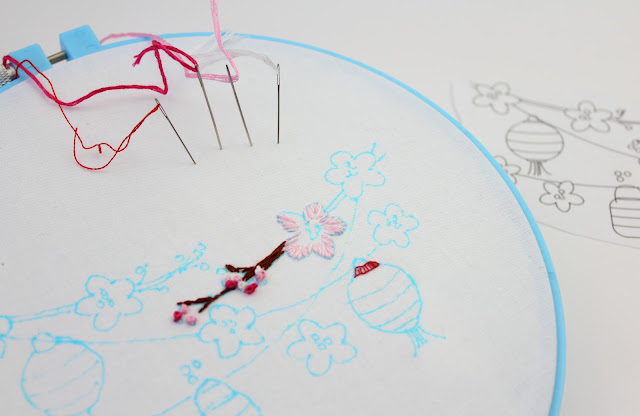
I am back with part two of the cherry blossoms and lanterns project.  You can see part one {here}.  Since that post, I took out the red floss I was using for the lantern top:

and replaced it with this light blue.  I also started stitching the stringing that the lanterns hang from.  I am using silver metallic floss.


You might recognize the Turkey Work stitching for the base of the lantern. I am really happy that I learned how to do that stitch, it is perfect for fringe! 

Wednesday, March 2, 2022

Teddy Bear on a Swing Embroidery - Part Two

I have an update to a work in progress to share.  This is a project I started a while back and need to finish! The motif of a teddy bear on a swing surrounded by butterflies is from the Teddy Bear embroidery pattern set.  


I am going to stitch the bear in two or three colors.  The butterflies, leaves and the tree bark will add a lot of color to this project!

Tuesday, February 22, 2022

Cherry Blossoms and Lanterns Embroidery - Part One

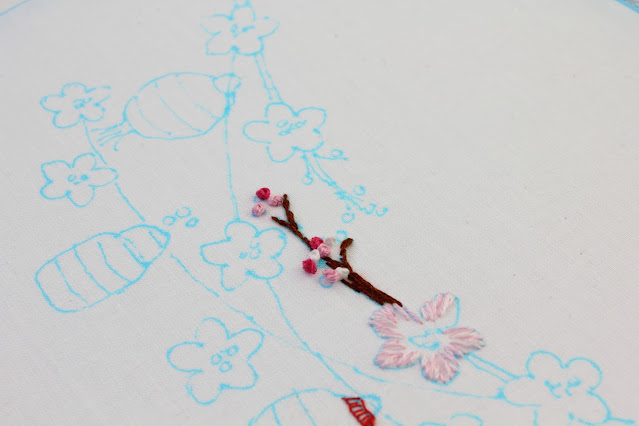
I am stitching up this cherry blossoms and lanterns motif from the Cherry Blossom embroidery set.

I have been trying out a few color combinations:


So far, a lot of pinks and white!  Plus a reddish brown for the cherry tree branch. All easy - it may be a bit more of a challenge to find just the right colors for these lanterns:


I will be sure to post my progress on this project!

Monday, February 14, 2022

Brick Stitch

The next stitch on my list to learn is the Brick Stitch.  This is a filling stitch, made up of vertical Straight Stitches.  While very simple to do, it is not so simple to keep the stitches evenly spaced. I found that drawing  guidelines was very helpful.

I drew horizontal lines about 1/4" apart:

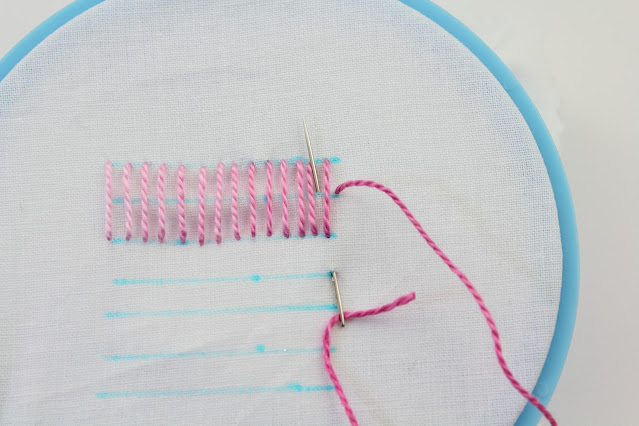
This stitch is worked both from left to right and right to left.  The first step is to come up through the fabric at the left edge of the third horizontal guide line and go back onto the fabric on the first horizontal line, forming the first Straight Stitch.  I just repeated these all along the lines:

Next, to start back working from right to left, I came up through the fabric on the right edge of the second horizontal line and went back into the fabric on the fourth line:


I worked my way to the left edge.  To start again working left to right, I came up through the fabric right below the third horizontal line and went back into the fabric on the fifth line:

I just repeated this spacing for the next right to left and final left to right.


 I think this is a beautiful filling stitch.  The floss I used is a color variations perle cotton from DMC.  The color number is 48.

I learned this stitch from the book Embroidery Stitches by Mary Webb. 


Monday, February 7, 2022

Valentine Embroidered Table Napkin - Project Details

This Valentine table napkin is made from two motifs from the Be Mine Valentine embroidery set.

I combined the cupid's arrow heart with the XO text: 

and transferred them to a white cotton table napkin using a water soluble marking pen:


 I stitched everything in red cotton floss, DMC #349.

The text and the arrow shaft are all done with Back Stitch.  The arrow point is Satin Stitch.  The heart is filled with French Knots.