Monday, February 26, 2018
Rose Stitch
Time to share the latest stitch I have learned. Appropriately named the Rose Stitch, this one is categorized as a decorative or motif stitch. Isn't it beautiful?
This stitch could not be easier to do. It is made up of two stitches, a French Knot center and then concentric circles of overlapping Straight Stitches.
For my demonstration, I used perle cotton floss. The bright pink is DMC number 956 and the pale pink/white is DMC Color Variations number 4180.
First, I used the bright pink floss:
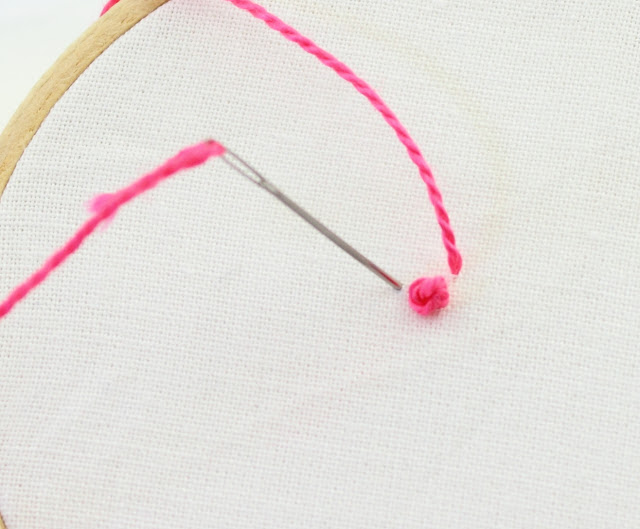
and formed a single French Knot:
Next, I came back up through the fabric {still using the bright pink} right alongside the French Knot:
I pulled the floss all the way through and then went back into the fabric, forming a small slanting Straight Stitch:
I pulled all the way through and then came up through the fabric to form another slanting Straight Stitch. Notice I started this one to overlap the first Straight Stitch:
I went back into the fabric and pulled all the way through to make the second Straight Stitch:
I continued around the French Knot, making overlapping Straight Stitches:
After making a full circle of stitches, I switched to the pale pink/white floss:
I came up through the fabric and started a new circle of overlapping Straight Stitches:
And another circle:
I did two circles in the pale pink/white floss, but if I wanted a bigger rose, I could have done several more circles.
Here is a look at the underside of the fabric after completing my stitching:
And the final result:
I learned this stitch from the excellent book Embroidery Stitches by Mary Webb.
Thursday, February 22, 2018
Panda Embroidery Pattern
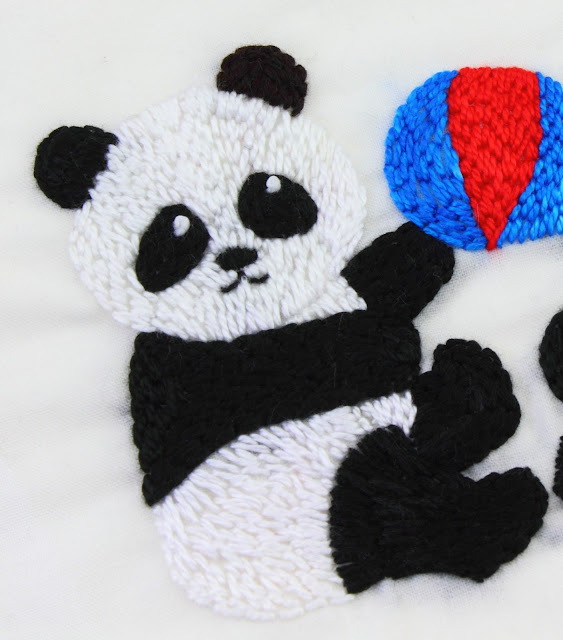
Panda is the name and subject of the new embroidery pattern set in my Etsy shop.
If you follow me on Instagram, you will have seen a screen shot of this pattern set while it was still in the drawing phase.
Now here is a look at the completed pattern set:
I really enjoyed embroidering these two little friends:
and now I have a few new projects to start:
Tuesday, February 6, 2018
Valentine's Day Heart
I love adding sequins to my embroidery projects. {example example}
Recently, I decided to try using just sequins to fill an entire motif - in this case, one of the hearts from the Be Mine Valentine embroidery pattern.
For the sequins, I selected small {8 mm} size cup sequins in pink. I stitched them in place with sewing thread.
First, I outlined the heart. I started at the tip and centered the first sequin. I found that the best looking results came from partially layering the the sequins. You can see that each new sequin is on top of the previous sequin:
I went all the way around and then started the next row, following the outline...and so on...
until it was completely filled in. What do you think? I love the sparkly result!!
Subscribe to:
Comments (Atom)


