Wednesday, December 20, 2023

Embroidery Ornament - Finishing The Back Of The Hoop / Project Details


Here are all the details of the monogram Christmas ornament project I first posted about{here}.

I used four different stitches on this project.  For the letter, the evergreen and gold flower stems I used the Back Stitch.  The evergreen needles, the snowflakes and star are all Straight Stitch.  The red berries are French Knots and the gold leaves are Lazy Daisy Stitch.

I used a simple color palette as well - here are the floss color numbers:


Each monogram in this pattern set is perfectly sized to fit a 3" embroidery hoop.  When I stitched this, I used a larger hoop with a generous amount of fabric.  This made for an easier time stitching and also ensured that I had enough fabric so I could gather the raw fabric edges and finish them on the backside of the hoop.

When I finished the stitching, I transferred it to the 3" hoop:

Next, using about 20" of embroidery floss, I ran a Basting Stitch all the way around the hoop.  I made  sure to leave 2" tails of floss both at the beginning of the Basting Stitch and at the end. 


I trimmed my fabric to about 1-1/2" from the Basting Stitch line:


Then I gently pulled both floss tails until the fabric gathered into a tight circle around the backside of the hoop.  I tied the tails together.


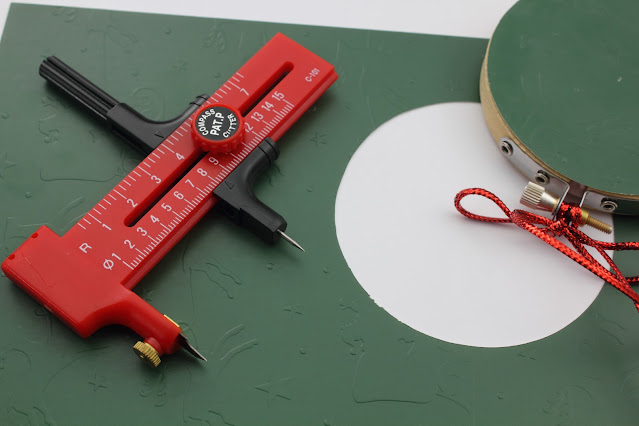
To make a clean finish on the backside of the hoop, I used a 3" circle of cardstock.


and glued it to the hoop.

I added a red cord to the tightening screw on the hoop and my ornament was ready to hang!


Friday, December 15, 2023

Monogram Christmas Ornament


I have a new hand embroidery pattern set available in my shop.  This one is titled Monogram Christmas Ornament. 
I will be posting all about my stitches and color palette numbers from this "M" monogram soon!

Wednesday, November 15, 2023

Autumn Embroidery - part two


I finished the stitching on this autumn embroidery project.  I am really pleased with the result!

I used the Back Stitch for all of the stems.  For the salmon pink colored leaves, I used Straight Stitch.  For the green leaves, I used Lazy Daisy Stitch with a Straight Stitch over the top.  The seed heads on the tarragon plants are all French Knots.

Here are the floss color numbers for the palette I used:


Monday, October 30, 2023

Autumn Trees Modern Embroidery - part 2

 I finished stitching two works in progress!

However, today I am sharing the stitch and color palette information for just one - this modern autumn tree panel:

If you remember from part 1 of this project, I mentioned that the autumn tree pattern had accent lines on three of the trees: 

After adding the contrasting colors:

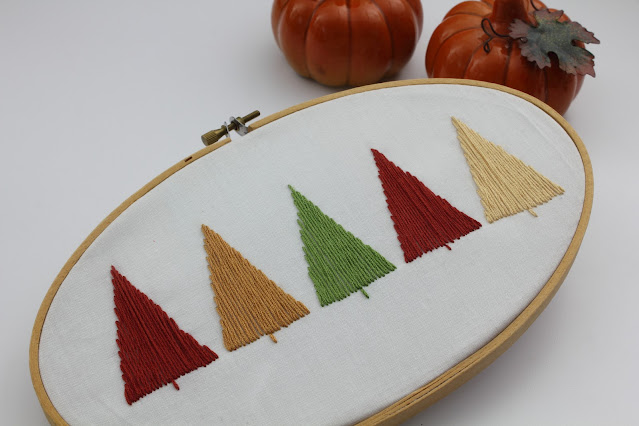
I have decided that I like the original plain stitching, solid colors version much better!


The stitch information is really simple - the whole project is done with Straight Stitch

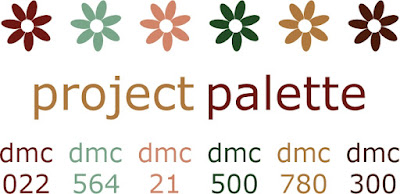
Here are the floss numbers for the color palette:


Tuesday, October 24, 2023

Autumn Embroidery Work in Progress


I have a work in progress to share.  I started stitching a small panel of autumn plants.  I selected a neutral color palette but after collecting a variety of leaves, I decided to use colors from the leaves:


So I removed all the neutral floss and started stitching with the new color palette. 

Now looking at the neutral palette - I really like it -perhaps I will transfer this image again and stitch it in the neutral!

I will post again with the finished project and all the floss color numbers and stitch information.

Thursday, October 12, 2023

Autumn Trees Modern Embroidery


I have a work in progress to share.  I wanted to stitch some autumn trees so I am using this tree line motif  from my Sly Fox embroidery pattern set.  

I selected some floss colors I thought would work well for autumn:


But I changed my color palette and used these:


Three of the trees have accent lines, I am not sure if I am going to add these lines in a contrasting color or just leave all of the trees a solid color? 

Thursday, September 28, 2023

Baby Giraffe Embroidery Pattern

I have a new embroidery pattern set available in my shop!  This one is titled Baby Giraffe.  There are five pages of giraffe images.


I embroidered this one first:  


His spots are stitched using the Satin Stitch.  The tree leaves are stitched with Fishbone Stitch.  The tree trunk is Stem Stitch:


The giraffe is outlined with Back Stitch.  His horns and eyebrow are rows of Back Stitch. His eyes, nose and hoofs are Satin Stitch.  His eyelashes, mouth and the grass are Straight Stitch.  

His mane is Blanket Stitch and his tail and forelock are Turkey Work.


Here are the floss color numbers I used for this project palette:


Saturday, September 9, 2023

Siennese Stitch


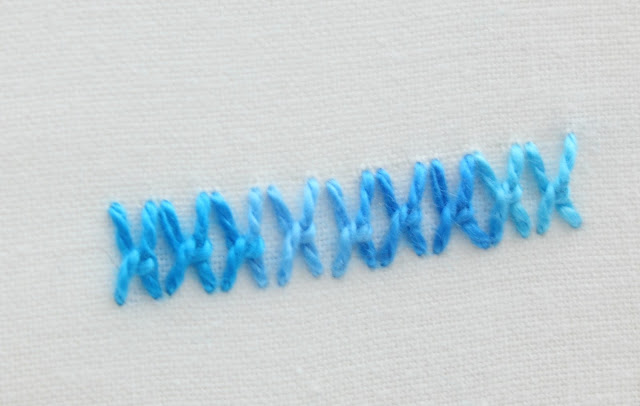
This stitch is the Siennese Stitch. This is the latest stitch from my 100 Stitches list.  


For my stitch demonstration, I am using perle cotton floss.  This is DMC Color Variations #4022. I set up two parallel guidelines so that I could keep my stitch size consistent.


The first step is to come up through the fabric and form a Straight Stitch.


then come back up through the fabric a small distance from the Straight Stitch:


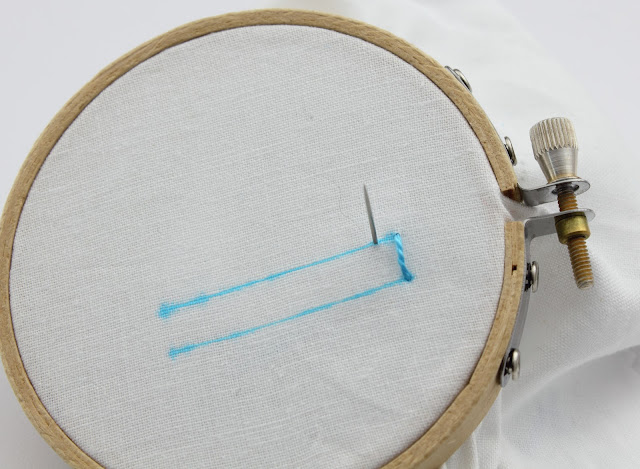
Pull the floss all the way through and bring the needle around to slide under the Straight Stitch.  Make sure your needle passes under the Straight Stitch but then over the working floss - this will create a loop: 


Pull the floss all the way until the loop is snug around the first Straight Stitch.  Now go back into the fabric and pull all the way through.... 


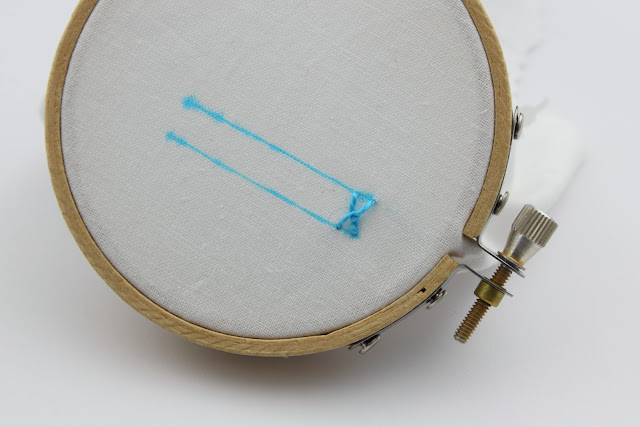
and this will complete the stitch! 


Continue working the Sienese Stitch along the parallel lines.


When finished, secure your floss on the underside of the fabric.  Here is a look at the underside of this stitch:


I learned this stitch from the book Embroidery Stitches by Mary Webb.