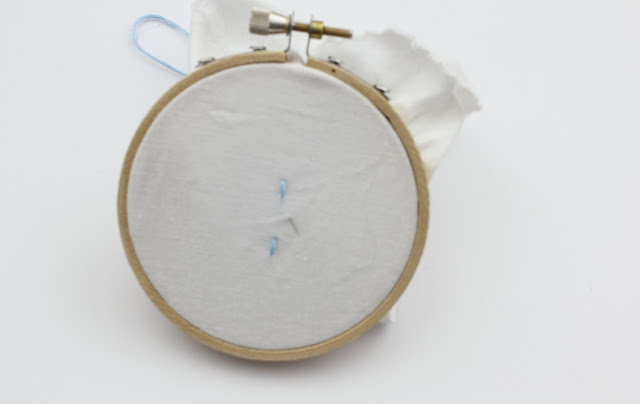
I have a new stitch to add to my 100 Stitches list. This one is the Woven Oval Stitch. The stitch starts by making two Straight Stitches spaced apart:
The next step is to come up through the fabric in the space between the Straight Stitches. Not in line with them, just a little to the left or right side of them:
Now to start weaving. Slide the needle under one of the Straight Stitches. Notice, the needle slides under the Straight Stitch but on top of the fabric:
Simple! I used six strand embroidery floss, I like the puffy texture it gives this stitch.


Very interesting Kim. Looks easy. But, I have a feeling that to get it right there should be some concentration and dexterity of controlling the thread. I loved the colour you have used. Waiting to see how you will use this stitch.
ReplyDeleteThank you for sharing this stitch. I did not know of its existance :)
Mallika
Hi Mallika! You are right - it is a really easy stitch but can get messy - especially with the six strand thread! I am practicing, it looks like a good one for florals :)
ReplyDelete