

I have a new stitch from my 100 Stitches Plus list to share. This is the Arrowhead Stitch.
This was really easy to learn as you will see by my demonstration. Basically, this stitch is made up of two diagonal Straight Stitches.

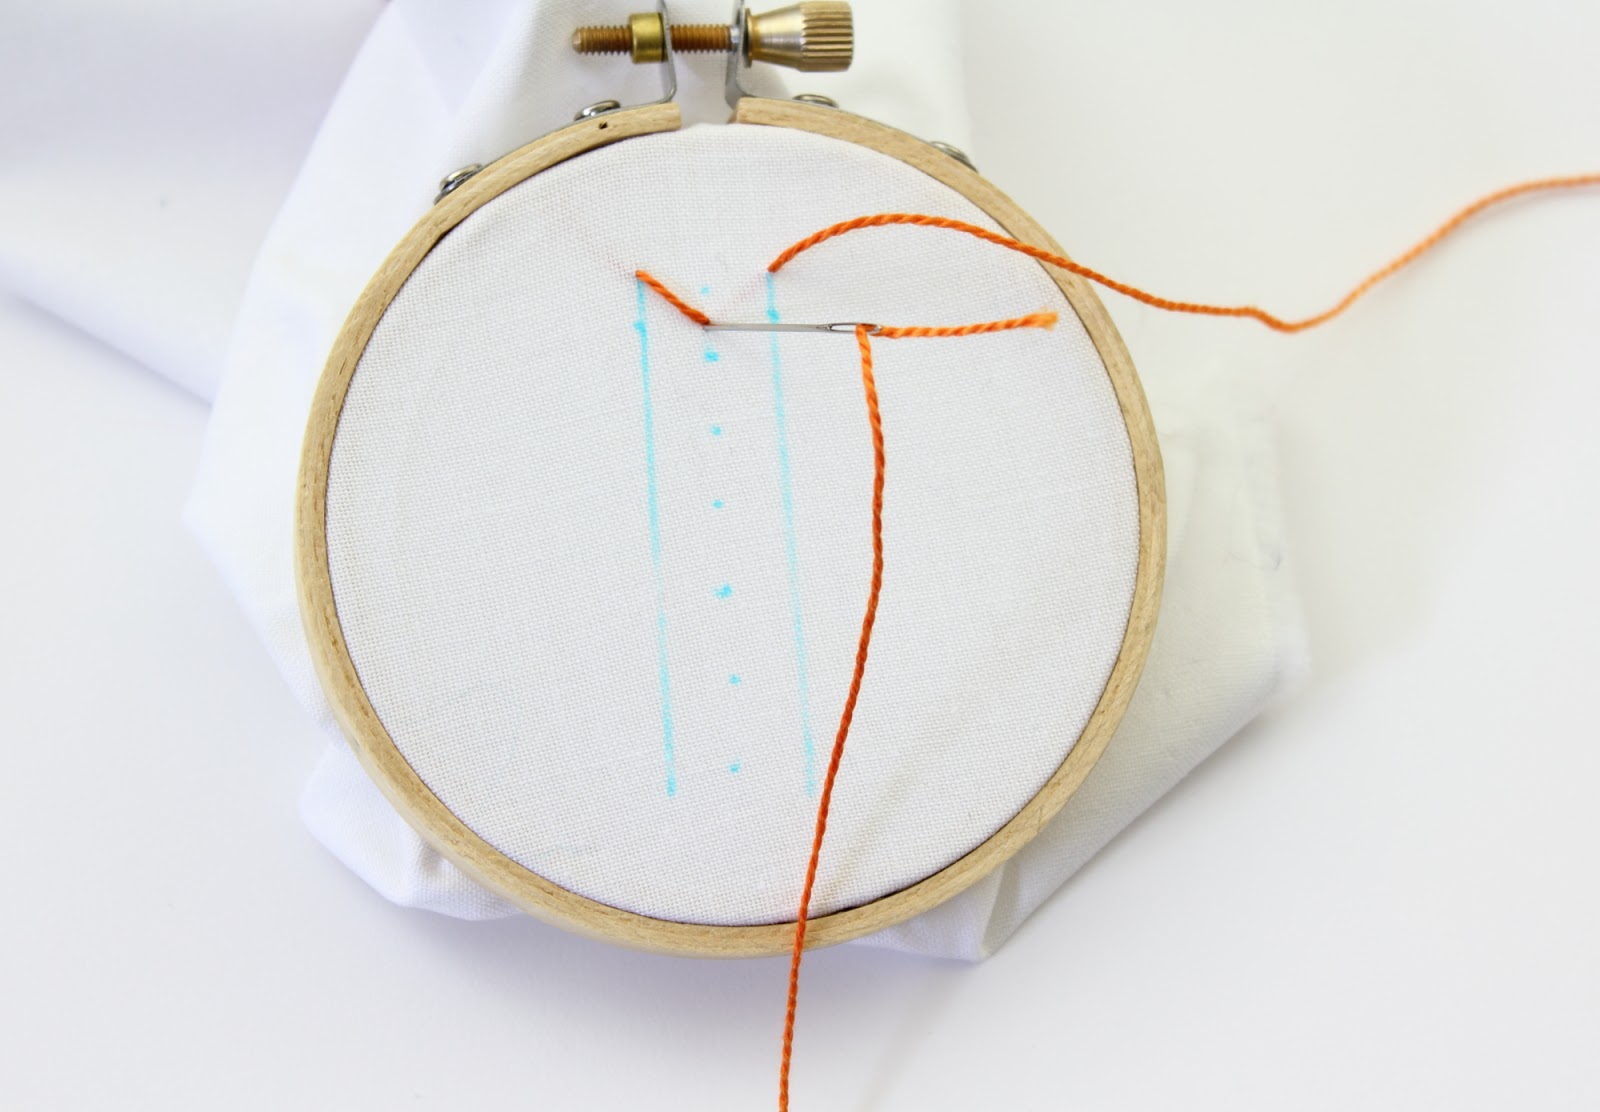
The Arrowhead Stitch can be a filling stitch or a line stitch. Also, it can be worked either vertically or horizontally. I decided to work mine vertically. I drew a few guidelines to keep everything evenly spaced. I marked off two vertical lines 1/2" apart. I also marked a dotted line halfway between the two vertical lines.

The first step is to come up through the fabric on the top of the left side line:

Pull all the way through. Now make a diagonal Straight Stitch by going back into the fabric on the center guideline:

Pull all the way through:

Next, come up through the fabric on the top of the right side guideline:

Pull all the way through:

And make another diagonal Straight Stitch by going back into the fabric on the center guideline, right at the bottom point of the first straight stitch :
Come back out of the fabric on the left side guideline and at a right angle to the first Straight Stitch:

Pull all the way through. That completes the first Arrowhead Stitch.

Now just continue as with the first stitch:


When I was at the bottom of the guidelines, I went back into the fabric:

and secured my floss on the underside:

Really simple isn't it?

I used a variegated perle cotton floss, this is DMC Color Variations 3840.
The Arrowhead Stitch is from the book Embroidery Stitches by Mary Webb.


4 comments:
Lovely! Thanks for sharing another gorgeous embroidery stitch.
Hope you are having a lovely week!
Hugs and love from Portugal,
Ana Love Craft
www.lovecraft2012.blogspot.com
Thank you Ana - have a lovely weekend!
nice
Hello Garima - Thank you!
Post a Comment