skip to main |
skip to sidebar
I have some progress to report on my space stitching project. --If you would like to review my progress so far, you can check out these posts: {part one} {part two} {part three}. -- I am going to be making a pillow. For one side of the pillow I am using this rocket picture that I embroidered. For the other side of the pillow, I have decided to stitch this little spaceman:
I wanted to add this shooting star to the spaceman picture, so I just cut it out and taped it in place before I started transferring this to my fabric:
I transferred the pattern using a water soluble marker. It is very easy to see the pattern through this white fabric!
I think it really helps to keep another copy of the pattern to refer to while I am transferring.
There - all transferred!
Now to put it into the hoop - I am using my big 10" hoop:
Now my next step is going to be selecting floss colors. I am so enjoying my new organized lifestyle! I am recording all the pertinent information for this new project:
And since I did the same for the rocket stitching, I can see which colors I used so that I will be able to use the same on the spaceman:
Remember this border? I have figured out the perfect use for it on this pillow - I will be posting about that soon!
The Pin Stitch. This is the first stitch I have learned from a new category in 100 Stitches. The Drawn Fabric category. According to 100 Stitches, the stitches in this category all draw in the fabric to achieve an open effect. The stitching is not the main attraction, the open pattern that is formed by drawing together the threads of the fabric is. The instructions in 100 Stitches were shown on a hem edge so that is what I did:
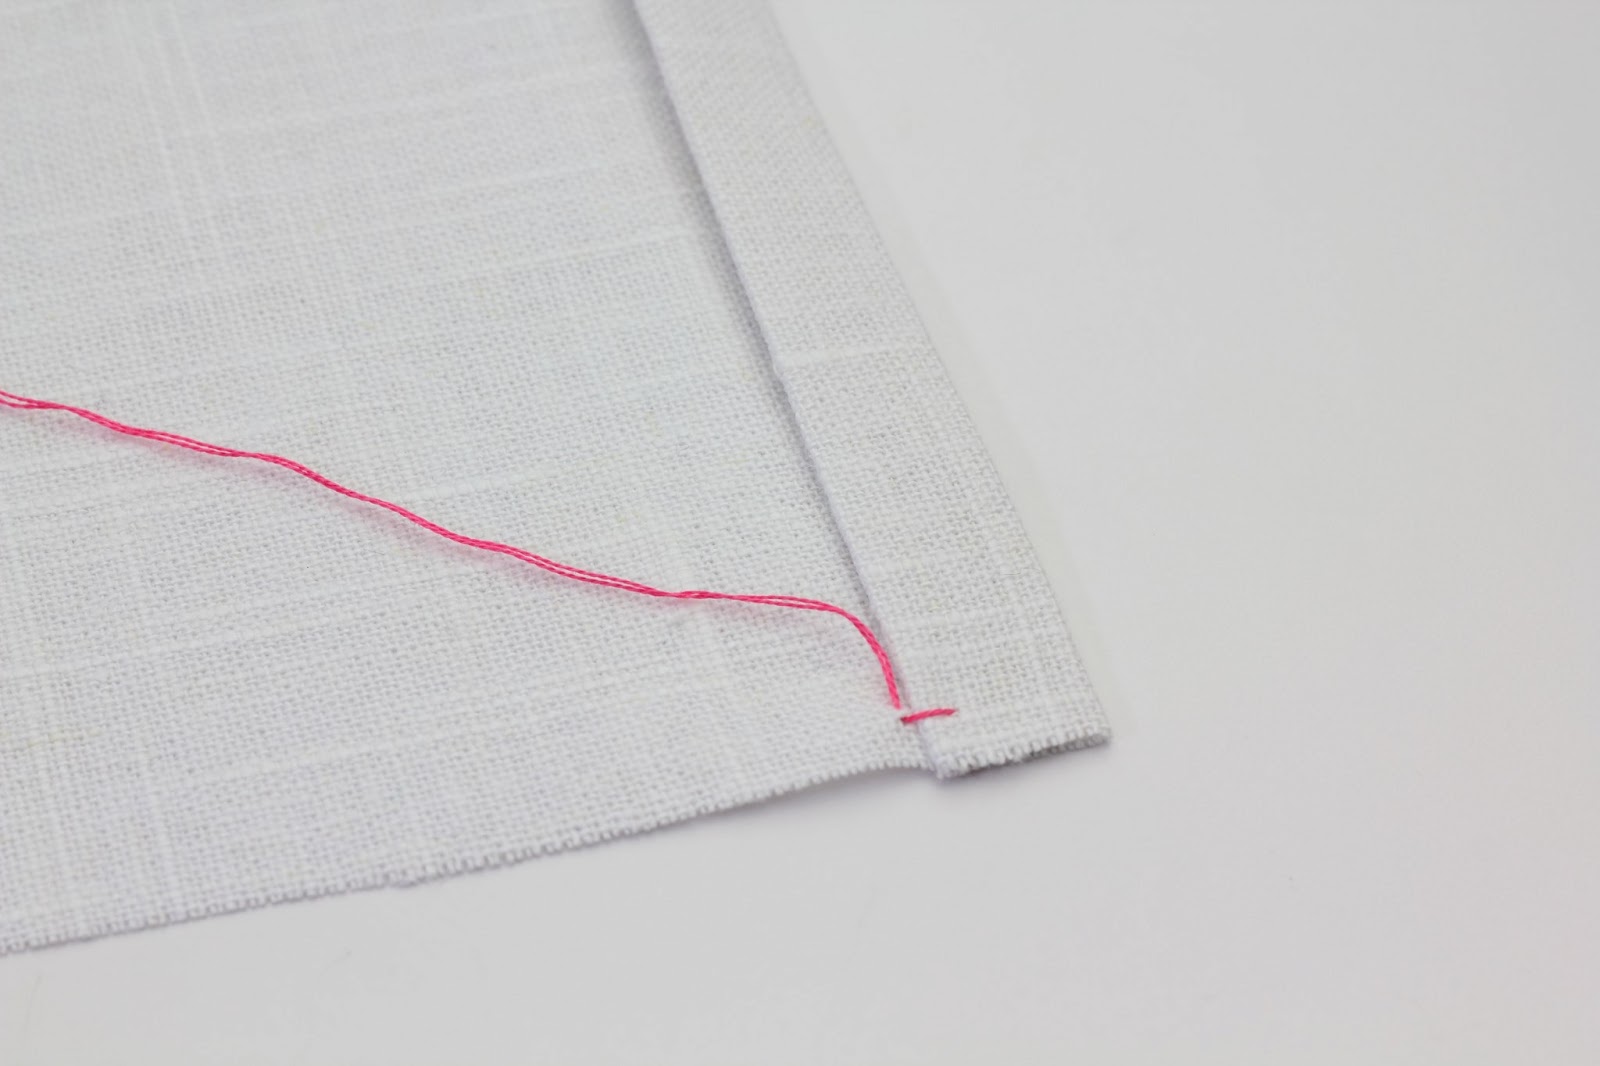
For my learning demonstration, I folded under a hem edge on this medium weave linen.
For my floss, I am using two strands of a contrasting color, this is the beautiful pink #956 from DMC.
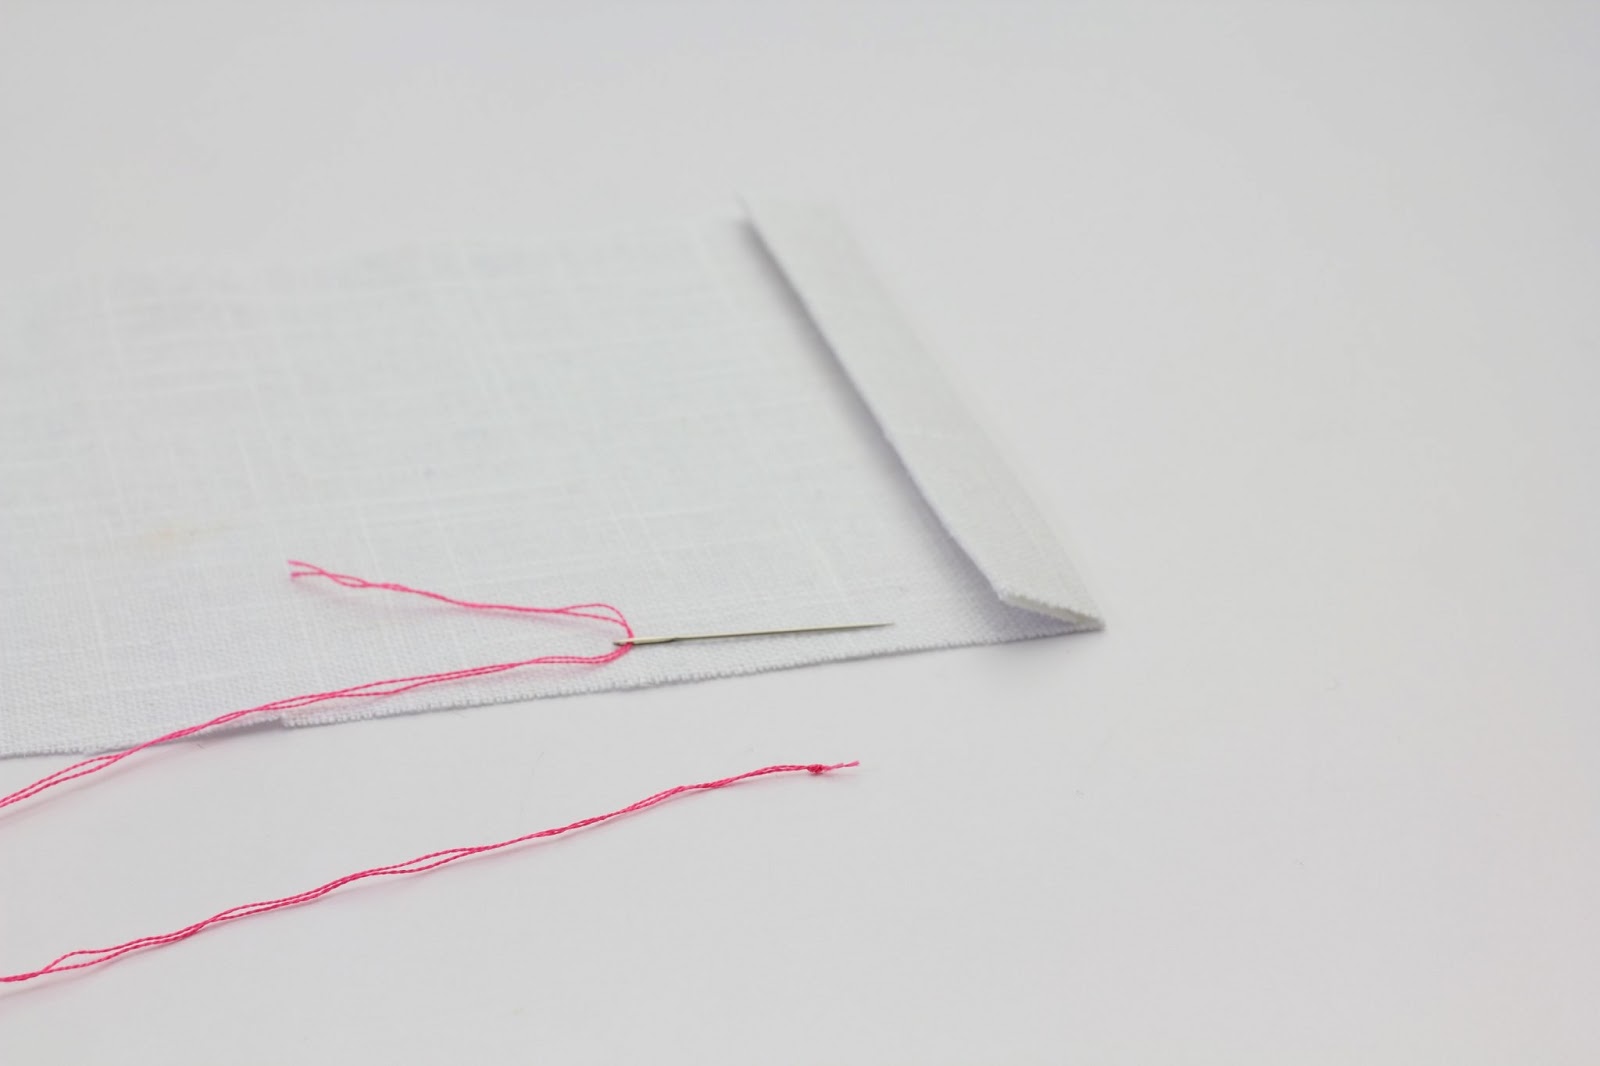
My first step is to come up through the fabric right through the folded over hem.
Pull all the way through, this will hide the knot:
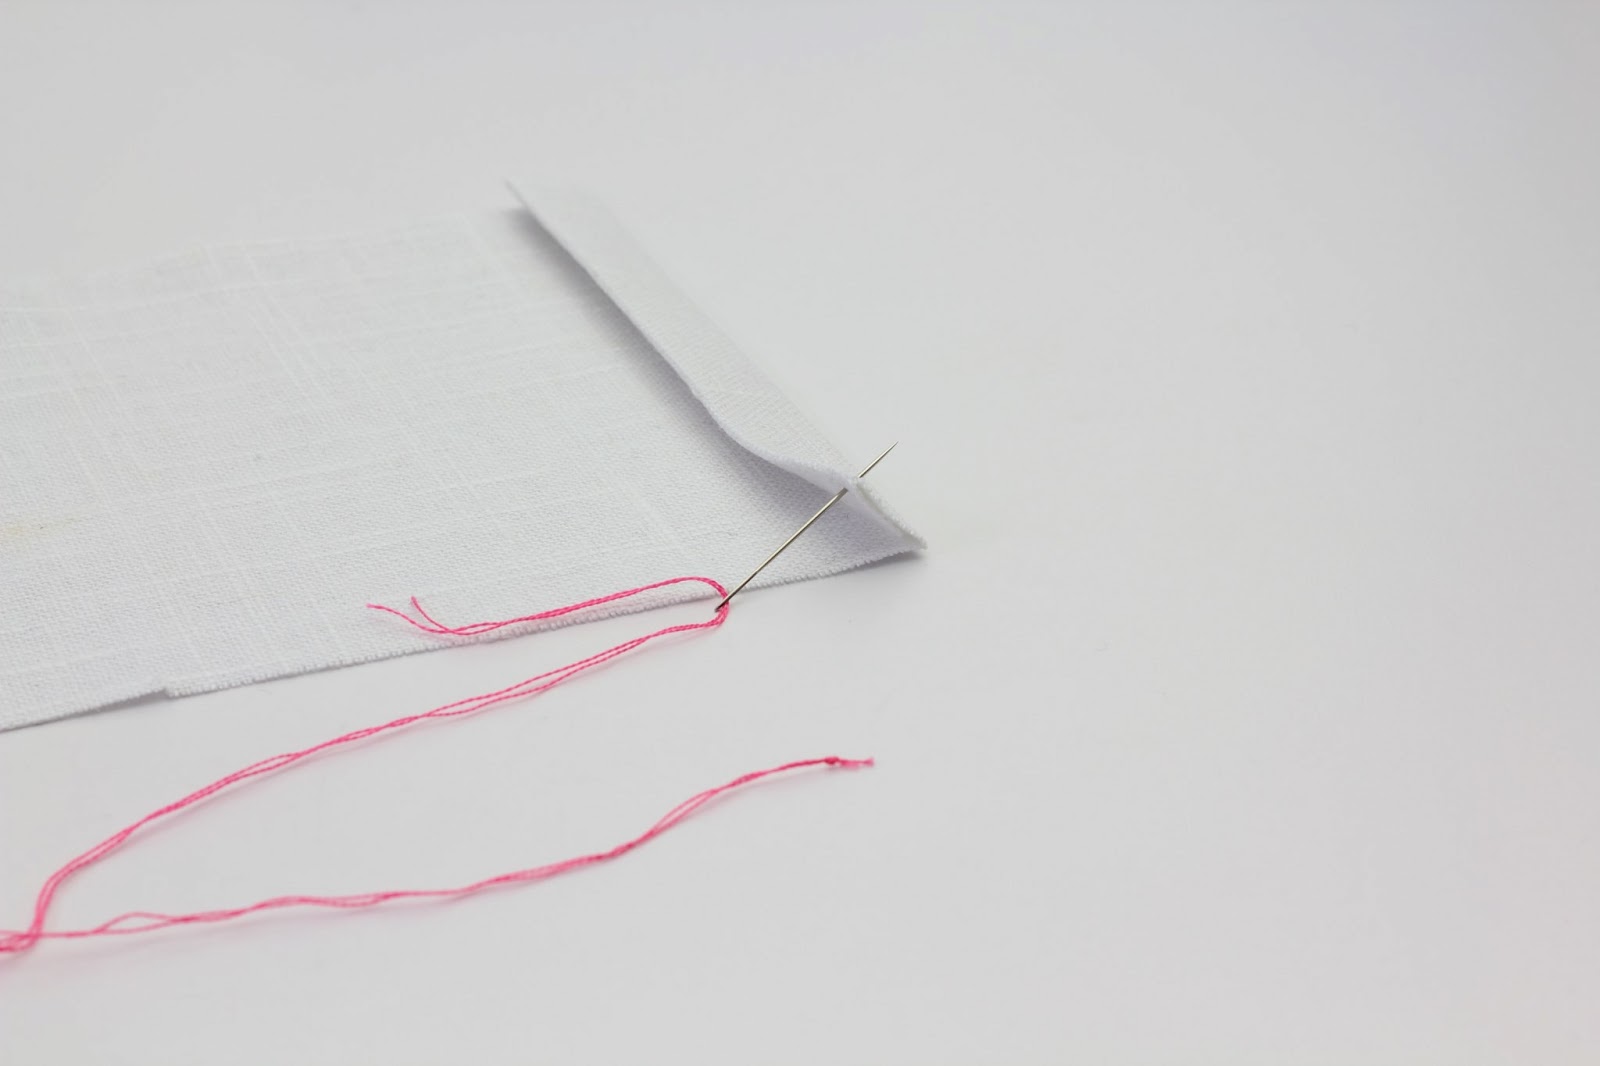
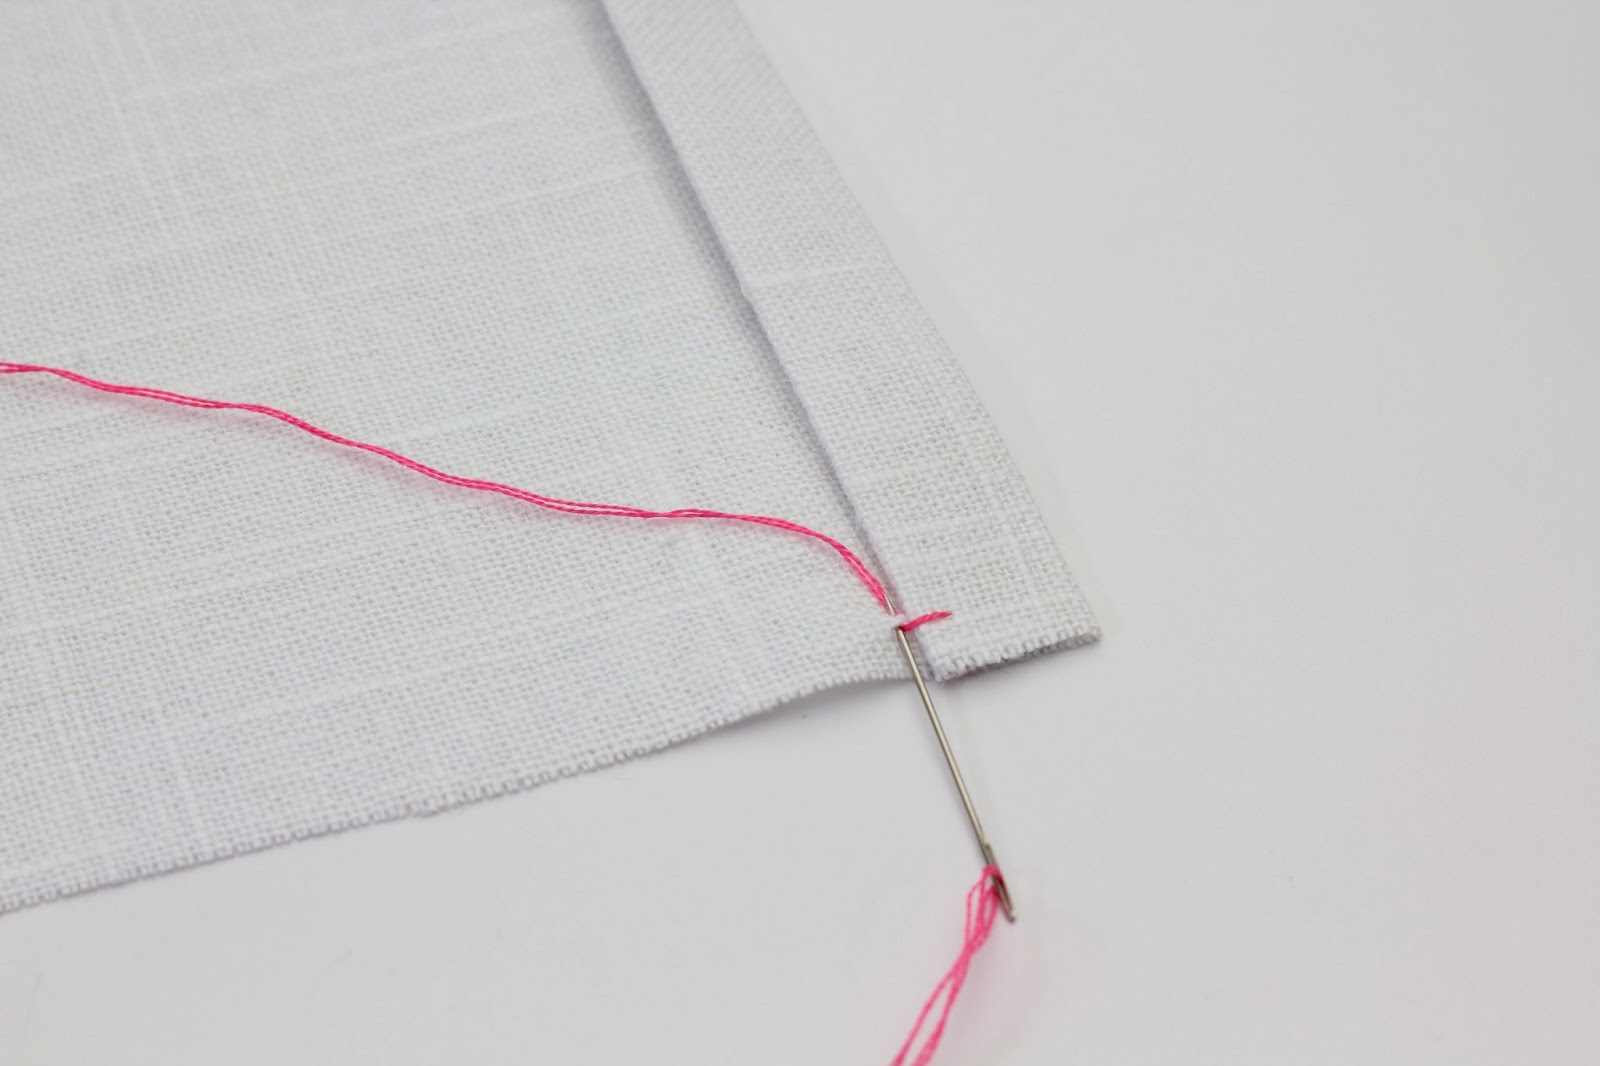
Next, take a small stitch right next to the folded edge. Go into the fabric (hole a) and come back out of the fabric (hole b):
Pull all the way through:
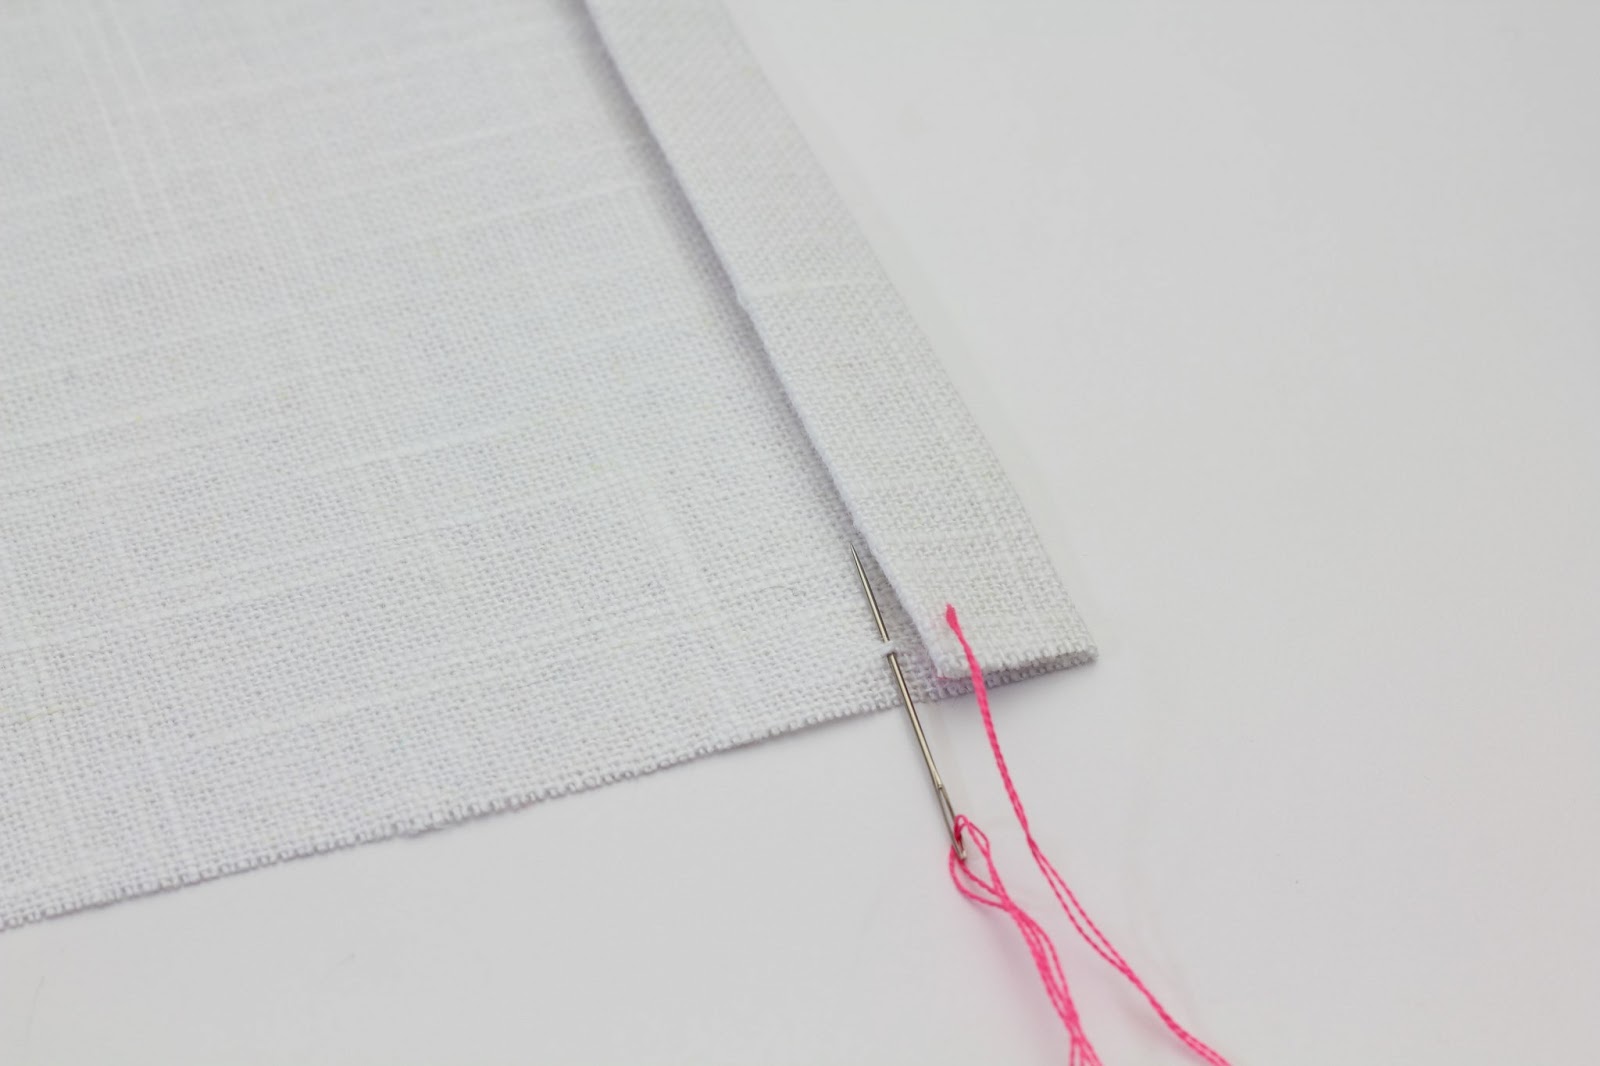
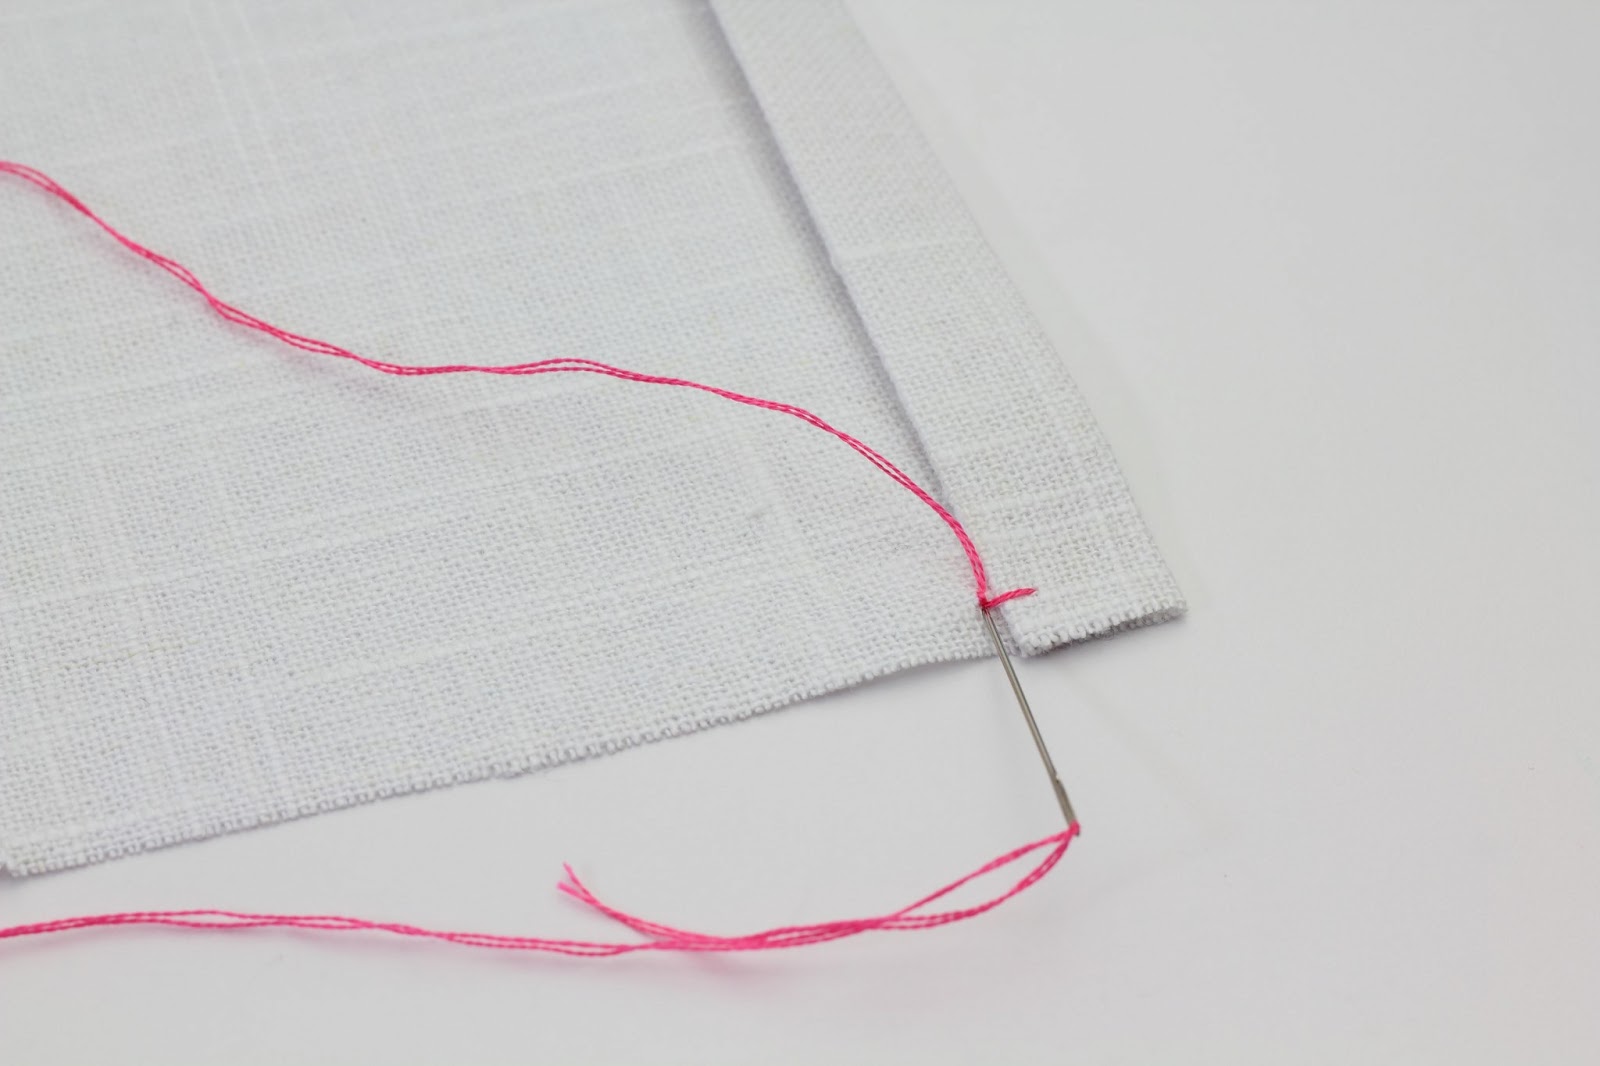
Next, bring the needle back around and go into and out of the exact same holes (a and b) :
Pull through:
Bring the needle back around and do it again:
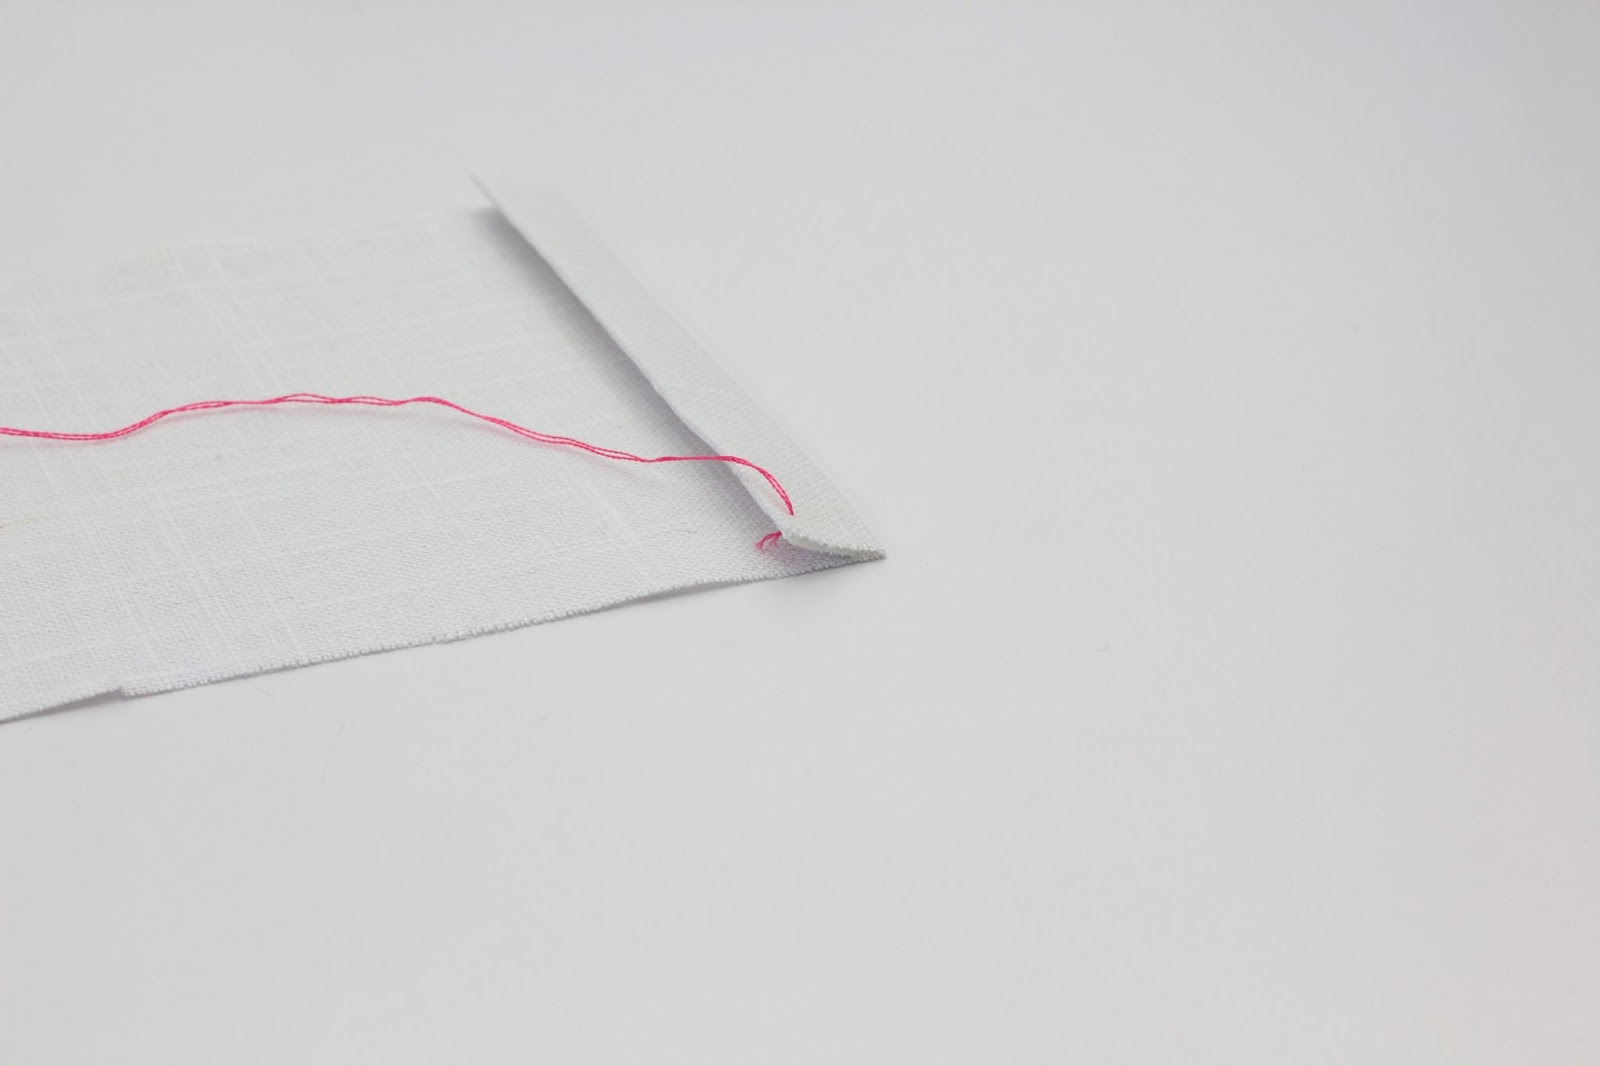
and once more go into the first hole (hole a), but this time exit back into the folded over hem edge:
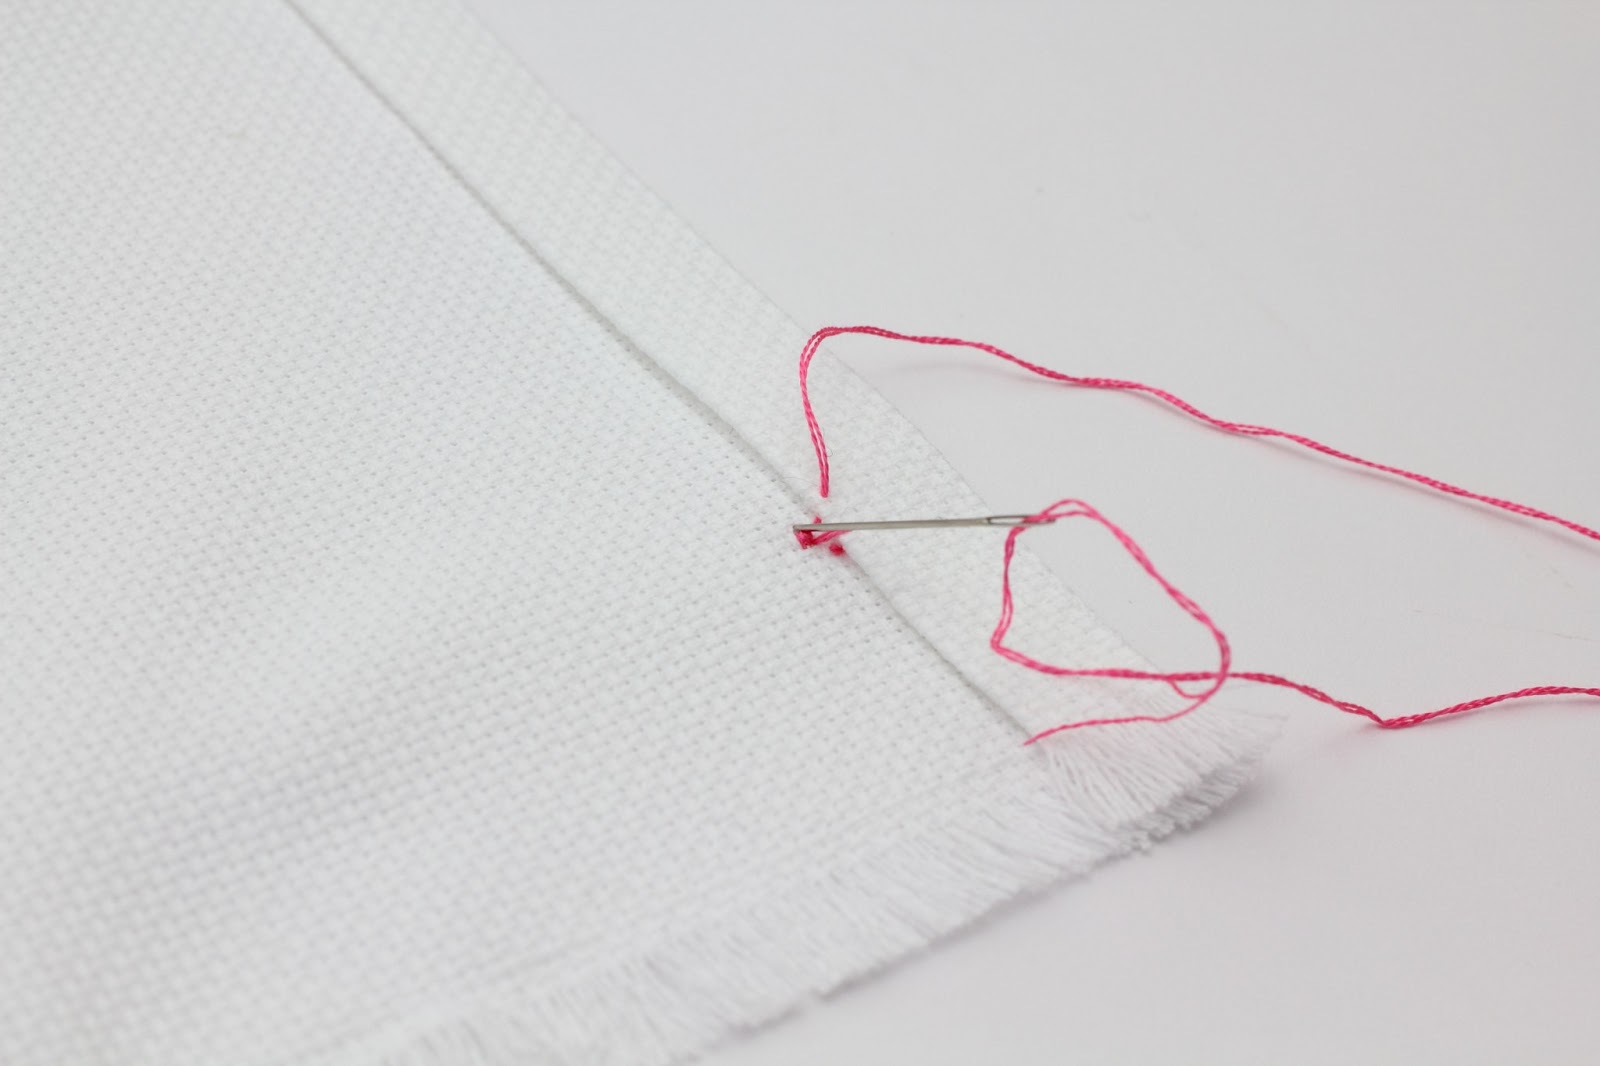
Pull all the way through. **To start the next stitch, go back into the fabric in the same hole - this is hole b from the first stitch and is now the new hole a. That starts the next stitch:
Going through the same two holes more than once really widens the holes and creates the effect of the pin stitch. I found I really needed to pull the thread tight to draw the fabric threads together. This is the front of the hem - can you see the holes created by the stitching?
This is an easy to do stitch, very relaxing and you don't need to use an embroidery hoop!
This is stitch # 95 and is in the Drawn Fabric Embroidery section of 100 Stitches.
**Edited - I updated my original posting of learning the pin stitch after receiving some extremely helpful information and tips from Martha at Southern Matriarch blog. She has an excellent tutorial you should definitely check out - here is the link.
I have some progress to report on the Laura Wheeler dog pattern project. Since my last post, I cut out the body pieces and the ear pieces and transferred all the pattern markings:
I sewed them all together. I have run into quite a few problems! I have had some trouble with seams lining up. Under each leg I had to rip out my stitching because of puckers and hand stitch them back together. I also had trouble with the head. I noticed the top of the head piece and the face piece were not really fitting together correctly, I did something wrong pinning them in and stitching and now it is off center. I don't know exactly where I went wrong, but I am going to finish him and then try this pattern over again. What do you think of his color combination? I love his white underside!
I am using a loose fiberfill for the stuffing.
It packs in really nicely to fill out the legs and the tail.
Now I am working on the ears. I used a small piece of fusible interfacing inside each ear. These pins are marking where his left ear will sit, the pattern instructions say to stitch the ear to the head along the seam line. I can't wait to see how they look.
Next I need to cut out the nose and the tongue and stitch those on. Then find some perfect eyes and a bow for his neck. I will be sure to post more pictures of my progress!
I have learned another stitch from 100 Stitches. This is the Interlaced Hemstitch. This stitch is from the Drawn Thread category. The drawn thread method involves removing a certain number of horizontal threads, leaving a gap in the fabric with just vertical threads. The stitch is then worked on the vertical threads.
To start the stitch, I measured a space about 1-1/2" long by 1/2" wide.
I used a water soluble marking pen to mark each edge and the center point:
Next I set up to start withdrawing the threads. Unlike the last drawn thread stitch I learned {you might remember my post about the hemstitch - since 100 Stitches didn't have instructions I did not understand what to do about the unfinished edges on each side of the gap in the fabric} this time I decided to try the reweaving method. In this method you just make one slit in the center and reweave the cut threads back into the fabric over the raw edges. First, I cut a slit through the horizontal threads right at the center.
Using my needle, I un-wove the horizontal threads all the way back to each end mark.
The threads were not long enough to go through my needle eye and still be able to turn the needle so I used a crochet hook with a tiny head to grab and pull the threads through the fabric. Effective but difficult and very time consuming!
After all the horizontal threads were re-woven, I did the hemstitch on the two vertical edges. You can see how to do the hemstitch here:
Done with the hemstitch:
Now to start the interlacing. For my demonstration, I used this beautiful blue perle cotton thread. This is dmc #3325.
The first step is to come up through the fabric at the right edge of the gap, right at about the center point of the edge:
Pull the thread all the way through to the left. You are going to be working with the first two groups of vertical threads on the right hand side:
Now bring the needle back so it is pointing to the right edge and slide it under the second group of threads and over the first group of threads:
Pull through and turn the needle to point to the left. Slip the needle under both the first and second groups of threads.
Pull all the way through and groups one and two will twist into this interesting interlaced shape:
Now do the exact same steps for groups three and four:
and just keep stitching:
until you reach the left edge of the gap:
I did the whole thing over in white because I love the white on white look of this but it is really hard to photograph as a demonstration!
Here is a view of the underside of the stitching:
This stitch is really beautiful! I am still not satisfied with my edge treatment. I am going to try satin stitching the two edges for the next stitch in this category. I also realized I needed to account for an even number of vertical thread groups so that I could do two at a time. As I did this demo, I ended up with one single thread group that I couldn't interlace. Next time, I will be more careful! I am really happy with this fabric, since I was going to try the reweaving method, I wanted a fabric with an easy to see weave. This is 14 count fabric.
This stitch is #76 on the 100 Stitches list and is in the Drawn Thread Category.