The next stitch on my
list of stitches to learn is the twisted chain stitch. This one I found to be complicated. The instructions said to begin the stitch like the ordinary
chain stitch but do not re-insert the needle back where the thead first comes out - basically, the thread comes up along the pattern line then, the thread goes down a little to the left and a little below where the thread first came up:

So far...so good. Then the needle tip comes back up slanting towards the pattern line:

This is where I found it getting complicated - I was having trouble keeping the thread in the right place in relation to the needle but apparently, the thread now goes
under the needle and you carefully pull the needle all the way through...

ending up with a nice loop.

Then you start the next stitch a little to the left and a little below the bottom of the loop:

and repeat the process!

I started having a little trouble keeping my loops the same size and tension and laying flat on the fabric! I need a lot more practice.

I went ahead and finished stitching the line and here is what the final result looks like:

I think this is correct! Mine doesn't look as even as the diagram but I don't really know what I am doing wrong.
This stitch is #41 and is in the "linked stitches" section of the 100 Stitches book.

 I am using six strands of floss - DMC color #3843 - I love this color!
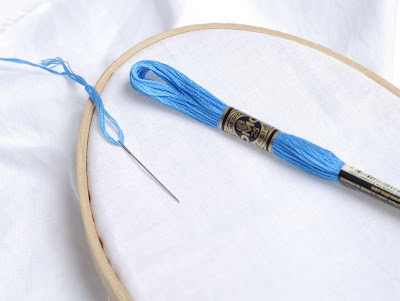
 Now, carefully slide the needle under the chevron stitches - between the stitches and the fabric, not picking up any fabric at all.
 Pull the thread through, and bring the needle back down through the fabric right where you came up.
 Thats it! So simple - now you bring the needle back up through the fabric and start the whole thing over again!
  Continue to form a beautiful stitched line:
 Here is another view -the line ends with a final two straight stitches forming the last chevron.
 This stitch is #51 and is in the "Linked Stitches" section of the 100 Stitches book.


